How To Repair A Toilet Valve
Every toilet has two valves, not just one. The fill valve controls water coming into the tank from the home's water supply, and the flush valve controls water leaving the tank and entering the bowl. Both of these valves can malfunction, and most problems can easily be resolved by homeowners with minimal plumbing skills. If it should be required, both valves can also be replaced. It's easier to replace a fill valve because, when you replace a flush valve, you have to disassemble the tank from the bowl. Fortunately, that procedure isn't common because most flush valve malfunctions are caused by a misadjusted or faulty flapper or canister.
The Float Is Part of the Fill Valve
The Float Is Part of the Fill Valve
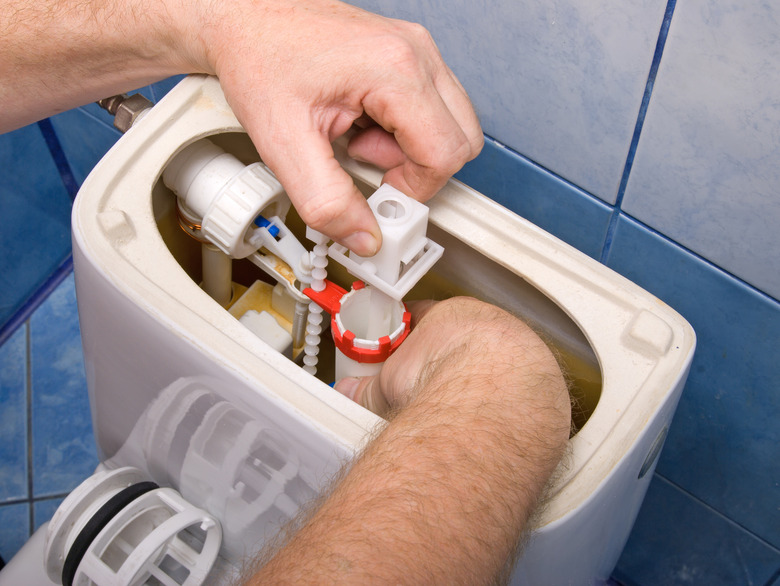
The fill valve is directly connected to the water supply, and it includes a spring-loaded aperture that's controlled by the float. On many fill valves, the float is a large, air-filled ball attached to a 12- to 24-inch armature. You adjust the height of the water in the tank by screwing or unscrewing this ball to shorten and lengthen the armature. Cup-style floats, which are becoming more common, slide up and down along the fill valve tube. They feature an adjustment screw that allows you to shorten or lengthen the rod to which the float is attached, thus adjusting the water level in the tank. Adjust the float whenever one of the following two problems occurs:
- The tank level isn't high enough, and flushing is incomplete. Shorten the armature on a ball float. Shorten the rod length on a cup float.
- The tank level is too high. Water flows down the overflow tube and the fill valve is constantly running. Lengthen the armature on a ball float. Lengthen the rod length on a cup float.
Fill Valve Sensitivity Adjustments
Fill Valve Sensitivity Adjustments
You can sometimes adjust the sensitivity of the valve to make it more or less responsive to the float. This feature isn't available on all models, but when it is, you'll see a screw on the top of the valve housing. If you're having trouble keeping the water level down by simply adjusting the float, turn this screw clockwise to decrease the sensitivity and make the valve less responsive to the float. Turn it counterclockwise if you're having trouble getting the tank to fill completely.
The Flapper Is the Most Important Part of the Flush Valve
The Flapper Is the Most Important Part of the Flush Valve
The flush valve consists of a short tube that extends from the bottom of the tank to the bowl. It opens in a 1-inch aperture known as the siphon hole, and a rubber paddle (or plastic canister) covers this hole when the tank is full of water. When you press the flush handle, this flapper lifts, allowing all the water from the tank to flow to the bowl. It's a simple concept, and about the only thing that can go wrong is that the flapper doesn't do its job because it's worn out or the chain connecting it to the flush handle needs adjustment.
Whenever one of the following problems occurs, you need to adjust the flapper chain or replace the flapper:
- The tank is full, but the toilet doesn't flush completely. This problem can occur if the flapper chain is too long. Shorten it.
- The fill valve continues to run after flushing and the tank never fills. This problem happens because the flapper chain is too short. Lengthen it.
- The fill valve switches on all by itself when no one is using the toilet. This occurs because the flapper is leaking. Replace the flapper. If your toilet has a canister, replace the canister seal.
Replacing a Flapper or Canister Seal
Replacing a Flapper or Canister Seal
Flappers are usually made of rubber, and most have ears that you can easily unhook from the overflow tube. Some have rings that fit around the overflow tube, and you remove one of these by slipping it up and off the tube after disconnecting the chain. You can replace most flappers with an inexpensive universal flapper available at any hardware store.
If your toilet has a canister-style flush valve, you seldom have to replace the canister, but you may have to replace the rubber seal on its bottom edge. To remove the canister, you may have to rotate the central post through 90 degrees to disengage it. Pull the canister off after disconnecting the chain, replace the seal, then reinstall the canister by reversing the procedure.
