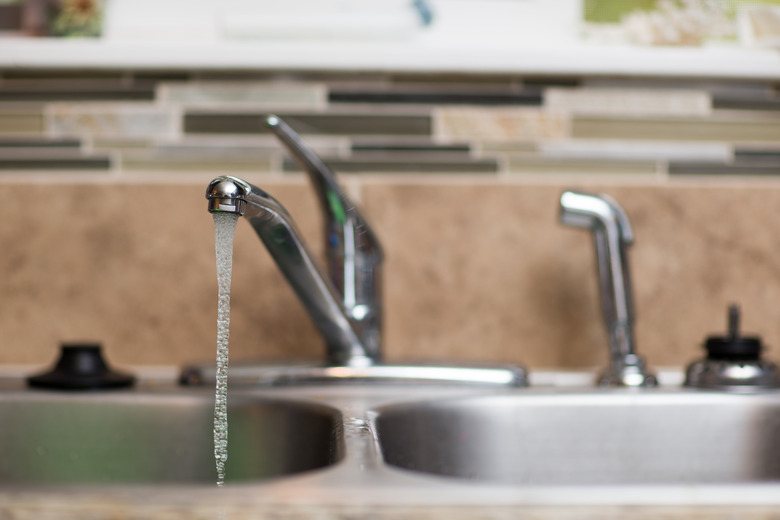
How To Remove A Flow Restrictor From A Kitchen Faucet
A faucet aerator is designed with many small holes that reduce water flow by adding air. Aerators with a faucet flow restrictor reduce flow even further. If your water pressure gets too low, you may be tempted to remove your faucet flow restrictor from the aerator and throw it in the trash. Removing a flow restrictor for good is not recommended, but it is a good idea to know how to remove it to clean or replace it.
Faucet Flow Rate
Faucet Flow Rate
A faucet aerator reduces the maximum water flow rate from your faucet. The average kitchen faucet aerator has a flow rate of 2.2 gallons per minute, according to Home Water Works. All new faucets sold since 1994 are required to have flow restrictors in order to conserve water. Different aerators and flow restrictors can be purchased, which will increase or decrease the rate of flow.
Because the holes in aerators and flow restrictors can fill with sediment over time, cleaning or replacing them is preferable to removing them for good and will usually solve any problems you have with low water pressure. Hard water in particular can lead to clogged restrictors. The process of removing an aerator and flow restrictor tends to be similar across brands, meaning that a Moen flow restrictor removal is similar to a Delta or Pfister flow restrictor removal.
How to Remove a Faucet Flow Restrictor
Step 1
Close the sink drain or cover it with a towel to prevent small parts from falling down the drain. Remove the aerator from the end of the kitchen faucet spout. Most aerators can be removed by turning it clockwise by hand. Some aerators, called concealed aerators, may require a removal tool provided with the faucet. If you don't have yours, a new one can be purchased at a hardware store.
Step 2
Remove the aerator parts from the housing and lay them in order on the countertop. Gently turn on the water and rinse the faucet flow restrictor and the faucet aerator screen. The water will come out of the faucet with more force without the aerator so be sure turn it on slowly. Use your fingertips to wipe away any dirt and debris from the aerator screen and flow restrictor. If this does not clean them, you can soak the parts in vinegar for a couple of hours.
Step 3
Flush the faucet and the water lines by running the hot and cold water for 15 to 30 seconds each with the aerator off. This will clear out any dirt and silt that may be in the water lines. If the water is dirty or you find pieces of debris, you may need to flush it more than once. Flushing the faucet will reduce the chances of the problem reoccurring. Be aware that with the aerator off the water will splash more.
Step 4
Place the aerator parts back into the aerator housing in order and screw it counterclockwise back onto the faucet spout until it is snug. The faucet aerator will usually only need to be hand-tight. Tighten with the aerator key if your faucet has a concealed aerator. Then turn on the water and check to see if the issue is resolved.
