How To Connect Trusses To The Top Plate
We may receive a commission on purchases made from links.
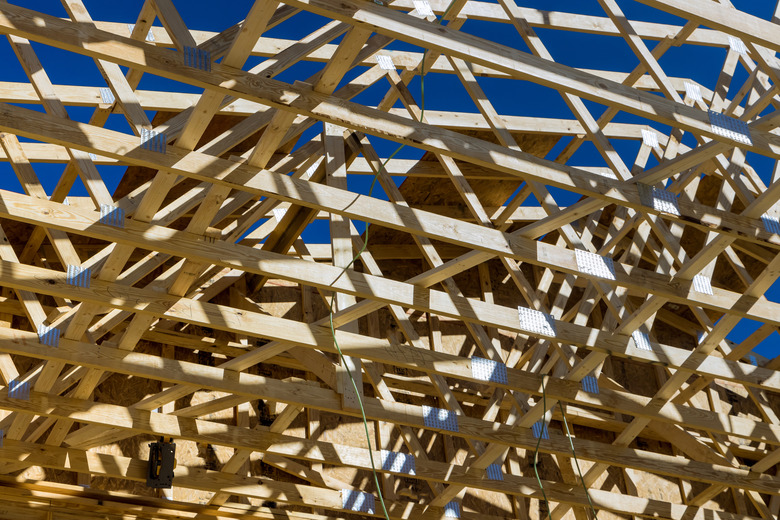
Instead of constructing a roof with individual rafters that connect to each other or to a ridge beam at the top and get nailed individually to the top plates of the walls, many builders use trusses. These are prefabricated triangles with angled sections that form the rafters and straight sections at the bottom that act as the floor joists of the attic.
Trusses are stronger than individual rafters. The joists sit flat against the top plate rather than meeting it at an angle, which automatically provides better support for the roof and eliminates the need for birdsmouth notches. The trusses have to be securely attached to the wall plates, however, to prevent the roof from lifting during high winds. There is more than one way to do this, but the best way is to use hurricane ties, which are mandated by code in some parts of the country.
What Are Hurricane Ties?
What Are Hurricane Ties?
Hurricane ties are metal connectors that look a little like joist hangers. Each one consists of a flat steel plate that sits flush against the wall plate and gets nailed to it and a notched section that wraps around the joist and gets nailed to that. They are made from galvanized steel and designed to withstand 175 pounds of uplift (the minimum required by code) and more.
An alternative type of hurricane tie is a galvanized steel plate with a 90-degree bend that allows the bottom section to rest flush against the top plate and the top section to rest flush against one side of the joist. When you use this type of hurricane, you need to install two for each connection — one on each side of the joist. Both types are manufactured by Simpson Strong-Tie, which also manufactures joist hangers, post holders, and other types of structural connectors.
How to Install Hurricane Ties
How to Install Hurricane Ties
After a truss has been set in position with the correct spacing from the adjacent one, it's not a bad idea to secure it to the top plate with one or two toe-nails driven through the top plate into the joist. This prevents the truss from moving, but by itself, it isn't secure enough to conform to code. Fortunately, adding the hurricane ties is a simple procedure.
You simply slip the hurricane tie up underneath the joist — on the inside of the wall — with the notch enclosing the joist and the bottom of the notch flush against the bottom of the joist. You then secure it with 1 1/2-inch structural nails. Regular nails should not be used for this purpose because they don't have the required shear strength. There are several holes in the tie, and a nail should be driven through each hole.
If you're using alternative ties that go on each side of the joist, you'll need two different types for each joist: one that bends in one direction for one side and one that bends in the opposite direction for the other side. Set these flush against the top plate and joist and nail them in place.
An Alternative to Hurricane Ties
An Alternative to Hurricane Ties
If you're building a small outbuilding, like a shed, or if you're building a house in a region with low winds in which local codes don't mandate hurricane ties, you can use long structural screws to secure trusses to the top plate. The screws have to be long enough to penetrate the wall plate at a 22 1/2-degree angle and sink at least 1 1/2 inches into the joist. Six inches is usually sufficient.
When using this method, you drive the screw at a 22 1/2-degree angle through the bottom corner of the wall plate and into the joist. The screws have a hex head, so the best way to drive them is with a hex socket attached to a powerful drill. The heads have preformed washers, and the screw is fully driven when the washer contacts the wood and begins to bite.
