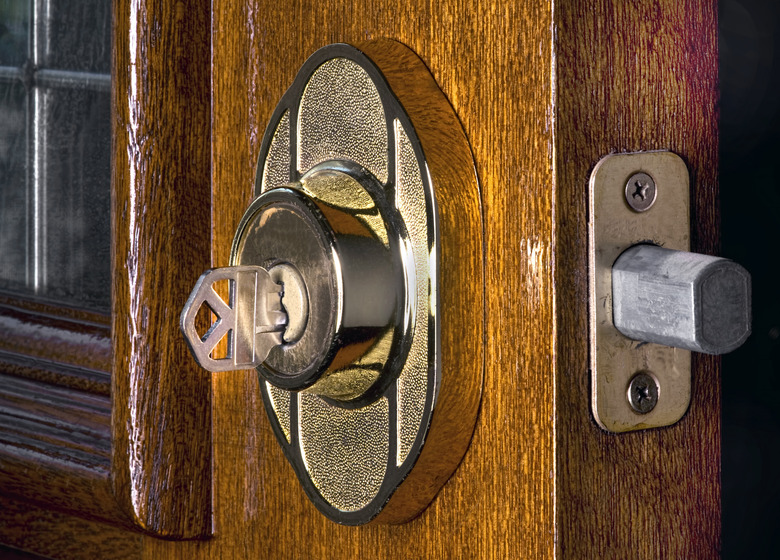
How To Disassemble A Deadbolt Lock
We may receive a commission on purchases made from links.
Perhaps the deadbolt on your front door is old and sticky and needs to be replaced, or perhaps you've decided to rekey it, which is a situation in which many landlords frequently find themselves. Removing the deadbolt from the door is a job you can do with a Phillips screwdriver, although you may need a flat-head screwdriver for prying as well, depending on the type of lock you're removing. If you need to rekey the lock, you have to disassemble it a bit more, and that requires special tools that come with any rekeying kit that you can purchase online or from a hardware store.
Things Needed
How to Remove a Deadbolt From a Door
1. Remove the Screws Holding the Lock Together
Look for a pair of screws next to the lock handle on the inside of the door. They are usually positioned to be accessible when the lock is open, but if not, turn the handle to close the lock so you can get to them. Then, unscrew them with a Phillips screwdriver.
2. Pull the Lock Apart
Once you remove the screws, the part of the lock on the inside of the door will fall off in your hands. Remove the outdoor part by pulling it outward until the tailpiece clears the lock mechanism inside the door.
3. Remove the Lock Barrel Mechanism
Use the Phillips screwdriver to loosen and remove the two screws holding the strike plate to the side of the door. Once they've been removed, you may be able to simply pull out the barrel, but if it fits too tightly for that, you may have to pry it. Tap the head of a flat-head screwdriver behind the plate using a hammer and use the screwdriver to pry the plate outward. Once it's far enough for you to get a good grip, you should be able to pull it out.
I Don't See Any Screws!
I Don't See Any Screws!
For added security and cosmetic reasons — and possibly just to flummox homeowners — manufacturers supply locks that have no visible screws. Don't worry; if someone installed the lock (which they did), you can get it off.
The first thing to do is remove the lock handle from inside the door. You can often just pull it off, but if not, look for a setscrew on the shank of the handle, loosen it with an 1/8-inch Allen wrench, and then pull. After removing the handle, look for a notch in the rim of the faceplate where it meets the door. Tap a flat-head screwdriver into the notch and use the screwdriver to pry off the faceplate. This will expose the screws, and you can remove the lock using the normal procedure.
Removing the Plug for Rekeying
Removing the Plug for Rekeying
If you're removing the lock for rekeying, you have to remove the plug from the key side of the lock, which is usually the part that was on the outside of the door. You need two special tools to do this: a pickle fork and a plug follower. Don't worry about the strange names; these tools come with the rekeying kit.
Start by removing the C-clip holding the tailpiece to the lock by tapping it off with the forked end of the pickle fork. Once the tailpiece is gone, place the flat end of the plug follower, which is a plastic cylinder that fits inside the plug cavity, and tap it with a hammer to force the plug out from the opposite side of the lock. Be careful because the key pins inside the plug are spring-loaded and will pop out if you don't hold your finger over them as they emerge. Once the plug is out, the lock is disassembled and ready for rekeying.
