How To Change A Swiffer Duster
Warring with dust can seem like a constant battle that you'll never win, especially if you have pets stirring things up. In your search for a suitable weapon to add to your cleaning arsenal, you might be wondering how to use a Swiffer 360 duster and how to put the Swiffer duster on the handle. Swiffer offers a range of duster products as well as Swiffer duster refills that assist in easily and efficiently conquering a range of dusty situations. Best of all, they are a breeze to use and refill.
Characteristics of Swiffer Duster Products
Characteristics of Swiffer Duster Products
Part of the Procter & Gamble family of products, Swiffer offers a range of different duster products that dust everything from ceiling fans to tight spaces. Starter kits include everything from the basic 180- or 360-degree dusters with short handles to heavy-duty 360-degree dusters with 6-foot or 3-foot extendable-handle kits. No matter the dusty situation, there's a Swiffer duster and handle that are perfect for the job.
Swiffer also offers a variety of Swiffer duster refills that are suitable for various dusting jobs, some of which are even scented. All Swiffer duster refills, whether 360- or 180-degree dusters, work by trapping the dust particles and allergens in their specially coated fibers and locking them in place. However, the heavy-duty 360-degree dusters, including those for pets, trap and lock three times the amount of dust and allergens as the standard dusters. The 360-degree dusters dust a larger area with more fluffy fibers than the 180-degree dusters, making them the perfect choice for tougher jobs.
Installing Swiffer Duster Refills
Installing Swiffer Duster Refills
One of the best things about using a Swiffer duster other than its ability to beat the dust is that no matter which handle you're using, any Swiffer duster refill will fit. It also doesn't matter whether it's a 180- or 360-degree refill because both fit all the handle types. Whether you're using the 6-foot handle, the standard short handle, or the 3-foot extendable handle, they all have the same type of end where you install the duster refill. The plastic portion of the yellow handle where you will install the Swiffer duster refill has two white forklike ends.
Remove the duster refill from the package, stretch out the sides, and fluff it up a bit before installing it on the handle's end. On one side and in the center of the duster refill, you'll notice a stiffer strip containing two channel openings. Insert each of the forked ends into a channel on the duster refill and pull it down and over the ends until it's completely installed on the handle's end. You can fluff the fibers again, and now you're ready to start dusting away.
Dusting Tips for Swiffer Dusters
Dusting Tips for Swiffer Dusters
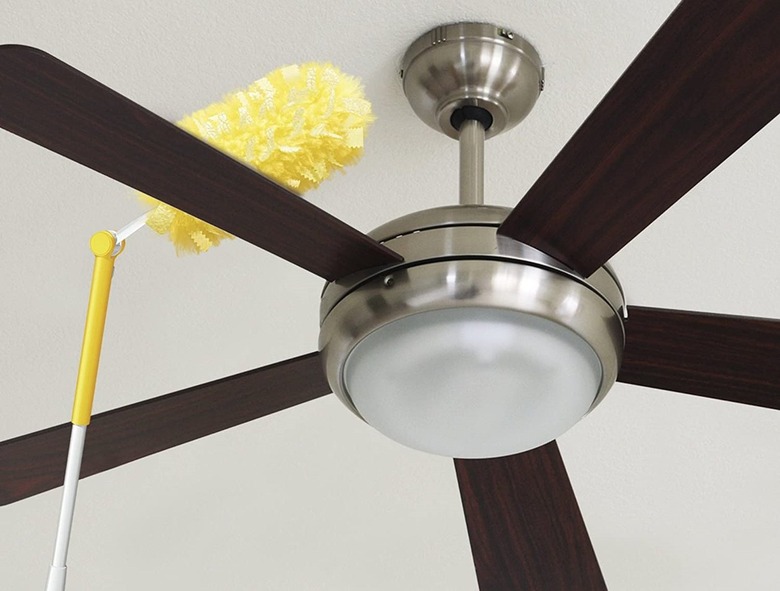
When it comes to the best place to start using your Swiffer duster, the company recommends starting at the top of the room. In addition, there's no need to spray areas you're dusting with a moist cleaner or furniture polish, and it's best to use the duster dry. Using the Swiffer heavy-duty extender allows you to easily reach high places, like the tops of windows, walls, ceiling corners, air vents, and light fixtures. Dusting your ceiling fan is no longer a dirty chore that involves climbing, as using the extender and a heavy-duty 360-degree Swiffer duster refill allows you to get the fan clean in a jiffy. Just be sure to turn off the fan first.
Next, move on to dusting the middle portions of the room. Use the duster to clean your electronics, tables, knicknacks, bookshelves, lamps, and more. Last, you'll want to move down to lower areas of the room, with the extender handle allowing you to reach the areas without bending. Swiffer dusters are great for dusting baseboards, behind furniture, electrical outlets, and anything else situated in the lower half of your room.
