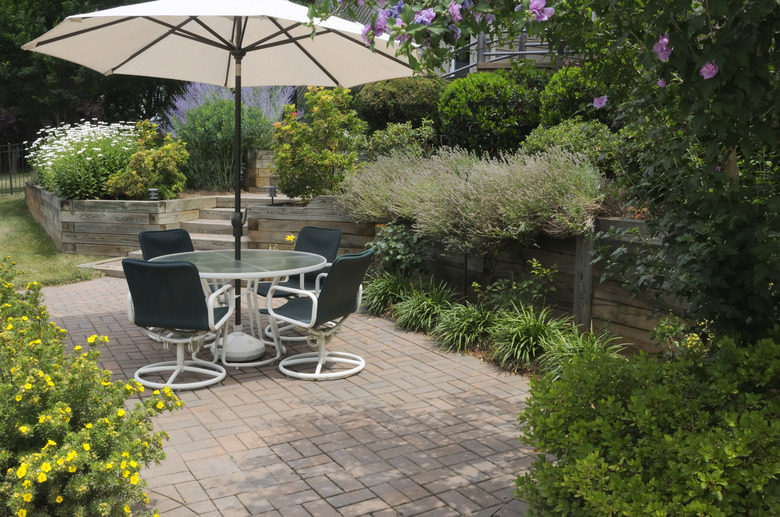
How To Level Out The Ground For Patio Pavers
Things Needed
-
Measuring tape
-
Rope or hose
-
Shovel
-
Wood or metal stakes
-
Mallet
-
String or twine
-
Carpenter's level
-
6-foot-length 1-inch PVC pipe, metal pipe or two-by-four
-
Plate compactor
-
Base gravel
-
Edge restraints
-
Sand
-
Pavers
-
Sand sealer, if desired
Tip
Landscape fabric can slow the growth of weeds under the pavers, although you should be certain to use water-permeable fabric rather than sheet plastic, which can retain water and cause flooding.
Soil moisture and local sand quality may determine why some professionals advise compacting sand while others advise against it. Check with local pavers to determine the most effective practice in your area.
Warning
Dimensions given for this project are merely an example. The pavers you choose may require deeper layers of base gravel and sand. If so, professionals advise compacting in layers of 4 inches or less at a time. Six inches of gravel, for example, would be most effectively compacted in two batches of 3 inches each.
Good paving is like good cake frosting: Nobody notices all the work it took to create that beautiful smooth surface. Chances are, therefore, that visitors may praise the color, design and creativity of your paving project without once complimenting you on how splendidly level it is. Level paving is a challenge. Apply patience, work step by step and let your viewers' silence signal a fine job well done.
Step 1
Lay out rope or garden hose to mark the outside edge and shape of your project. For example, suppose it's a rectangle 10 feet by 12 feet.
Step 2
Pound stakes into the ground at the corners of the rectangle. Wind string around the stakes at ground level and tie tightly. Remove the rope or garden hose.
Step 3
Slide the carpenter's level along the string all the way around the rectangle. For pavers to drain, ground should be level but with a slope of 1 inch to every 4 feet of length, to facilitate drainage. Use your measuring tape to adjust string as needed to show a slope of 3 inches over a length of 12 feet. Check that the slope of the string is even with your carpenter's level. On a bubble-level, the bubble will be slightly off-center on the slope. Mark the level gauge with tape or a marker at the off-center point, so that you can check for a consistent slope across the area. You are measuring for a level slope, not just a flat surface.
Step 4
Calculate the depth of your paving project by adding base drainage gravel (4 inches), base sand (3 inches) and the depth of the pavers (6 inches), a total of 13 inches. You will maintain this depth all the way along your sloped bed, so that the pavers at the top are just above the ground, like the pavers at the bottom. To viewers and those who walk on the pavers, the surface seems both level and flat.
Step 5
Add the depth total to the outer edge of the project to determine the full area you will dig. Your 10-by-12 rectangle now measures 11 feet 1 inch (10 feet plus 13 inches) by 13 feet 1 inch (12 feet plus 13 inches). Mark out the enlarged plot with your shovel. Dig soil to the necessary depth. Rake smooth and pack down with your plate compactor. Roll or slide rod, pipe or lumber over the soil to check even packing.
Step 6
Measure the distance between the compacted soil and the string. When the soil is even, add gravel, smooth and compact. Check with the rod, pipe or lumber, as above.
Step 7
Spread sand over leveled gravel. Rake smooth and check evenness with the rod, pipe or lumber. Alternatively, lay several lengths of 1-inch pipe on the gravel and pour sand to a depth of an inch. Smooth with another pipe, rod or piece of lumber, lift pipe lengths carefully and move to another part of the sand, repeat pouring and smoothing. Repeat again for each inch of sand needed.
Step 8
Set pavers gently on the sand. Press down firmly with the plate compactor. Press the edge restraints into the sand directly around the pavers.
Step 9
Scatter additional sand over the pavers and sweep it across the blocks until their seams fill with sand. You will probably repeat this step several times during the patio season. Apply sand sealer to keep sand in place, if desired.
