How To Dig A Post Hole The Fast And Easy Way
We may receive a commission on purchases made from links.
There's no question about it — the fastest and easiest way to dig post holes is to use a gas-powered earth auger. Fill the tank with gas, position the auger on the ground, fire it up, hold on tight and watch the soil come streaming out of the hole. You probably know this already, though, and you're asking because you want to know the easiest way to do the job with hand tools.
Fence builders across the country have asked the same question, and a few of them have come up with innovative ways to streamline what can be a back-breaking job. To do the job while expending the least amount of effort, you're going to need several digging tools — not just one — and a garden hose may also help depending on the soil composition.
Post Hole Digging Tools
Post Hole Digging Tools
The most common tool fence builders use for digging post holes is the very aptly named post-hole digger, also known as a clamshell digger. If the soil is loose and muddy, this tool is all you need. In such soil, it can dig a 4-foot-deep hole that is the perfect size for a fence post in a matter of minutes.
The problem is that most soil isn't loose and muddy but rather rocky, compacted, sandy or all three. A post-hole digger doesn't have the right shape for breaking through rocks, and when it tries to pick up sand, the sand simply falls back in the hole. This is why you need two other tools: a drain spade and a digging bar. If the soil is particularly loose and sandy, a wet/dry vacuum will turbocharge your digging job. You'll also need a saw to cut any roots you encounter, and the fastest, most convenient choice is a cordless reciprocating saw with a 12-inch all-purpose blade.
Getting Down to It
Getting Down to It
The first order of business is to determine the location of the hole with whatever method you're using to measure and lay out whatever it is you're building. If the ground is hard and rocky, it's a good idea to soak it for three or four minutes with a garden hose to loosen it up.
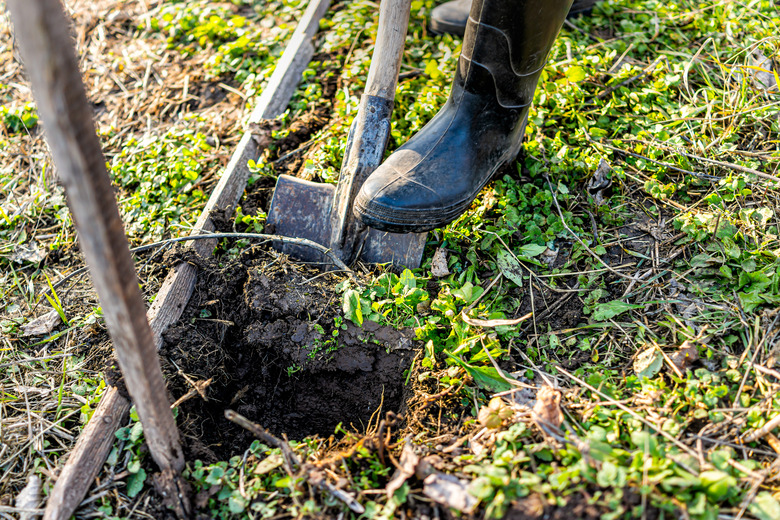
Start the hole by digging around the edges with the drain spade and then use the clamshell digger to remove the soil from the hole. As long as the going is smooth and you don't encounter obstacles, you should be able to continue in this way — digging the sides of the hole with the shovel and removing dirt with the clamshell digger — until you reach the required depth.
There will be obstacles, though, and that's what the digging bar is for. When you hit a rock, don't waste time trying to loosen it with a shovel. Use the flat or pointed end of the bar to pry it loose and then pull it out of the ground with the post-hole digger. If you encounter a rock that's too big to pry, whack it with the digging bar to break it up and then pry out the pieces.
The digging bar is also a good tool for excavating around roots so you can cut them with the saw. Try to dig a good 4 to 6 inches underneath the root so the saw has room to cut. If the roots are small enough, you can usually break through them with the shovel or digging bar, and if so, there's no need to use the saw, and that's all the easier.
A Vacuum for Post Holes?
A Vacuum for Post Holes?
When you're digging in loose, sandy soil, the sides of the hole tend to cave in and fill the bottom with difficult-to-remove sand. Dave at Marin Home Restorations in California, where loose, sandy soil is common, came up with an innovative solution: Vacuum the soil out of the hole. Any shop-grade wet/dry vacuum can handle this job, particularly if you remove the filter to increase the sucking power.
