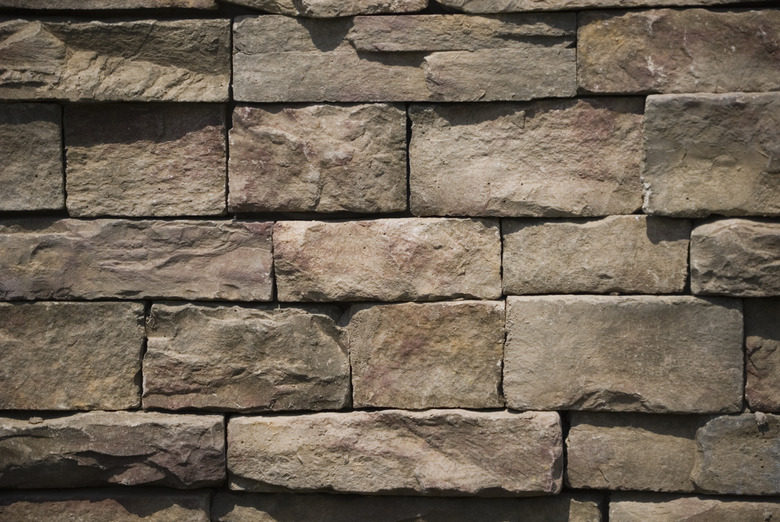
How To Build A Retaining Wall On A Steep Hill
Things Needed
-
Wood stakes
-
Long string
-
Flat shovel
-
Tarp
-
3/4-inch angular gravel
-
Tamper tool
-
Grit sand
-
Flat board
-
Retaining wall blocks
-
Bubble level
-
Hammer
-
Mallet
-
Landscape adhesive
-
Cap blocks
Landscaping a steep hill with a retaining wall prevents erosion and allows you to create beds at the top suitable for planting. Installing the wall is labor intensive due to the weight of the materials and the care it takes to set each block securely, but the resulting structure can last years. If the hill is taller than 4 feet, plan to build multiple retaining walls up the hill to create a tiered look.
Step 1
Insert wood stakes to mark the boundaries of the first retaining wall at the base of the slope. Create an outline to follow by tying off one long string around the top of each stake.
Step 2
Dig out vegetation and dirt from the base of the slope with a flat shovel and pile it in a nearby tarp. Dig into the slope until the bottom stands just less than 4 feet from ground level.
Step 3
Dig out a trench at the base of the drop. It should be as wide as the retaining blocks plus 6 inches and as deep as the blocks plus 4 inches for the base.
Step 4
Scoop 3 inches of 3/4-inch angular gravel over the dug-out trench and spread it evenly with the shovel. Tamp the gravel by pounding a tamper tool over each section so the gravel forms a solid base.
Step 5
Add a 1-inch bed of grit sand over the gravel and push a flat board across the top to make a smooth leveling bed.
Step 6
Position the bottom course of retaining wall blocks over the sand bed against the outside wall of the trench. Butt the sides against each other and level the blocks with a bubble level, hammer and mallet as you go. The first course will be buried for stability.
Step 7
Backfill the 6-inch gap behind the blocks with more gravel to reinforce the walls and facilitate drainage.
Step 8
Set the second course over the first with half blocks on the ends to offset the joints. Set the blocks flush against each other with the lip along the bottom interlocked with the groove across the top of the first course. Backfill a 6-inch-wide space behind the second course with gravel and fill the space behind the gravel with dirt from the hill.
Step 9
Keep laying one course at a time until the wall reaches 4 feet or less. For a finishing touch, use landscape adhesive to glue cap blocks across the top as the final course.
Step 10
Repeat this process to build another retaining wall against the top of the hill if needed.
