How To Build A Beehive
Although the goal of backyard beekeeping may be harvesting the tasty honey, there's another benefit to gardeners. The honeybees that populate the hives are important pollinators for flower and vegetable gardens. "Busy as a bee" literally describes their tireless work as they move from flower to flower. By building a suitable beehive, you can create a hospitable environment for them to live, breed and turn the nectar from flowers into honey for your table.
Hive Bodies
Hive Bodies
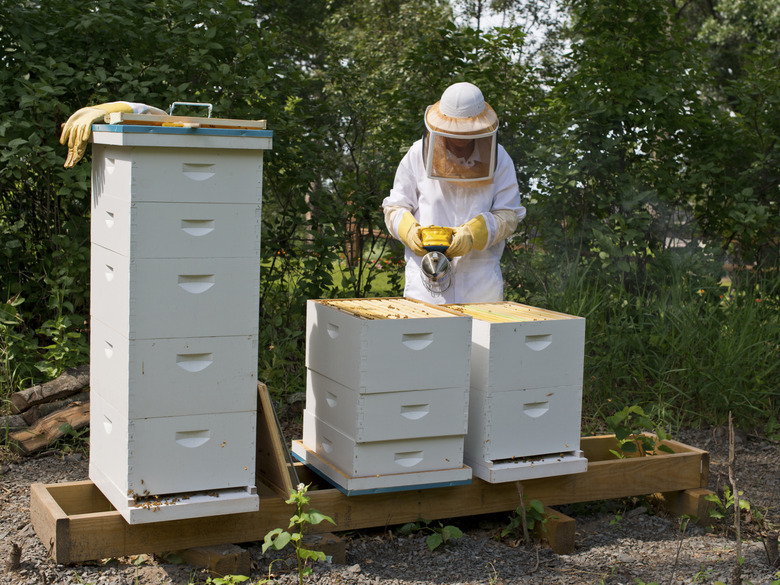
Hive bodies are stackable boxes that resemble storied high-rise condos, which house bee colonies. The lowest story is called the brood chamber; this is where the queen lays eggs in comb frames, and the house bees raise the young larvae. The upper stories that hold more comb frames are called supers; this is where the worker bees deposit pollen and convert nectar into honey. You can build a hive that has 10 hive bodies of varying depths, or you can keep it more modest.
Frames and Foundations
Frames and Foundations
For a basic beehive, assemble two brood chambers that are 9 and 5/8 inches deep and two supers that are 6 and 5/8 inches deep. Make these boxes four-sided with no bottoms or tops. Place a queen excluder between the upper brood chamber hive body and the lower super hive body. Purchased excluders are plastic or metal grids, which have precise openings that disallow the larger queen from moving from the brood chambers to the supers while allowing the smaller workers to pass through easily. Purchased wax comb foundations are frames that hang inside the supers and brood chambers. These frames are where the queens lay eggs and the worker bees store the honey and seal it up with more wax. Cut equally spaced grooves — called frame rests — on opposite sides at the top of each hive body to hold the frames. Hang 10 frames inside each brood chamber and nine frames inside each super. The grooves should be deep enough so that the frames hang flush with the top of the hive body.
Covers and Bottom Boards
Covers and Bottom Boards
Cover the topmost hive body. Hive covers typically have two parts: an outer, telescoping cover that extends over a flat, inner cover. Place a bottom board underneath the lowest hive body, which is a brood chamber, and also serves as the bee entrance. Attach wooden strips above the bottom board to create a 3/8-inch entrance access for the bees. It's not necessary to nail the bottom board to the hive body; you can simply place the hive body on top of the board.
Tools and Materials
Tools and Materials
Western pine is a durable wood for making the hive bodies, frames and covers. Cypress, cedar or redwood are materials for the bottom board because these woods are more water-resistant. Power-driven staples or seven-penny box nails are suitable for building the hive bodies, which you can reinforce by cross-nailing the corners. Waterproof wood glue, when used with staples or nail, further strengthen the hive structure. Paint the beehive, inside and out, with two to four coats of exterior latex paint. The traditional beehive color is white, but you can use any pastel color, which helps keep colonies cooler in the summer. If you have more than one hive, paint them different colors, which helps the bees in different colonies find their home hives more easily.
Apiary Setup
Apiary Setup
An apiary is the bee yard where you'll place your beehive, but you don't just plunk down the hive in any location. The apiary should be near pollen and nectar sources, such as flower and vegetable gardens, and there should be a clean water source no further than 1/4 mile away. You can fill a large, shallow pan with water and landing rocks for the bees to keep them close to home. Ideally, apiaries should face south or southeast near deciduous trees that shade the hives in the summer and allow sunlight to reach them in the winter. When you've set up the apiary, it's time to assemble your beehive. Simply stack each component in order: the bottom board, two brood chambers with 10 frames in each, the queen excluder, two supers with nine frames in each, the flat inner cover and, lastly, the telescoping outer cover.
