How To Grow Grass In Trays
Things Needed
-
Plastic or metal tray
-
Nail
-
Hammer
-
Fresh potting soil
-
Quick growing grass seed
-
Coffee filters
Tip
Wait until your grass is 3-inches high before its first cutting, then cut it back to 2 inches. Cut again every time it grows 1/2 inch.
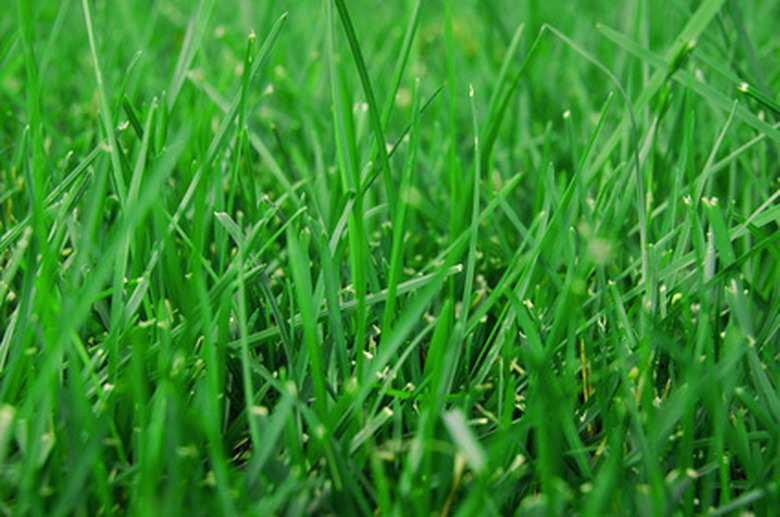
There's something soothing about a perfectly trimmed patch of green grass. The uniform color and thick texture invite the eye to linger and the fingers to touch. Bring a little bit of this ambiance into your home or office by creating a miniature grass landscape in a tray. Whether you add small figures for an amusing display or trim it short and leave it as a stark green statement, you can create your own miniature lawn with very little effort.
Step 1
Purchase a plastic or metal tray that is 2-inches deep. The length and width of the tray don't matter; get one that fits in the area you wish to decorate. You may use recycled baking pans, plastic trays or shallow planters.
Step 2
Punch holes on the bottom of the tray using a hammer and nail. Space the holes in a regular pattern, 3-inches apart.
Step 3
Fill the tray with a 1 1/2-inch layer of fresh potting soil. Do not reuse soil from other planters as they will have fewer nutrients and may harbor weed seeds or diseased organisms.
Step 4
Sprinkle a thick layer of grass seed over the soil. Use a fast-growing variety of seed, like wheatgrass, fescue or oatgrass.
Step 5
Sprinkle the soil and seeds with water to dampen them. Cover the seeds with a layer of dampened coffee filters. Place the tray in a warm spot until the seeds begin to sprout. Be sure to keep the coffee filters damp.
Step 6
Remove the coffee filters when the grass has started to sprout. Place the grass in a sunny window or under a grow lamp. Keep the soil moist, but not wet by misting it daily.
