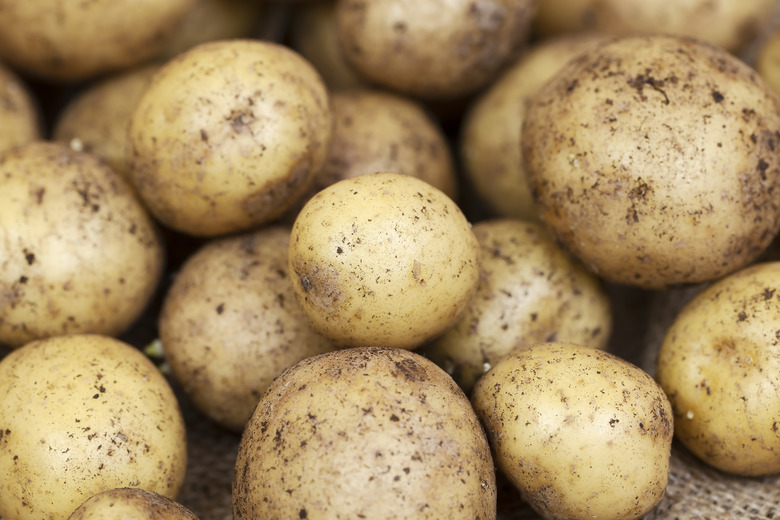
How To Grow A Potato In A Jar
We may receive a commission on purchases made from links.
Unlike most plants, potatoes (Solanum tuberosum) aren't grown from seeds but from an existing potato. That makes them an interesting outlier, and a plant that needs to be handled differently from most. It's common to start seeds indoors to get a jump on gardening season, for example, but that's seldom done with potatoes. You can start a potato in a Mason jar, but it's not usually an option you'd use for your entire potato patch.
Why Grow in a Jar?
Why Grow in a Jar?
You can't effectively grow a potato to maturity in a Mason jar because the plant's root system simply takes up too much space. What you can do is sprout a potato in a Mason jar, and there are a couple of reasons why you might do it. One is as a science demonstration to carry out with kids: Watching the familiar spud put out roots gives them an understanding of how plants grow underground.
A second reason is to evaluate whether a given batch of potatoes is worth trying to plant. Supermarket potatoes are often treated with growth-inhibiting chemicals because sprouting shortens their shelf life as a sellable product. Sprouting one successfully tells you that your potatoes have not been treated, and you can plant them if you wish. Certified disease-free seed potatoes from a reputable provider remain a better option, but any potatoes that sprout vigorously should grow for you.
Things Needed
-
Seed potato or a potato from the grocery store
-
Filtered or bottled water (optional)
How to Grow a Potato in a Jar
How to Grow a Potato in a Jar
Starting one or more potatoes in Mason jars is a pretty simple exercise. You'll need either a whole potato small enough to fit easily in the mouth of the jar or a larger potato cut to size. If you opt for the larger potato, look for the small buds or "eyes" that will produce sprouts, and make sure you have at least two on each piece you cut. Leave the cut potatoes to dry for a day or two so the exposed surfaces can scab over, otherwise, they're likely to rot in the jar.
1. Prepare the Jar
Choose a clean Mason jar and fill it with water. Most tap water contains chlorine, so either let the water sit overnight (so the chlorine gas can evaporate) or use bottled or filtered water.
2. "Spike" the Potato
Insert four or five toothpicks into the potato, making a ring around its "equator." They'll need to go in at least 1/4 inch to hold the potato firmly.
3. Position the Potato
Hold the potato by its top and position it in the mouth of the Mason jar. The bottom of the potato needs to be immersed in water, so top up the water level if necessary.
4. Place in the Sun
Place your potato on a windowsill, or some other spot where it will receive several hours of sunshine daily and be protected from cold drafts, curious cats, small children and other hazards.
5. Change the Water Regularly
Every three to four days, pour out the old water and replace it with fresh water. Again, you'll need to either let the water sit uncovered overnight to de-chlorinate or use bottled or filtered water.
You should see roots on your potato at some point during the second week, and by the three-week mark, they should be well-established. At this point, you can call your experiment a success and discard the potato, or transplant it into soil and try to grow it. Try to break as few of the roots and sprouts as possible because it will slow the plant's growth if they're damaged.
Sweet Potatoes in a Jar
Sweet Potatoes in a Jar
Sprouting a regular potato in a jar is a fun project for the kids or a way to demonstrate the notion of growing food from scraps, but it's not a practical part of actual gardening. The opposite is true, though, for sweet potatoes (Ipomoea batatas, USDA hardiness zones 9-11). Growing those in a jar is a simple and practical method for home gardeners who want to grow a few vines.
Follow the same process as for a regular potato, except use a whole sweet potato (you'll probably need a quart-sized jar for this). Put the pointy end of the potato facing down, and wait for green sprouts or slips to begin growing from the top. When the slips are 6 to 8 inches long, pull them from the sweet potato and put them in a jar or glass of water until they grow roots. Once they've rooted, you can transplant them into your garden.
