How To Grow And Care For Mushrooms
Growing edible mushrooms is a different type of gardening, but it is entirely possible to do once you understand the process. And there is every reason to do so, since mushrooms are low in fat and protein but quite high in a variety of important B vitamins. Moreover, mushrooms are extremely versatile in the kitchen and are flat-out delicious.
The Botany of Mushrooms
The Botany of Mushrooms
What we call a mushroom is really the fruiting body of underlying mycelium layer of a fungus. While the mushroom itself usually appears very quickly and disappears almost as fast, the underlying mycelium may persist for many months, even years, meaning that an area prone to mushroom growth may remain productive for quite some time.
Most mushrooms are members of the plant order _Agricales_—an order that functions in a much different manner than plants that depend on sunlight. Fungi, including those that produce mushrooms, do not photosynthesize light, but have other means of absorbing nutrients from their surrounding. This explains why so many mushrooms favor dark, moist conditions where there is a plentiful supply of decaying vegetation.
Most, but not all, mushrooms display themselves as growths with short stalks that support larger, rounded caps. The term "toadstool" is often used for a mushroom that has a rounded, umbrella-shaped cap (pileus), although in practice the term usually refers to any mushroom regarded as poisonous—with the term "mushrooms" reserved for those forms that are edible.
Mushroom Species
Mushroom Species
Like any plant, mushroom species have a natural climatic and geographic habitat. However, those that are typically cultivated as edible mushrooms can really be grown anywhere, provided that the conditions are established. In colder climates, the cultivation may be confined to indoors. A large handful of mushroom species are delicious for consumption, while a much larger percentage are either bland to the taste, or bitter or slightly allergenic. In the listing of common edible mushrooms found below, the natural habitat is mentioned, but all of these can be, and are, cultivated in nearly all regions.
A much smaller group of mushrooms include highly toxic species. Although they get a considerable amount of attention, there are relatively few highly poisonous species among the many hundreds found around the world. Still, people collecting mushrooms in the wild are well advised not to consume any mushroom they have not definitively identified, as some poisonous forms look very similar to edible ones.
Poisonous Mushrooms
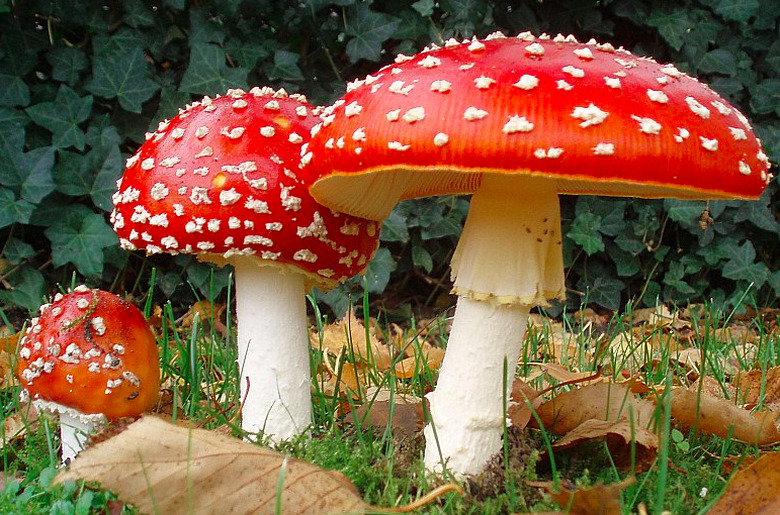
Here are some common poisonous North American mushrooms to watch out for. Although there are some edible mushrooms that closely resemble these, it's best to avoid anything that even resembles these—more than one amateur "expert" has inadvertently consumed toxic mushrooms.
- Fly Ageric (Aminita Muscaria)
- Jeweled Death Cap (Amanita Gemmata)
- Death Cap (Amanita Phalloides)
- Elf's Saddle (Helvella Lacunosa)
- Autumn Galerina (Galerina Marginata)
Edible Mushrooms for Cultivation
Edible Mushrooms for Cultivation
The following mushrooms are common choices for people wanting to grow their own. All these types can be purchased as part of growing kits at online retailers.
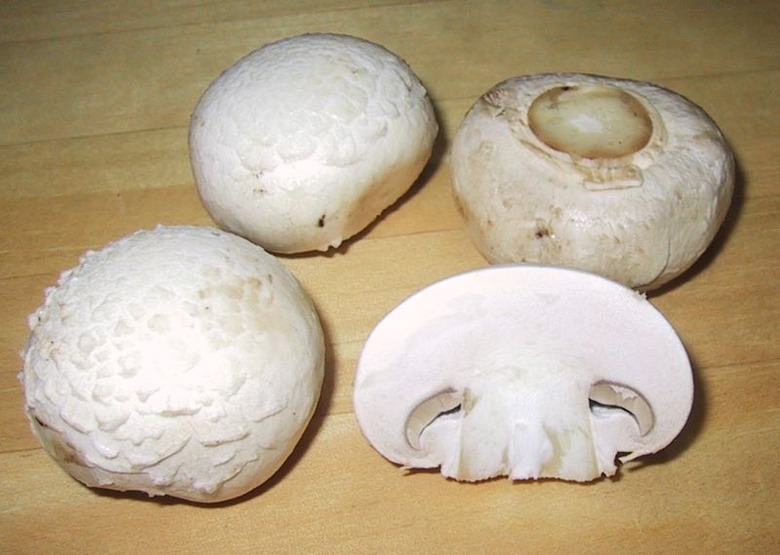
Button (Portabella) Mushrooms (Agericus bispora)
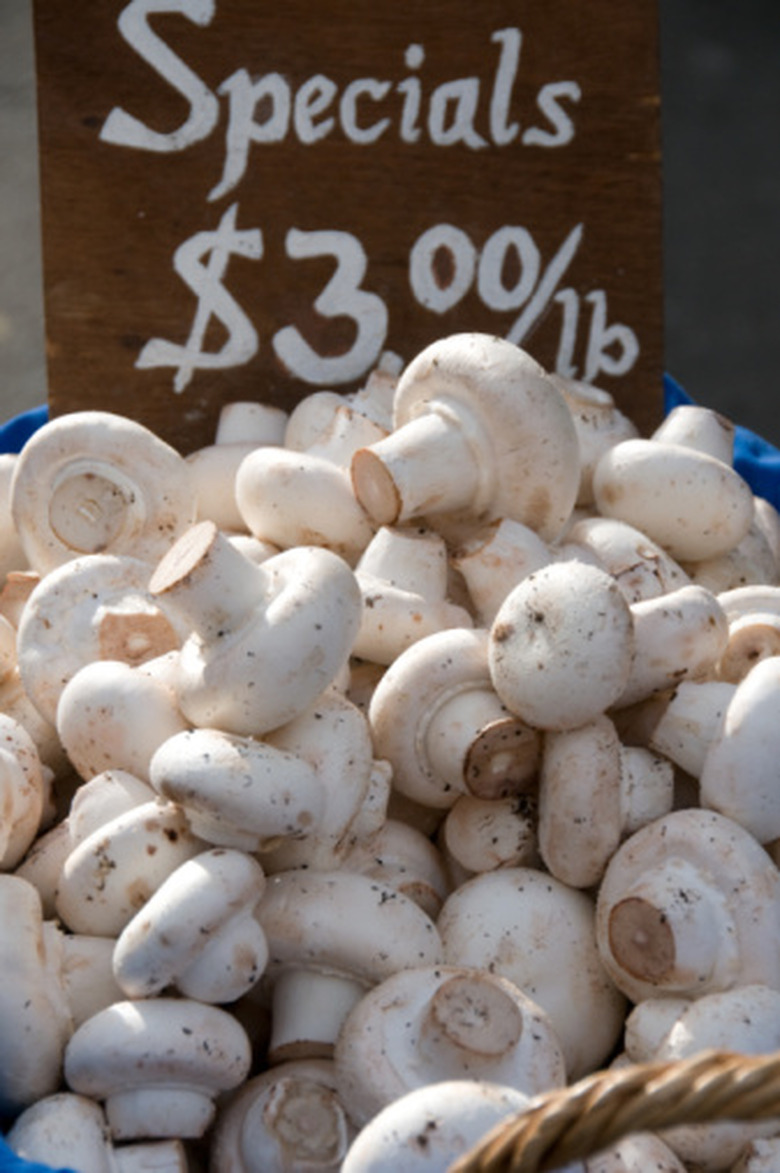
The small white-capped mushrooms most commonly sold in grocery stores are the immature form of mushrooms that, if allowed to grow larger, would be called portabellas.
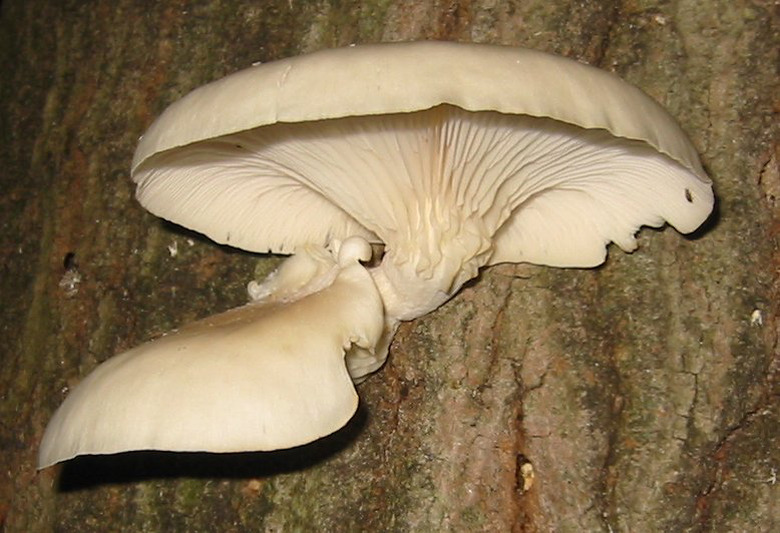
Oyster Mushrooms (Pleurotus ostreatus)
This is a very common edible mushroom first cultivated in Germany but now grown commercially throughout the world.
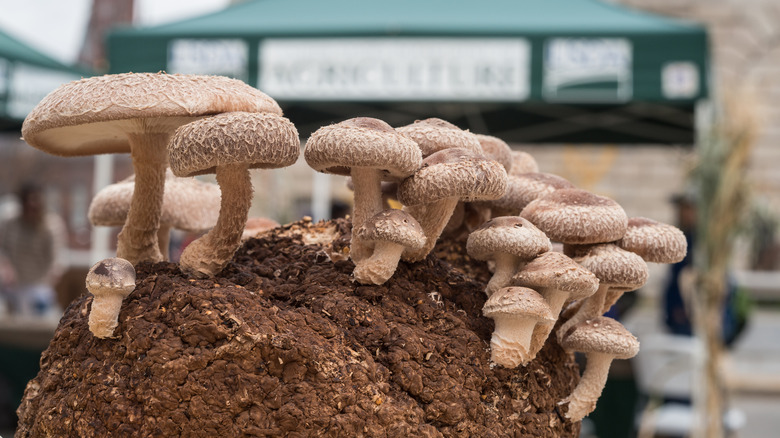
Shitake Mushrooms (Lentinula edodes)
Native to East Asia, shitake mushrooms are consumed all over the world and are considered medicinal in some forms of traditional medicine.
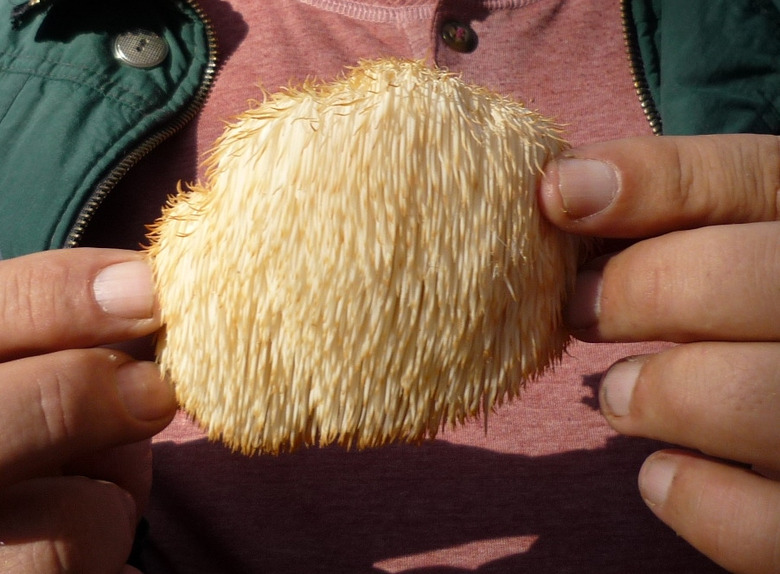
Lion's Mane Mushrooms (Hericium erinaceus)
Native to North America, Europe, and Asia, the Lion's mane has long spines and in the wild tends to appear on hardwood trees (especially beech trees) in late summer and fall.
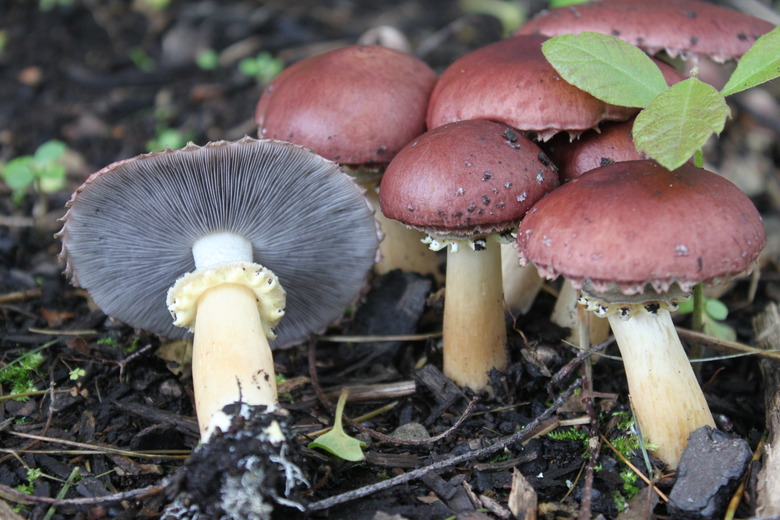
Wine Cap (Stropharia rugosoannulata)
The wine cap is found in Europe and North America but has also been introduced to Australia and New Zealand. It tends to grow on wood chips and bark mulch in summer and autumn and is widely cultivated for food.
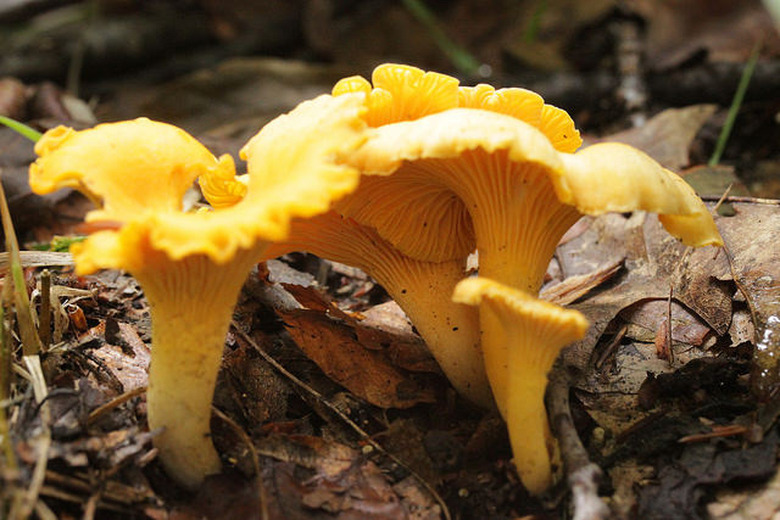
Chanterelle Mushrooms (Cantharellus ciarious)
This very popular wild mushroom is orange, yellow, or white with a funnel shape and a fruity smell and peppery taste. They are common in northern Europe, North America, Central America, and in Asia. They grow in forest floors and in grasses and are very high in Vitamin C, Vitamin D, and calcium.
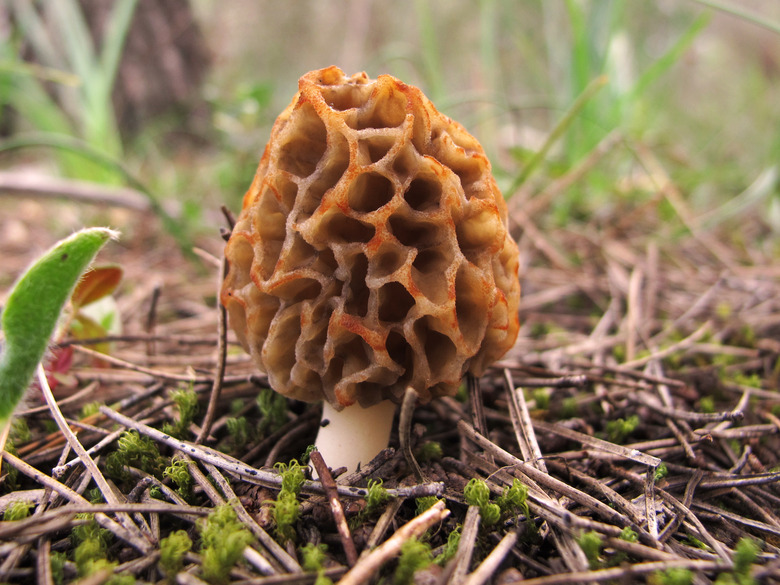
Morel Mushrooms (Ascomycota morchella)
These distinctive mushrooms with the honeycomb appearance are highly prized by gourmet cooks. Because they are difficult to cultivate, wild harvesting is common throughout their natural range in the northern hemisphere. Some enthusiasts, though, have found it possible to cultivate morels in controlled conditions.
Mushroom-Growing Kits
Mushroom-Growing Kits
An easy way to get started cultivating your own mushrooms is to purchase a growing kit from an online retailer or catalog seed company. All the edible mushrooms mentioned above can be purchased in kits, but the most common (and easiest to grow), are button/portabella, shitake, and oyster mushrooms.
Some kits include only the mushroom spores (spawn) and instructions for how to go about your cultivation, while others may include a growing medium and containers. Read carefully before ordering to understand what's included.
How to Grow Mushrooms at Home
How to Grow Mushrooms at Home
The following directions provide general instructions that will work for most mushrooms. You may also want to consult specific information on the particular mushroom you are growing.
Things Needed
-
Compost
-
Wooden or plastic trays, about 2 inches deep and 2 x 3 ft. in size
-
Spray mister
-
Purchases mushroom spores (spawn)
-
Peat moss
Step 1
Pile compost into the wooden tray or trays and mix mushroom flake spawn into the compost. Use approximately 1 or 2 cups of mushroom flakes for each 2 x 3-foot tray. Allow the compost and mushroom flake mixture to sit overnight. The next day, press the mixture into the trays using a piece of wood or some heavy bricks. Leave about 2 inches of space at the top of the tray.
Step 2
Place the trays in a cool, dark area, such as in a shed, under a table, or in a closet. Keep your growing temperature between 65 and 70 degrees Fahrenheit. In about two or three weeks, the top of the compost should be covered with a thin, white webbing of fungal mycelium. Mist the mixture with water several times a day. Do not pour water directly on the compost, because this can damage the developing fungal growth.
Step 3
Apply peat moss to the top of the compost mixture when the mycelial webbing begins to form. Moisten the peat moss until it holds together easily when you squeeze it in your hand. Add around 1.5 inches to the top of the compost and moisten it again so that it is thoroughly dampened but not soggy. Lower the temperature to around 55 degrees F. Cover the moistened peat moss with a layer of damp newspapers. Spray the newspapers twice a day to maintain the moisture level.
Step 4
Remove the newspapers after around 10 days. Small white pinheads should be apparent within several days after removing the newspaper. They will ripen into fresh mushrooms in around a week. Your mushrooms will grow faster if you increase the temperature in the room to around 65 or 70 degrees F, but you may end up with too many at once, so it's usually better to keep the temperature between 50 and 55 degrees so that the mushrooms grow more slowly.
Step 5
Your compost and peat moss mixture will continue to produce mushrooms approximately every two weeks for between three and six months. Dispose of the compost when it stops yielding mushrooms, and start the process over.
Tip
Add the spent compost to your flower beds or vegetable gardens. Avoid insect attacks and diseases by cleaning your trays carefully between use and disposing of any decayed trays.
