How To Prepare Bell Pepper Seeds For Planting
Did you know you can prepare bell pepper seeds for planting the following year? Since the plants are self -pollinating, new plants will grow from the seeds you save from this year's harvest.
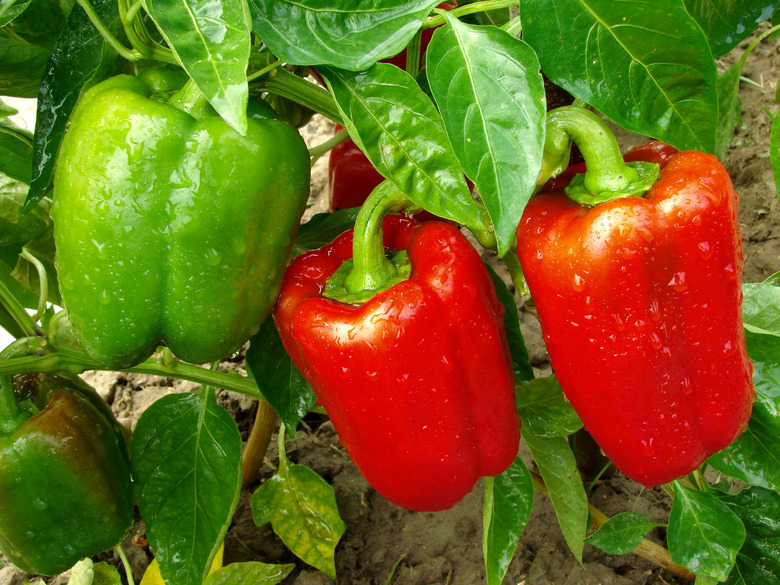
Bell peppers (Capsicum annuum) ripen in shades of yellow, orange, red, green, or purple, and the seeds inside the peppers appear disc-shaped and white. The small seeds require specific light and temperature settings for them to germinate and are often germinated indoors to control the conditions. Bell pepper seeds will germinate in eight to 10 weeks depending on the variety and growing environment. After the seeds germinate, you can harvest the peppers in 65 to 70 days.
Tip
Just know that if you're saving seeds from hybrid peppers, such as the ones you buy at the grocery store or start from commercially packaged hybrid seed packs, they won't produce fruits similar to the one from which you extracted the seeds. Grow heirloom peppers, however, and you can save the seeds from each year's harvests to produce subsequent generations of peppers that are all alike.
1. Select the Ideal Bell Peppers
Select fresh, heirloom bell peppers from your garden for harvesting seeds. If you're growing more than one type of pepper in the same plot, they'll be subject to cross-pollination. This means that the resulting seeds from the cross-pollinated plants will bear the traits of both parent plants, and the plants (and fruits) that grow from these seeds likely will be different from the pepper you harvested from a certain plant. If, however, you grow only one type of heirloom pepper plant, the seeds they produce will produce identical offspring plants.
2. Harvest the Seeds
Cut the tops off of the peppers with a knife. Scoop the insides out of the pepper with a spoon. Remove any debris from the seeds and spread them on a paper towel in a single layer.
3. Dry the Seeds
Place the paper towel with the seeds on a plate. Place the seeds in a warm place out of direct sunlight. Allow the bell pepper seeds to dry for five to six days.
4. Store Pepper Seeds
Store the pepper seeds in a paper envelope. Label the envelope to make it easy to identify in the spring. Store the envelope in a dry location until early spring arrives.
5. Prep Starting Pots
Fill seed-starting pots with seed-starting soiless mix. Warm the soil to 80 degrees Fahrenheit by placing the pots under a heat lamp.
6. Soak Bell Pepper Seeds
Soak the bell pepper seeds in warm water for three hours. Sow two bell pepper seeds in each container. The seeds require a shallow planting, so sow them twice as deep as their diameter.
7. Sow the Seeds
Cover the pots with a clear plastic bag or a plastic dome that comes with seed starting pots, and keep the pots out of direct sunlight. Inspect the soil daily to ensure that it does not dry out completely. Water the soil so that it remains moist. Avoid overwatering the seeds because it can lead to fungal infestations.
8. Keep the Seeds Warm
Ideally, maintain an 80 F soil temperature and provide light from a fluorescent tube or "grow light" for 16 hours a day. Turn off the light for eight hours at night, and ensure the soil temperature remains above 60 F. Continue to repeat the heat and light conditions until the seeds germinate.
9. Thin the Seedlings
Thin the bell pepper seeds to one healthy seedling to each pot once one set of true leaves develops. Transplant the bell pepper seedlings outdoors once the threat of frost passes and the soil temperature remains above 50 F. Space the pepper plants 12 to 18 inches apart.
