How To Grow Yukon Gold Potatoes
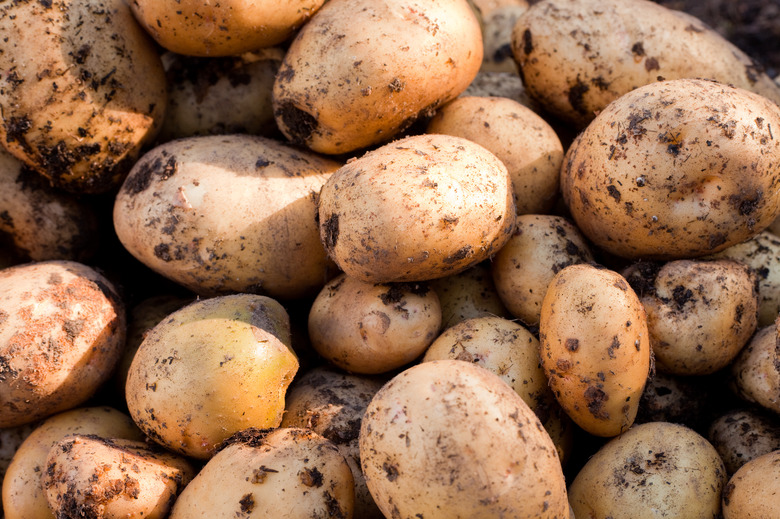
If you're interested in growing potatoes (Solanum tuberosum) in your home vegetable garden, don't overlook a variety called Yukon Gold, which yields yellow-fleshed potatoes in the early to middle part of the season. Yukon Gold potatoes are high in vitamin A, which gives them their colorful flesh, and are good for eating unpeeled because they have extra-thin skins. They grow as annuals in all parts of the United States and are easy-to-grow plants, needing only basic care while growing and a bit of special attention at harvest time.
Starting Yukon Gold Potatoes
Starting Yukon Gold Potatoes
Like most varieties, Yukon Gold potatoes can be started from seed potatoes, which are small tubers grown during the previous season. You can also start plants from pieces of larger potatoes, as long as each piece you plant has at least one bud, or "eye," on its surface.
Before planting, allow cut pieces to dry, or heal, for seven to 10 days at 65 degrees Fahrenheit. Dust cut surfaces with a powdered fungicide labeled for use on potato pieces. Do this in a wind-protected spot and wear gloves and goggles to protect yourself.
Plant seed potatoes or pieces in early spring, but wait until the soil has warmed to 40 degrees Fahrenheit. Yukon Gold potatoes are a bit slow to sprout, and planting in soil that's too cool can promote growth of fungus.
Soil, Sun and Water
Soil, Sun and Water
Yukon Gold potatoes grow best in well-draining soil that's loose and easily dug. If your soil is dense, heavy and compacts easily, amend it with organic matter such as compost to loosen it while also improving fertility.
Space potato pieces 10 to 15 inches apart, setting them in a trench at a depth of 6 inches. Deep planting prevents tubers from jutting out of the soil as they grow. For best results, choose a sunny site where plants get at least six hours of sun each day.
Plants need regular, consistent moisture during the period of greatest growth, early summer to midsummer. They do best when watered well every two or three days, to reach a total of 1 inch of water weekly, including rain. Later in the season, when green tops begin to die back, avoid fungal problems by watering only when soil is dry to the touch.
Fertilizing and Hilling
Fertilizing and Hilling
Because potatoes form underground, you'll need to bury the plants' tops to ensure that tubers remain covered, a process called hilling. When plants are about 8 inches tall, cover the lower half of the plants with soil or straw, and repeat this about three weeks later.
Fertilizing Yukon Gold potatoes helps ensure a good harvest, starting when you plant seed potatoes or potato pieces. Scatter fertilizer into a small trench about 2 or 3 inches to the side of the planting row. Avoid contact of fertilizer with the seed potatoes or pieces because it can burn tender roots. Use about 3 pounds of a granular, 8-16-16 formula for each 100 square feet of planted area. Once plants are about 6 inches tall, repeat fertilization by broadcasting about 2 pounds of the same formula per 100 square feet, applying it in a band about 10 inches away from the plants.
Problems and Harvest
Problems and Harvest
Yukon Gold potatoes can attract Colorado potato beetles, which are yellow and brown striped, hard-shelled insects. Control these pests by hand-picking. Aphids, which are small, soft-bodied greenish-yellow pests, might also be a problem. Rinse plants with a strong water stream early on sunny days to remove and destroy them.
Fungal problems such as blight, which might cause limp, blackened leaves and stems, can be prevented by purchasing seed potatoes certified free of the disease. Planting in an area with good air circulation and removing debris regularly from under the plants also keeps down fungus.
Yukon Gold potatoes are ready to harvest about 50 days after planting, once vines begin dying back and foliage yellows. Use a fork to lift potatoes gently, then shake off loose dirt. Cover tubers with paper or towels and let them dry in a cool, dark place for a few days. Store them in a cool spot at 50 to 60 degrees Fahrenheit.
