How To Propagate A Croton
We may receive a commission on purchases made from links.
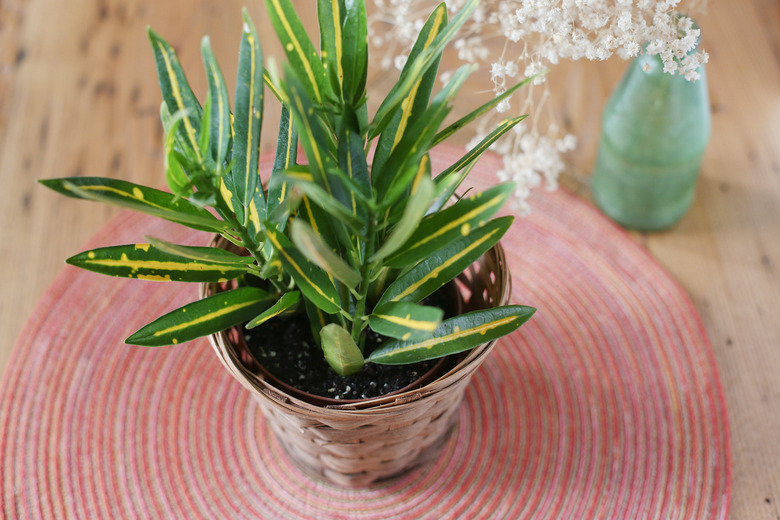
Tropical crotons (Codiaeum variegatum var. pictum) only grow in the warm climates of U.S. Department of Agriculture plant hardiness zones 9b or 11 through 12. But their wildly colorful leaves make them stunning container plants, either as houseplants or as accents in the summer garden. Propagate them by stem cutting, air layering, or, if you're patient, petiole rooting.
Start With Healthy Croton Plants
Start With Healthy Croton Plants
Like other tropical plants, crotons need moist, humus-rich soil that drains easily. They prefer high humidity, so set pots on pebble trays to provide extra moisture in winter. They'll acclimate to lower humidity during their winter resting period when growth slows but may drop lower leaves if the humidity drops. Crotons demand bright light year-round to maintain their bright colors, so place them near a south-facing picture window in winter and in light shade outdoors.
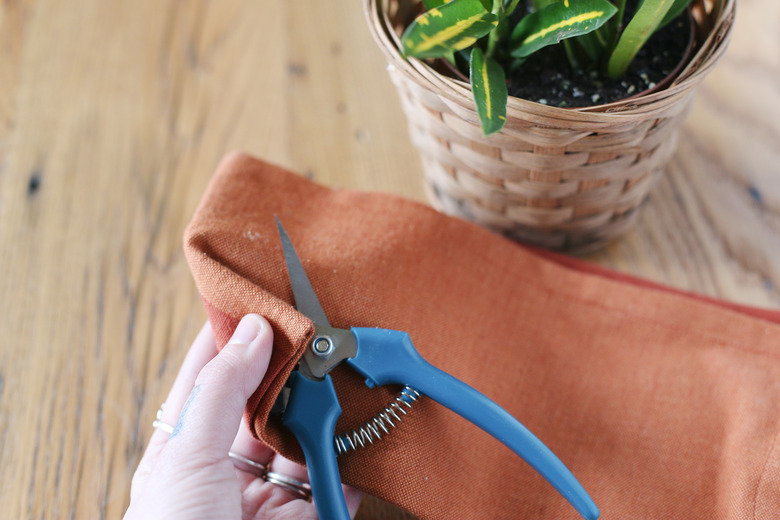
When propagating plants, remember that all parts of the plant contain diterpene esters, which can cause digestive upset and skin irritation. Wear gloves or wash areas marked by milky sap immediately and avoid getting plant parts near your mouth. Keep crotons away from pets and children. Clean and disinfect cutting tools after each use by wiping them with a cloth soaked in rubbing alcohol.
Multiply Crotons by Stem Cutting
Multiply Crotons by Stem Cutting
Crotons grow 3 to 6 feet tall, so pruning them helps control the growth. You can also use pruning as a way to propagate the croton plant. The steps to propagate a croton with stem cuttings are:
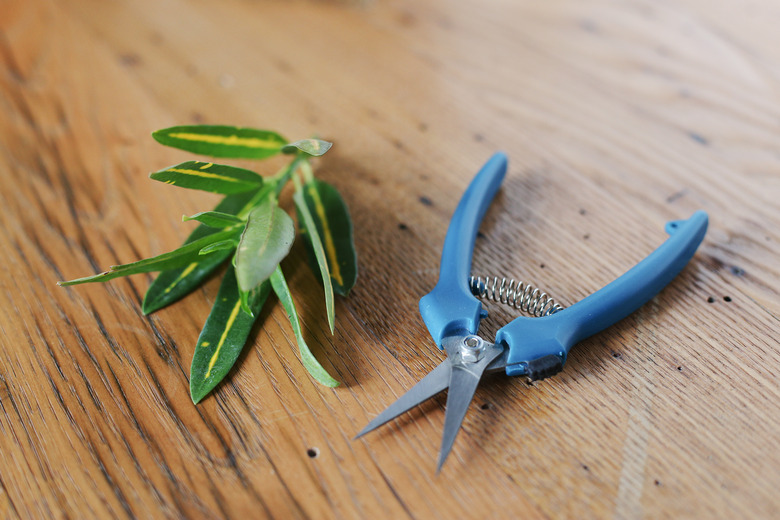
- Take 4- to 6-inch tip cuttings, cutting below a growth nodule.
- Strip all but three to five top leaves.
- Tap the cutting in powdered charcoal or lay it on newspaper to allow the sap to dry.
- Plant your cutting in moist sand or perlite and sphagnum peat moss.
- Tie a large plastic bag around the pot to make a little greenhouse.
- Keep the cutting moist and warm, above 70 degrees Fahrenheit, and the cutting should root within a month.
Renew Crotons Using Air Layering
Renew Crotons Using Air Layering
When croton plants get leggy, renew them by air layering leafless limbs to encourage bushy development and provide new plants. The steps for this process include:
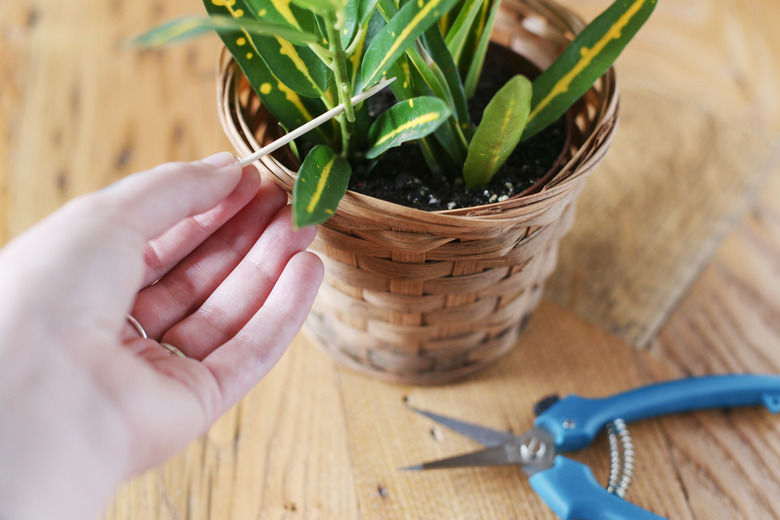
- Cut a limb just below a growth node, either by removing a 1/2- to 1-inch strip around the stem or cutting upward halfway through the stem.
- Hold the cut open by sliding a plain wooden toothpick in sideways.
- Apply some rooting hormone powder with a small artist brush.
- Wrap the wound in a handful of sphagnum moss dampened with either distilled or purified water.
- Wrap the moss with plastic wrap and tie or tape it just tightly enough to hold it closed on either side of the wound.
- When roots begin showing against the plastic, cut the stem below the layering, remove the plastic, and plant your new plant in peaty loam. Cuttings kept warm should root in a month.
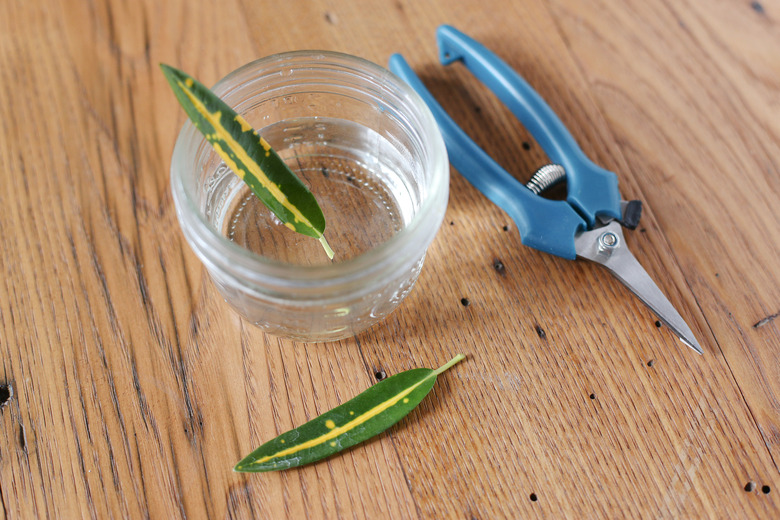
Try Petiole Rooting
Try Petiole Rooting
If your indoor plant drops leaves due to low humidity or age, try rooting the leaf by its stem, or petiole. Trim the petiole to about 1/2 inch and place it in water immediately. When roots develop, typically within four weeks, plant the leaf in perlite and peat or ground coir, which is repurposed coconut hull material. The roots might form new plants at the base of the leaf.
