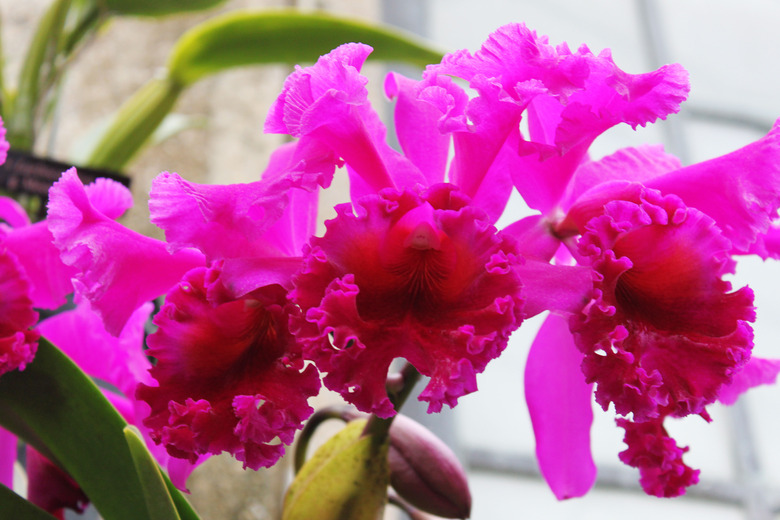
How To Make Your Own Agar For Orchids
We may receive a commission on purchases made from links.
The plant family Orchidaceae, to which orchids belong, is one of the largest among the flowering plants. In fact, according to Kew Royal Botanical Gardens, orchid species number more than 26,000, including Vanilla planifolia (USDA zones 11-12), which is the source of the popular flavor of the same name. Growing orchids from seed or tissue culture may require the use of agar, which you can make.
About Orchid Seeds
About Orchid Seeds
In the wild, orchids grow differently from other flowers. Unlike many other flowering plants, for example, orchids produce seeds by the millions to drift in the wind, scattering across leaves, trees and soil.
Lacking an endosperm in nearly all cases (the nutritive material surrounding a plant embryo that protects it and provides the nutrients needed to germinate), orchid seeds form a symbiotic relationship with mycorrhizal fungi. Taking all of this into account, how does anyone grow orchids from seed without access to these fungi? The answer is a kind of nutrient agar.
What Is Agar?
What Is Agar?
Agar is a kind of gel-like derivative of red marine algae. It is commonly used in laboratory settings to cultivate bacteria, fungi and other organisms.
Since you would use agar to nourish orchid seeds in an attempt to replace the mycorrhizal fungi, you would need to make nutrient agar. Nutrient agar can be made fairly easily from carefully gathered supplies or with household items.
Agar Creation and Best Practices
Agar Creation and Best Practices
You can make this agar with nutrient agar powder and distilled water. You can also buy premixed nutrient agar solution. Place the agar in flasks or vials when you're done.
First, you'll need to prepare a solution of 1 liter of distilled water and 28 grams of nutrient agar powder. Scientists in a laboratory use an autoclave to prepare their agar. An autoclave is a piece of laboratory equipment that most amateur orchid growers probably won't wish to purchase. An autoclave helps lab processes to reach an intended temperature and pressure, but if you're producing agar at home, you can use a pressure cooker instead. Using either, heat the agar for 15 minutes at 250 degrees Fahrenheit.
You can minimize the chances of contamination by following some simple but important guidelines. If you have experience canning jams and preserves, much of this will be familiar. You should sterilize the flasks or other containers in which you'll be storing the agar. In laboratories, this is accomplished with the autoclave, but at home, you can use your pressure cooker set to 15 PSI for 15 to 20 minutes. You can also use an oven set to between 300 and 350 F for 10 to 20 minutes.
Storage of Agar
Storage of Agar
However you prepare and sterilize your containers, allow them to cool down slowly. Opening the pressure cooker or trying to handle the hot glassware in the oven can lead to thermal shock, resulting in broken glass and potential injury.
Safely portion and seal the nutrient agar in the sterile containers. Finally, cool the agar to allow it to set into a gel.
In all, be patient, experiment and talk to your fellow horticulture enthusiasts. If everything else fails, you can always order a prepared solution of nutrient agar from a reputable supplier.
