How To Grow Hydroponic Potatoes
We may receive a commission on purchases made from links.
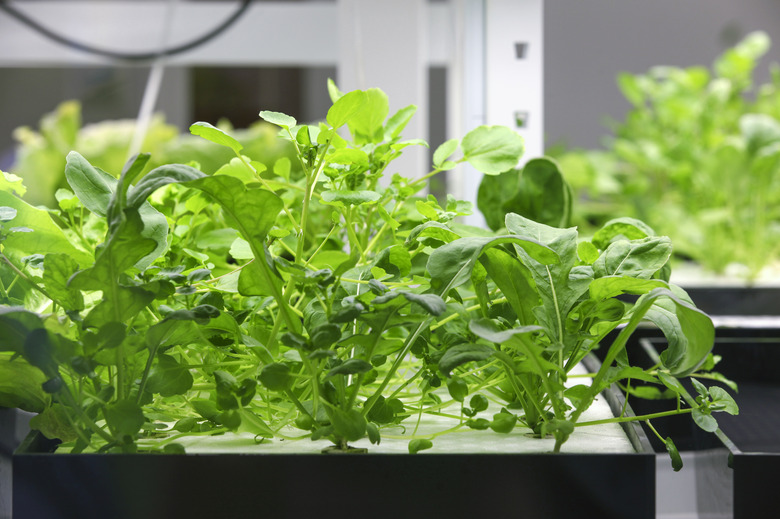
Hydroponic gardening systems don't use soil and instead depend on nutrient-laden water combined with a means of supporting the growing plants. Such systems can be used for virtually any types of plants and are commonly used to grow vegetables such as Irish or white potato plants (Solanum tuberosum), especially where ground space is lacking or the soil is unsuitable.
Because everything hydroponic plants need is made available to them on an ongoing basis, they grow faster than those grown in soil. Expect your crop of hydroponically grown potato tubers to be ready as much as a full month earlier than conventionally grown tubers.
Choosing a Hydroponic System
Choosing a Hydroponic System
The best hydroponic system for potatoes is one that uses a supportive medium for the plants to grow on and does not require that the potatoes be submerged or kept continually wet. A very simple hydroponic system for growing potatoes can be made easily from a plastic container such as a storage bin or large bucket with 1/4-inch-diameter holes drilled in its sides about 2 inches up from its bottom and spaced a few inches apart all the way around the container. The bin must be at least 10 inches deep and filled with perlite.
Getting Ready for Planting
Getting Ready for Planting
Potato plants need access to plenty of water, but they can't be kept overly wet or they will rot before they have a chance to grow. Place the prepared bin or bucket in a sunny spot that gets at least six hours of direct sunlight per day. If you are growing potatoes indoors, suspend grow lights or a fluorescent light fixture a few inches above the vines. Move the lights up as the potato vines grow taller.
Set the container on a surface that won't be damaged by water draining across it. Alternately, place the container on top of bricks inside of a second container without drain holes, which will hold the excess water without damaging the floor. You can add a drain tube to the container or the lower reservoir to take the excess water to a bucket, floor drain or outside. Fill the upper container with water until the perlite or other medium is soaked and water begins to run out of the drain holes.
Planting and Growing
Planting and Growing
Use seed potatoes, or tuber pieces, from your previous crop or a plant nursery because grocery-store potatoes are typically treated to prevent sprouting. Choices include early-maturing varieties such as Red Pontiac and Gold Rush. Red Pontiac tubers have red skin while Gold Rush tubers have medium-brown skin. Both kinds are white inside.
Cut large seed potatoes into pieces that each have one or two eyes — the small, indented bud areas on the outside of the tubers — or use small, whole seed potatoes. Start your hydroponic potatoes at the end of March or early in April. Alternatively, if you live in a warm climate with mild winters, you can plant a fall crop of potatoes.
Place the seed potato pieces about 4 to 6 inches apart with each one's cut side facing downward, and bury the pieces under 1 inch of perlite. As tubers begin to develop, keep them covered with perlite to prevent sun damage.
Providing Care and Harvesting
Providing Care and Harvesting
Use ordinary tap water to water the seed potatoes every three to five days, preventing the perlite from drying out. After the potatoes sprout, continue watering as before but alternate between plain water and a homemade fertilizer solution, such as a combination of 1 teaspoon of 20-20-20 water-soluble fertilizer that includes micronutrients with 1 gallon of water. When the plants' vines are roughly 18 inches in height, switch to a fertilizer that has more potassium than other elements, such as a 10-10-20 blend, which will boost the development of the tubers. Harvest mature tubers about three weeks after the vines die, and/or harvest small, tender tubers as soon as 70 days after planting.
