How To Root A Cutting From A Japanese Maple
We may receive a commission on purchases made from links.
Japanese maples are delightful trees, with their deeply lobed leaves and exceptional fall color. It makes sense that anyone who has one tree might want more. That's where rooting a Japanese maple cutting comes into play.
If you know how to proceed, you can clip off a branch tip from your favorite Japanese maple and make it into a brand-new tree. It's the easiest method of Japanese maple propagation.
Meet the Japanese Maple
Meet the Japanese Maple
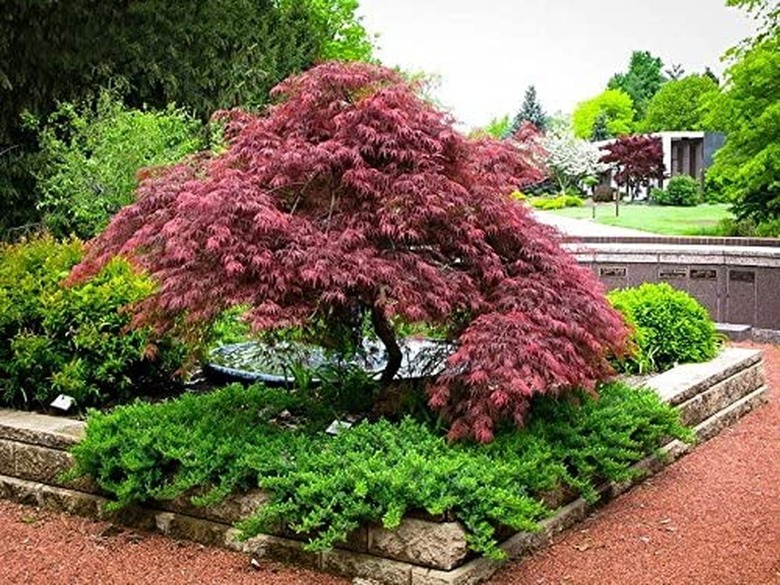
Japanese maples (Acer palmatum) are among the most desirable of garden trees, and they grow in many different forms. Some present as shrubs no taller than the gardener, while others top out at 20 feet or more. Some stand upright, while others are weeping. Leaves may appear in green or less frequently red in springtime, turning yellow, purple, orange, and crimson in fall.
Their dainty beauty has given them a prima donna reputation for being hard to grow. However, if you site them correctly in the garden and offer them basic care, they will thrive.
Propagate Japanese Maple
Propagate Japanese Maple
The three basic ways of propagating trees are by germinating seeds, by grafting, and by rooting cuttings. Japanese maples can be propagated using any of these methods. The seeds must be stratified for up to four months before planting, however, and will not necessarily produce seedlings that look like the parent.
Grafting requires special know-how. It involves attaching the branch of one tree to the rootstock of another and allowing them to grow together. Rooting a Japanese maple, on the other hand, is a sure and easy way to clone a Japanese maple tree that is identical to the parent.
Root a Japanese Maple Cutting
Root a Japanese Maple Cutting
The easiest type of cutting to root is a softwood cutting, taken from pencil-size new wood in late spring. Recognize new wood by its flexibility and light brown color. Take more than one to give yourself a better chance of success. Each cutting should be around 6 inches long and be snipped from a healthy branch at a 45-degree angle. Remove any leaves and buds from the bottom third of each cutting.
Act quickly to plant the cuttings so that they don't dry out. Dip the cut end of a cutting in rooting hormone and then plunge it into a rooting tray filled with potting mix made of equal parts of peat moss, coarser sand, and perlite. Press down the soil around it gently.
Once all cuttings are in the tray, use a mister to moisten them and the soil and then place a plastic bag around the tray and place it in a warm room in bright, indirect sunlight. Open the bag and mist each cutting daily. When the cuttings have roots that are 1 inch or longer, transplant each one into a separate container. Place them in a protected environment in indirect light for at least a year before transplanting outdoors.
