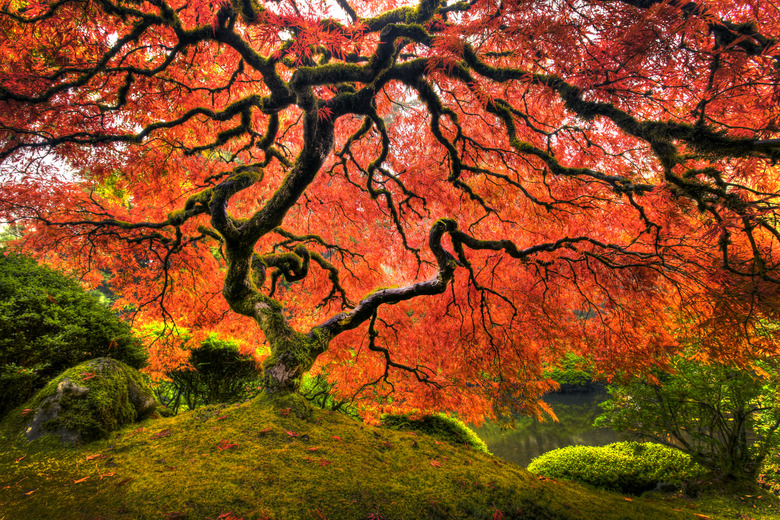
How To Care For A Dying Japanese Maple Tree
We may receive a commission on purchases made from links.
The Japanese maple (Acer palmatum) is a sturdy little ornamental tree, popular for its graceful shape, deep fall color and delicate, lace-like leaves. Japanese maples are hardy in in U.S. Department of Agriculture plant hardiness zones 5 through 8 and may be damaged or die if planted outside of their hardiness zones. Occasionally, Japanese maples are troubled by aphids, scale or powdery mildew, but these are easily treated and seldom kill the tree. Serious problems like wood rot, leaf scorch and leaf scorch are often fatal unless immediately addressed; take time to diagnose the problem before pursuing a course of action.
Things Needed
How to Care for a Dying Japanese Maple Tree
1. Put on Safety Gear
Put on gloves and safety goggles. Also, clean pruning equipment before and after use to prevent fungus, bacteria and insect eggs from being transmitted from a sick tree to a healthy one. Simply wipe the blades with a soft cloth dipped in rubbing alcohol or dip into Lysol or Pine-Sol and allow to air dry.
2. Check for Soggy Soil
Check the soil drainage around the Japanese maple. Dig a 6-inch-deep hole 2 feet from the trunk. Pour a few cups of water into the hole. If water is still standing in the hole 15 minutes later, the tree may be dying from root rot.
3. Monitor Soil Moisture
Water the tree if the soil is dry to a depth of 2 to 4 inches. Japanese maples prefer a consistently moist soil, though they tolerate some drought when mature. Avoid using softened water; Japanese maples do not tolerate salty soils.
4. Dig Up a Small Tree
Carefully dig up a small tree with a shovel or removed a potted tree from its container to examine the roots. If they are black and mushy, prune them back to healthy tissue. Amend the soil in 4-by-4-foot area with equal parts peat, sand and organic compost. Replant the tree in the amended soil, or if a small tree, in a large container with fresh all-purpose potting mix.
5. Remove Surrounding Lawn
Remove lawn grasses and other plants around the tree, out to the drip line of the canopy. Don't dig too deeply; the tiny feeder roots are mainly in the top 18 inches of soil. Cover the bare soil with a loose bark mulch, pulling it back 6 to 12 inches from the tree's trunk. Lawns and ground covers hide pests and you risk damaging the tree's bark when mowing and using a trimmer too close to the trunk.
6. Evaluate the Leaves
Look at the Japanese maple's leaves. If they are curled, yellowing and dropping, your problem may be leaf scorch. Japanese maples require some shelter from wind and sun in winter; transplant the tree to a sheltered area with dappled shade, near a building or other trees. Keep the tree well watered as winter approaches, because a dehydrated tree is much more susceptible to leaf scorch.
7. Prune Dead and Dying Branches
Prune out dead and wilted branches as you see them, leaving 1/2-inch downward-slanting stubs that will drain moisture. Flush or horizontal cuts will only provide a collecting place for moisture, which will cause more problems. An angled stub lets moisture drip off, allowing the wound to heal faster.
8. Fertilize in Spring
Fertilize the dying tree in early spring with a slow-release 10-10-10 fertilizer, following instructions on the package for the size and age of the tree. An extra boost of nutrients at the start of the growing season will give it the best chance for survival. However, do not fertilize sick Japanese maples late in the growing season. It will cause a flush of late growth that will die off in winter, leaving the tree even more weakened.
9. Propagate a New Tree
Collect seeds from the tree or take cuttings from a healthy branch to start a new tree. Choose a different site, a raised bed or a large container when planting a new Japanese maple tree. If the causes of the original tree's death were environmental or soil pathogens, a new location will allows you to provide the best conditions possible for the new tree.
