How To Grow Cedar Trees From Seed
We may receive a commission on purchases made from links.
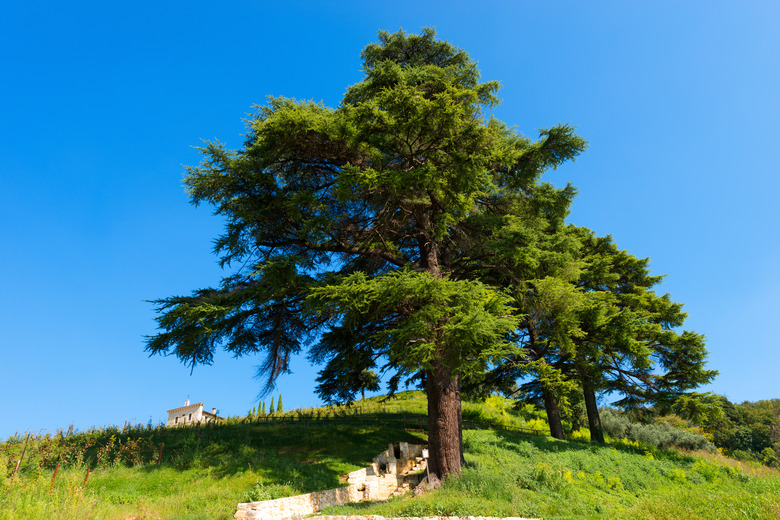
The cedar tree (Cedrus spp.) is a type of conifer native to the mountains of the western Himalayas and the Mediterranean regions as well as U.S. Department of Agriculture plant hardiness zones 5 through 9. If you want to grow cedar trees from seed, you can do so with a good deal of patience and the right types of soil.
Cedar Tree Basics
Cedar Tree Basics
The word "cedar" is used to refer to a number of upright evergreens with differing appearances and commercial uses, although not all of these are "true" cedars in the genus Cedrus. All cedar trees have long needle-shaped leaves and spicy-resinous scented wood.
Cedar wood is naturally decay- and insect-resistant, and the trees can live to be up to 1,000 years old and grow up to 200 feet tall. Different species thrive in different environments, but all require more water than other similarly sized woody plants, which is important to note when growing them from seed. They are very versatile and widespread.
Growing Cedar Trees From Seed
Growing
Cedar Trees From Seed
Before getting started, understand that the propagation of cedar trees is a long process, requiring at least 3 years before you can actually put the plant in the ground. Seeds can be acquired from local nurseries, ordered online or harvested directly from the trees, though the cones must be at least 3 years old before their seeds can be considered viable.
Cedar seeds should be started in the spring, just after the last frost. They need to undergo two processes to properly germinate. These are scarification and stratification. Scarification is the opening of the outside coating by either digestion by wildlife or soaking and scratching. Some success can be achieved by soaking the seeds in warm water for up to nine hours, then scratching the narrow end of each seed with sandpaper.
Stratification of Seeds
Stratification of Seeds
Stratification is the process of allowing the seeds to rest about ½ inch down in a mixture of sand (70 percent), pine wood chips (10 percent) and peat moss (20 percent) for roughly 12 weeks in cool temperatures (between 38 and 60 degrees Fahrenheit with no more than 4 degrees variation warmer or cooler). Keep the sandy mixture moist but not submerged in water.
Once the stratification is complete, prepare a mixture of 70 percent fine sand and 30 percent pine chips or dust in a planter box, allowing 8 inches between seeds, placing them 1/2 inch below the surface.
Finally, layer roughly one-quarter to one-half inch of soil on top. Keep this box in a shady area or out of direct sunlight during the summer months, maintaining a moist but not sodden environment.
Sprouts and Saplings
Sprouts and Saplings
Once you have sprouts, as early as mid-fall, water the solution to a thick, gummy texture and transplant each sprout to its own pot, containing a similar mixture of sand, sawdust and a layer of soil. Move each pot to a sunny area and water regularly. Remember that the cedar will take in more water than similarly sized plants.
The cedar saplings can continue to grow in these pots for up to two years before being transplanted to their final destinations. In warmer climates, the saplings will appreciate some shade for the first five years, while in colder climates they will do well in direct sun. Maintain a constant level of moisture for the first year, being particularly attentive during droughts.
Continued Care of Cedar
Continued
Care of Cedar
Once your cedar sapling has established its roots and gained some height, it will not require much maintenance. Mulch around the base of the tree will help maintain an appropriate level of moisture. If two branches begin competing or rubbing against each other, it is advised to prune the weaker branch.
As the tree grows, it will gain considerable height. Keep this in mind when choosing a final location for planting. Although you should not expect branches to fall off easily or regularly from a healthy cedar tree, they will damage houses, cars and people if the cedar is planted too close to structures, sidewalks or driveways.
