How To Repot A Norfolk Island Pine
We may receive a commission on purchases made from links.
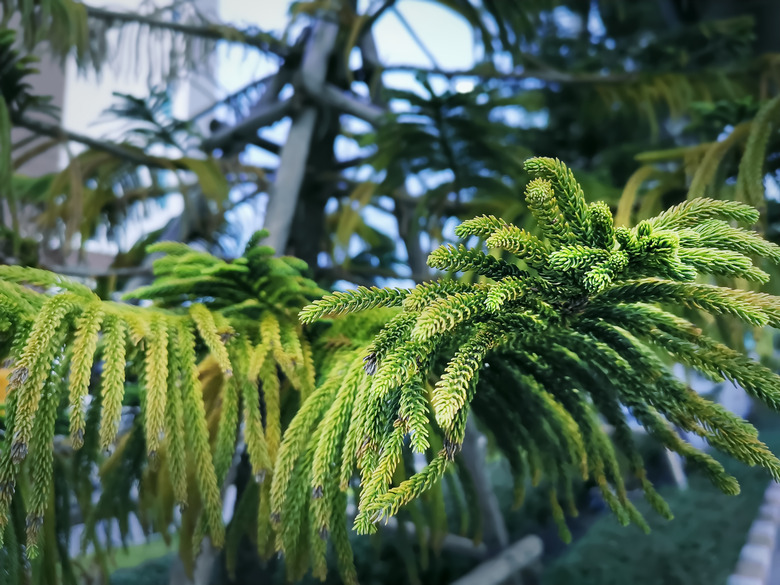
Native to Norfolk Island in the South Pacific, the Norfolk Island pine tree (Araucaria heterophylla, USDA plant hardiness zones 9 through 11) isn't a true pine (Pinus spp.) but a slow-growing pine-like conifer that performs well in containers. Although the tropical tree makes a handsome landscape addition in frost-free areas, it's also a popular houseplant. All potted plants eventually need repotting, but you'll be giving your Norfolk Island pine a new container home only every couple of years.
Norfolk Island Pine Repotting Tips
Norfolk Island Pine Repotting Tips
When it comes to repotting your Norfolk Island pine tree, it's best to do it while it's actively growing during spring and summer. You typically will have to worry about repotting the evergreen only every few years, since it can take 10 years for an indoor potted tree to reach 5 to 8 feet. Outdoor landscape trees can grow up to 200 feet.
You'll see signs that it's time to repot. If the tree outgrows its container, it can become top-heavy and fall over. Additionally, if water instantly runs out of the drain holes when you give the tree a drink, or you notice roots growing out those same holes, it's time to give your Norfolk Island pine a new container home.
Keep in mind that any style of container — out of any material — works well provided there are bottom drain holes to prevent root-rot problems. When moving up to a larger container, use one that is about one size larger than the current pot. Using pots much larger than the pine's root ball requires use of excess soil, which causes excessive soil sogginess. Additionally, select pots that are heavy enough not to tip over if the tree becomes top-heavy. Consider placing heavy pots on plant caddies with casters that make moving the tree easier.
Repotting a Norfolk Island Pine
Repotting a Norfolk Island Pine
When it's time to repot your Norfolk Island pine, gather together some newspaper, a container, pruning shears and well-draining potting mix.
1. Prepare to Repot
Minimize the mess by repotting the Norfolk Island pine in the yard and using a hose to rinse any stray soil into the grass. Additionally, you can spread out newspaper and work on it, rolling up the mess and discarding it when you're finished with repotting.
2. Water the Norfolk Island Pine
Moisten the plant's root system before repotting by saturating the container's soil with water until it runs out of the pot's bottom drain holes. Allow an hour or two before doing the actual repotting.
3. Prepare a Clean Container
Use a container that is one size bigger than the current one, and fill it about a quarter full of a fertile potting mix that drains well. If you're reusing a container, wash it with soapy water first.
4. Inspect the Root System
Remove the Norfolk Island pine from its container, inspecting the roots for signs of circling, especially if the tree outgrew its container or the roots were growing from the pot's bottom drainage hole. Gently pull the roots apart with your hands. If the circling is severe, snip through the roots with clean pruning shears. Encircled roots can impede healthy growth and lead to stunting.
5. Plant the Norfolk Island Pine
Place the Norfolk Island pine in the pot's center and fill around the roots with potting mix, firming it up around the pine's base. Make sure not to plant the tree deeper than it was originally growing.
6. Water and Provide Preferred Light
Water the tree after planting and continue watering when the top inch or two of soil becomes dry. Indoors, mist regularly to increase humidity, and place the tree where it will get bright light. Outdoors, the tree will tolerate a sunny to partially shady location.
