A Homeowner's Guide To Tile Mortars And Adhesives
Choosing the best, most robust mortar or adhesive for your tiling project will depend, in part, on the kind of tile you are using, and more importantly on where you plan to use it. Wall tile is generally thinner than floor tile and doesn't require floor tile's compressive strength. That also means that wall tile doesn't need the solid support that floor tile demands. On the other hand, the forces of gravity come into play when setting wall tile that are not a factor with tile laid horizontally. These considerations and more bear on your choice of adhesive or mortar. Understanding their respective properties, their strengths and limitations, will help make that choice easier.
Thinset or Mastic?
Thinset or Mastic?
For most tile applications, your choice will be between the two most commonly used bonding agents: thinset mortar or mastic.
Thinset Mortar
Thinset mortar is a mixture of cement, fine sand, water, and additives to improve the mortar's plasticity, since mortar alone is prone to cracking. Traditionally, that additive was a latex-based substance and it's often referred to that way even now, but modern thinset mortar will have additives of acrylic or other polymers.
Thinset is available in both premixed and powdered form. Dry mortar requires you to mix in the water and the latex/acrylic additive yourself. Getting the proportions and the consistency right is critical and having the proper mixing equipment will facilitate that. Usual practice calls for mixing the mortar, allowing it to rest, or slake, for a half hour or so, and then mixing it again. You need to do this for each batch of thinset you prepare. Premixed thinset mortar comes in big tubs with the latex/acrylic already added, and the consistency is correct for application. Unless you are tiling very large areas or multiple rooms, premixed thinset mortar is probably a better choice for do-it-yourselfers than dry mortar mix.
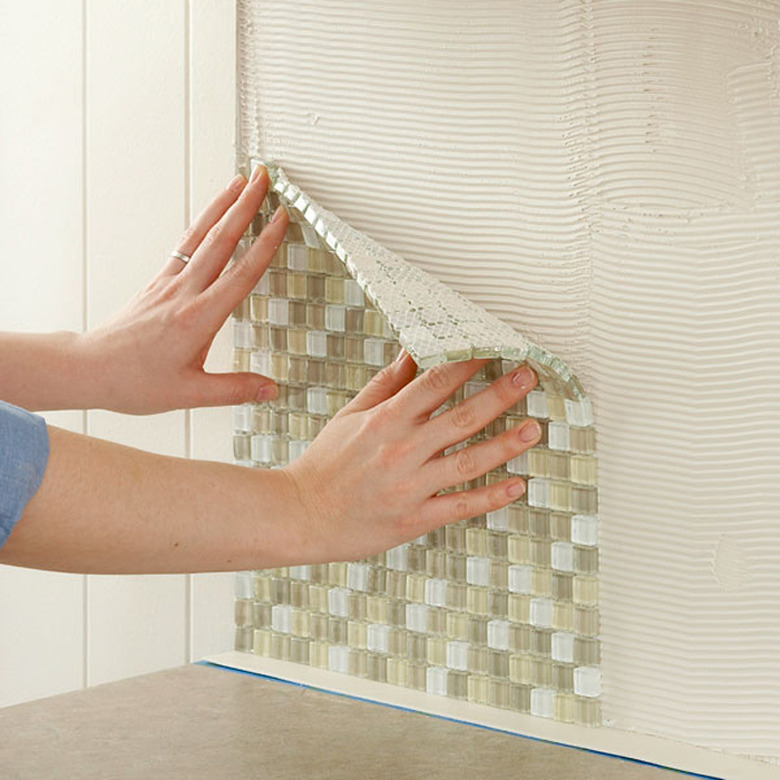
If you are tiling an area that will be chronically wet or submerged, such as a shower stall, or a sink or bath surround, thinset mortar is the correct choice. Thinset mortar is not impervious to water but it won't dissolve in water, and because it is inorganic, thinset won't encourage mold growth. Thinset mortar dries slowly. This can be an advantage as you maneuver tiles into place, but present a challenge when tiling a vertical surface. As you wait for the thinset to dry, your carefully placed wall tiles can begin to slide and sag. It helps if you take your time and place no more than four or five rows of tile before pausing to let them set up. If your wall tile doesn't have spacer lugs, use spacers to keep the tiles in position.
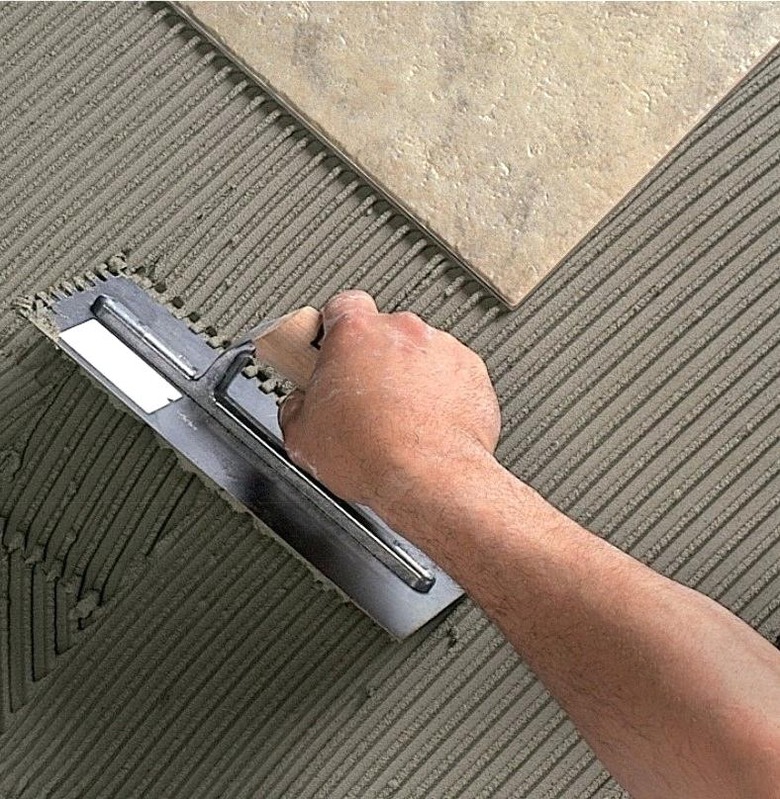
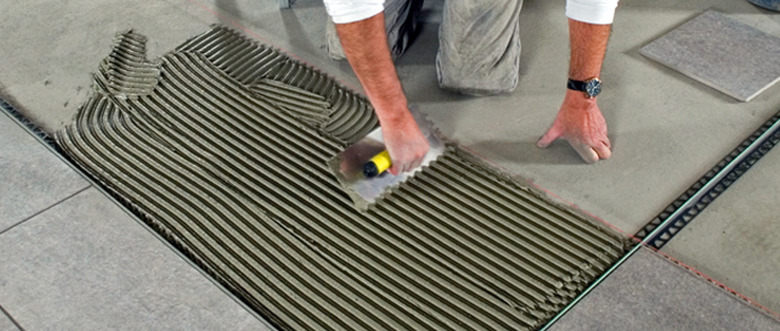
On horizontal surfaces, thinset mortar can allow slight correction of underlying uneven surfaces and help you minimize _lippage—_where the edge of a floor tile protrudes above the others. If the thinset is combed with a 3/8 inch notched trowel, when a tile is pressed into it and the grooves flattened, the resultant thickness of the mortar is 3/16 of an inch—the recommended thickness for thinset. That doesn't give much leeway for leveling. Thinset mortar is not usually recommended for large, heavy or uneven tiles.
Tile Mastic
Tile Mastic
Tile mastic is a sticky organic adhesive traditionally derived from the natural resin of a Mediterranean shrub, but modern mastics are likely to have inorganic ingredients added to enhance certain properties. Mastic is often preferred by do-it-yourselfers, especially for tiling a wall, because it's stickier than thinset and grabs the tile more securely. It's not suitable, however, for use in areas subject to moisture, as water will degrade the organic adhesive. Tile mastic comes in wet form only, generally in tubs, and it may be water based or solvent based. Solvent-based mastics require that you wear a respirator during application. Because mastics may vary in consistency and formula between brands, it's best to follow the manufacturer's recommendation as to which notched trowel to use.
Epoxy Mortars
Epoxy Mortars
Epoxy mortars are resin-based compounds comprised, like many epoxy products, of separate resin and hardener, plus a filler powder. The components are not combined until the time of use. Epoxy mortars are very strong and sticky and they're impervious to water, so they make an exceptional bonding agent for tile. On the other hand, epoxy mortar is expensive and produces a strong odor when setting up. It's difficult to mix properly, and, when mixed, it sets up quickly. Because it requires fast, skilled application, epoxy mortars tend to be the domain of practiced professionals.
Mortar Beds
Mortar Beds
Mortar bed installation is the oldest and probably the most durable and longest-lasting method of tiling a floor. It's also the most labor intensive, and the method raises the resulting floor surface an inch or more above the level of surrounding floors unless extraordinary measures are taken. For those reasons, mortar beds have been largely supplanted by the use of cement backer board and thinset mortar. Mortar beds are still practical and advantageous as shower floors, where the built-up surface is not usually a problem and the floor needs to be sloped toward a drain.
Laying a mortar bed involves building up a slab of concrete mortar with wire mesh embedded in the middle. The bed may be bonded or floating. A bonded mortar bed is attached to the substrate below, usually by mechanically anchoring the wire mesh. A floating mortar bed is not physically attached to the substrate and rests upon a cleavage membrane or slip sheet. A cleavage membrane is a special film that separates the mortar bed from the substrate and prevents any shifting or cracking of the substrate from affecting the integrity of the mortar bed or the tile.
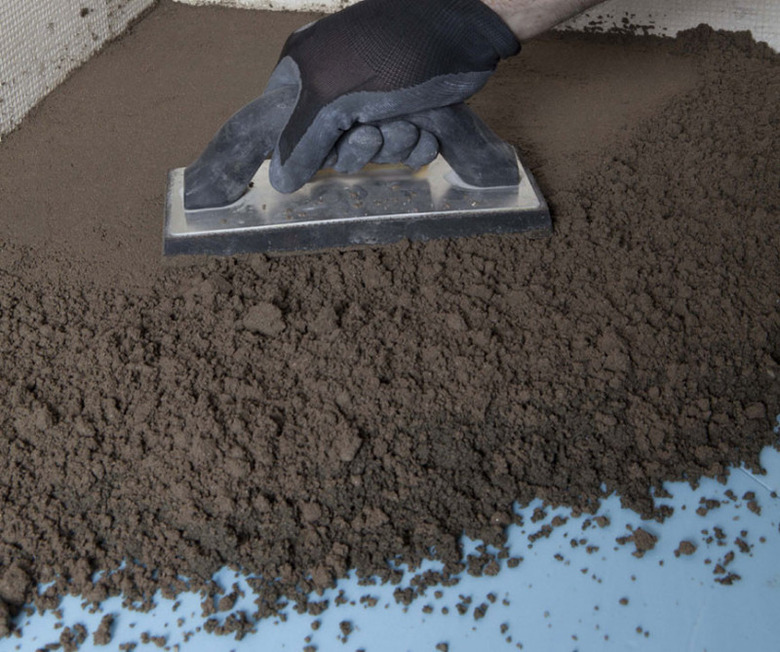
Concrete mortar is mixed to a just-damp consistency, like beach sand. It should compress to a clump in your fist and stay that way unless disturbed. The mortar bed builder shovels a line along one end of the work area and then builds that mortar into a level curb of the proper height. Next, a second curb is built, close enough that the builder's level can span them and the second curb is leveled to match the first. The area between the curbs is filled with mortar and the whole surface is packed with a wooden trowel, then leveled, using the level as a screed. This procedure is repeated until the entire area is covered. Finally, the entire surface is smoothed with a metal trowel and allowed to dry before the tile is installed.
Talk to an Expert
Talk to an Expert
There are, of course, many variables that must be taken into account when pairing the optimal mortar or adhesive to a particular tile. We can describe the general properties of a particular mortar but its ultimate suitability will also hinge on the size and kind of tile to be laid and where you plan to install it. When contemplating a tile project, it's always wise to seek advice from a knowledgeable source on the best mortar or adhesive for your specific application.


