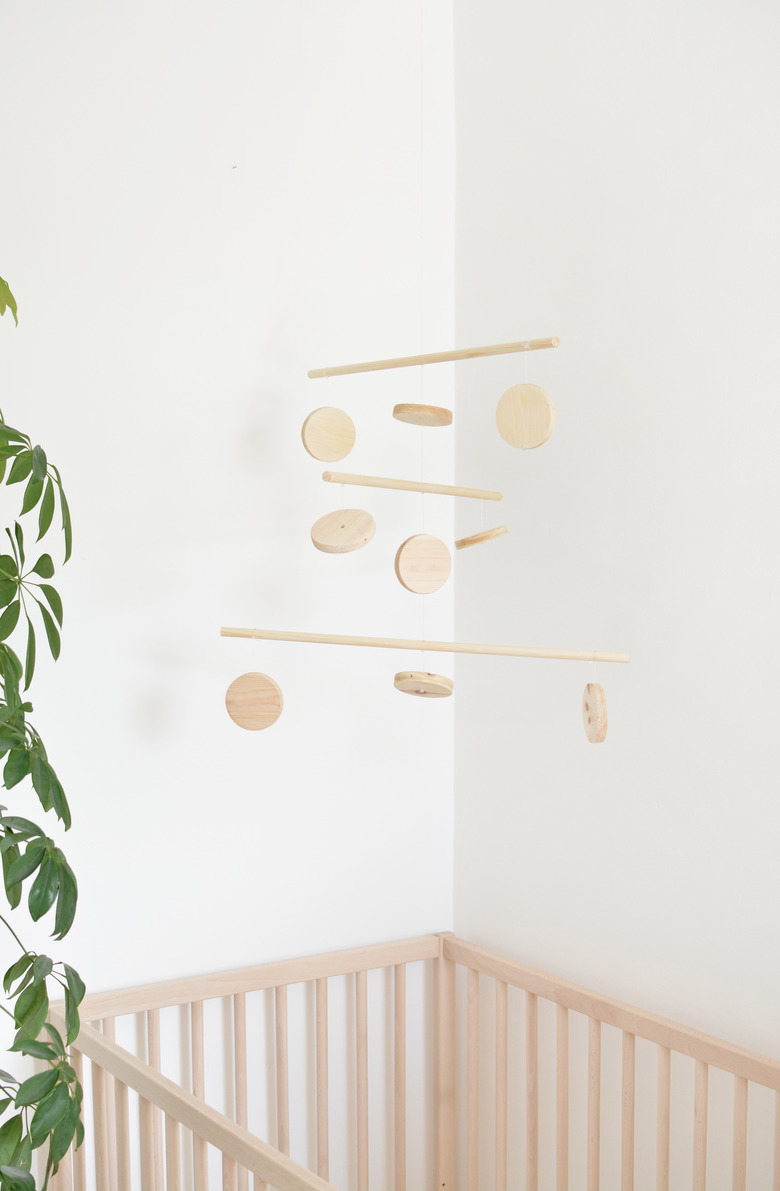
Update Your Baby's Nursery With This DIY Wooden Mobile
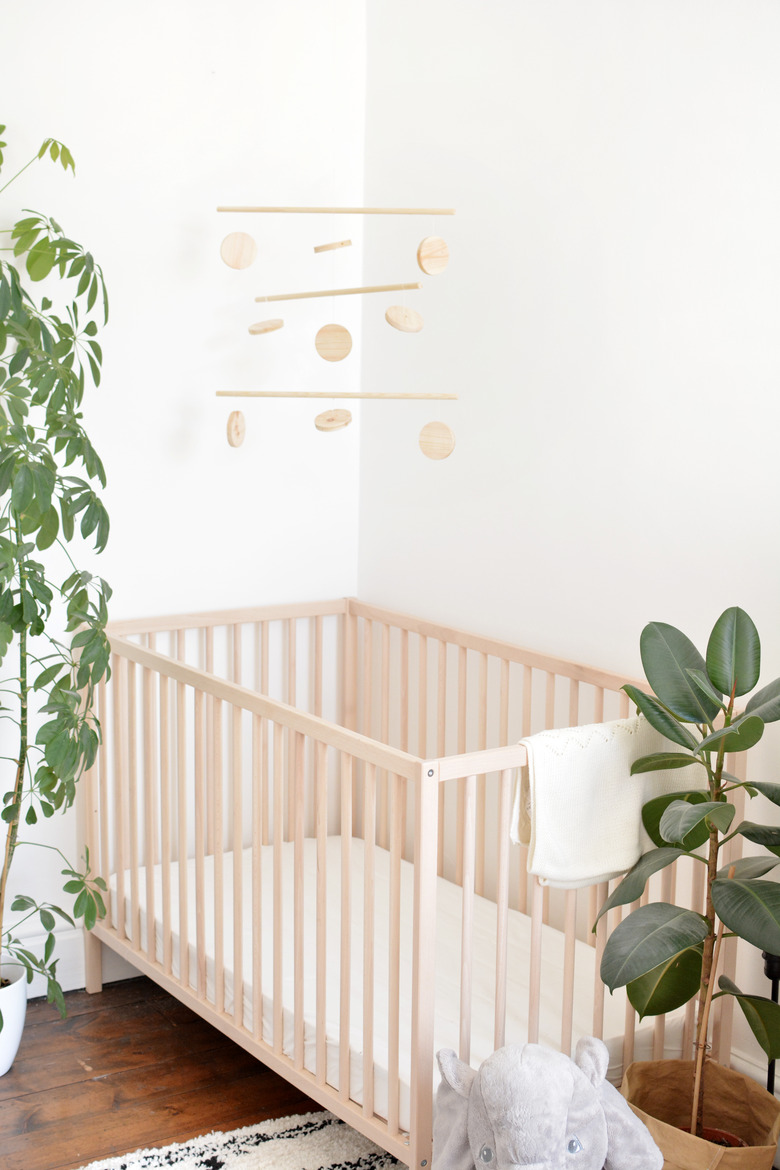
For lovers of minimalism, the invasion of bright plastic baby toys can seem like an overwhelming adjustment when starting a family. But not everything has to be replete with bells and whistles. Since we believe that no nursery is complete without the addition of a baby mobile, we've created this simple wooden DIY design to complement your minimalist aesthetic. It'll only bring calm (not chaos) into your home, and into your baby's world.
Things Needed
-
Pine skirting board, measuring 100 millimeters by 1,200 millimeters by 10 millimeters
-
Wooden dowel, measuring 500 millimeters by 10 millimeters ( 3 )
-
Power drill
-
Wood drill, 3 millimeters
-
Hole saw, 75 millimeters
-
Transparent elastic
-
Hand vice
-
Scrap wood
Step 1
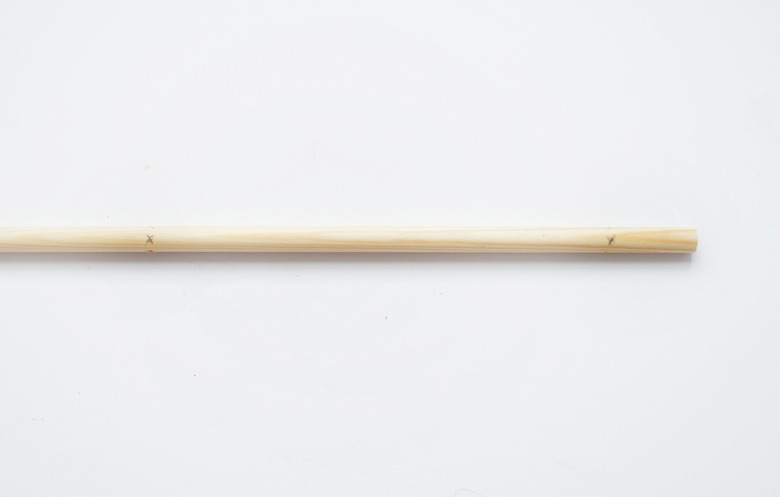
Mark out three drill holes along each of the wooden dowel pieces, measuring 500 millimeters. Mark one hole directly in the center and one hole 40 millimeters from each end.
Step 2
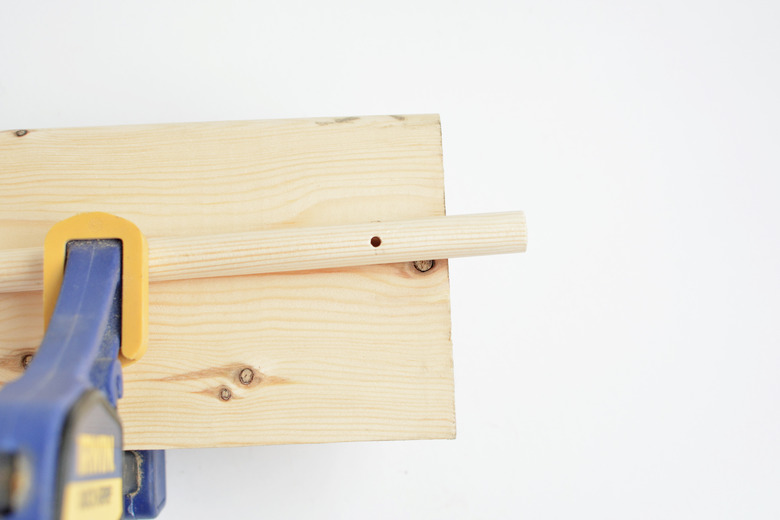
Use a hand vice to hold the dowel firmly against a piece of scrap wood so the dowel doesn't split while drilling.
Step 3
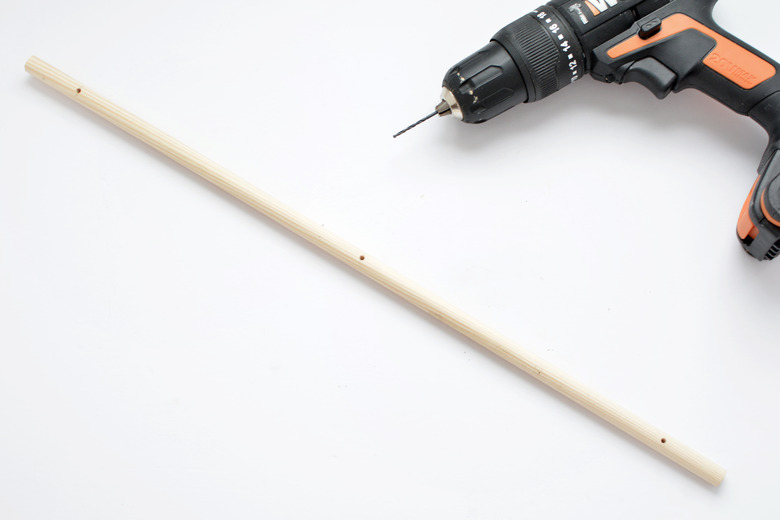
Drill the three holes marked on each piece of dowel.
Step 4
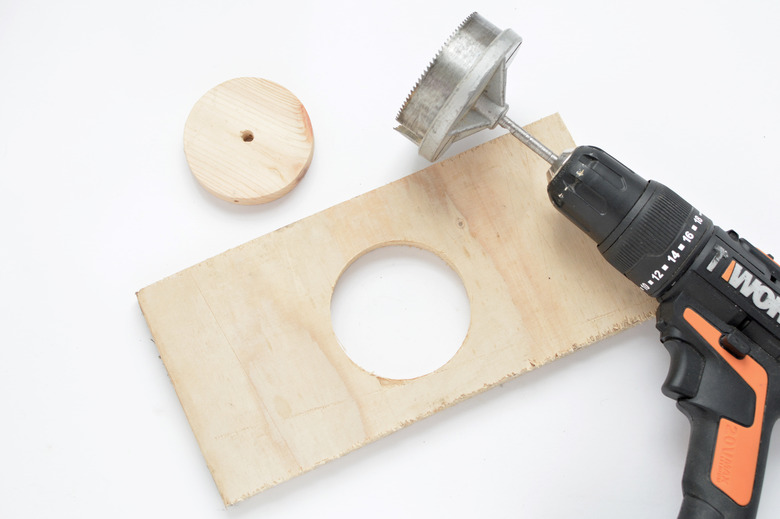
To create the discs for the mobile, switch the wood drill bit for the hole saw on the power drill. Take a piece of scrap wood and drill out a circle shape. (The hole saw has a drill bit in the center to stop the saw from moving which leaves a big hole in the middle of the wooden circle. We don't want a hole this wide in the discs so discard this first one.) Keep the scrap wood: the circle outline that remains in the wood will be used as a template for the final discs.
Step 5
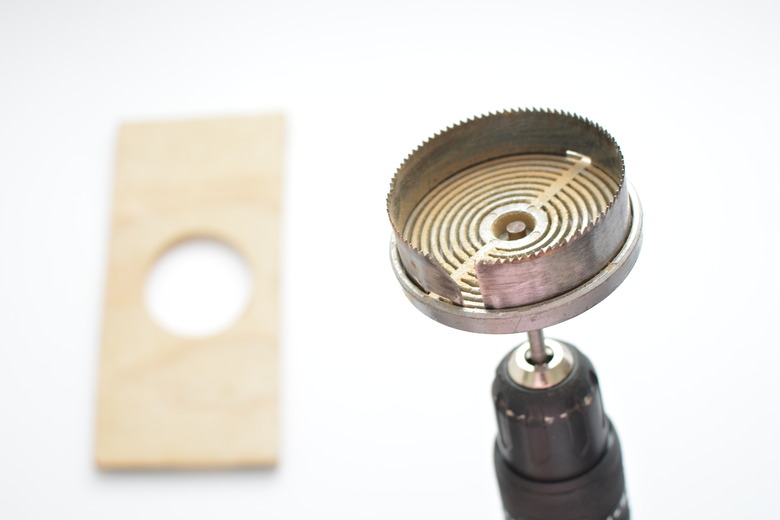
Retract the drill bit from the center of the saw so the next discs you cut won't have a drill hole.
Step 6
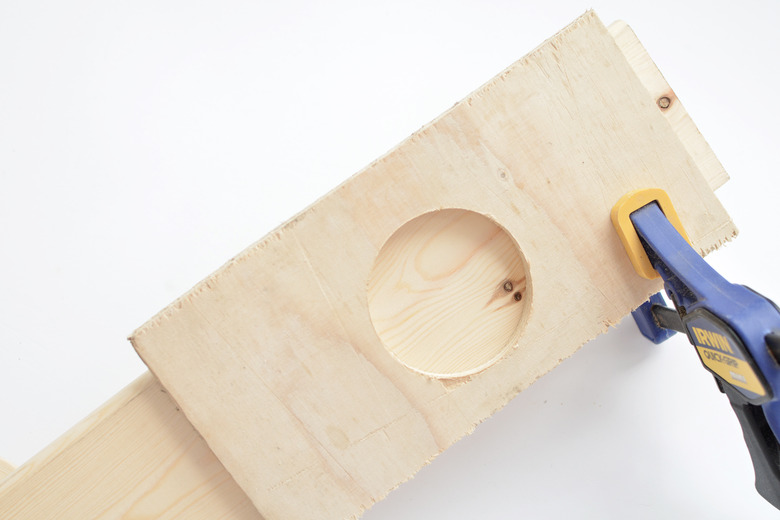
Secure the scrap wood template onto the wooden skirting board with a vice. When you cut the discs out, the template will keep the hole saw from moving.
Step 7
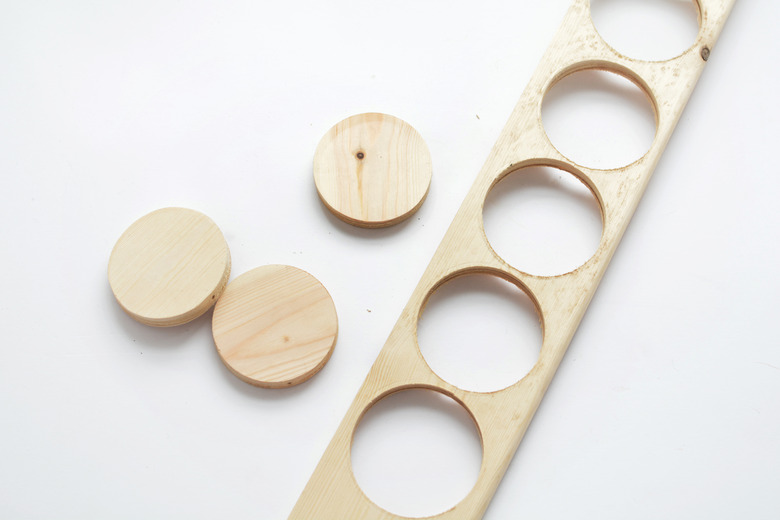
Cut along the skirting board using the template until you have nine discs. If you don't want to use this hole saw technique, you could also cut the shapes out with a jigsaw or source some pre-cut wood slices!
Step 8
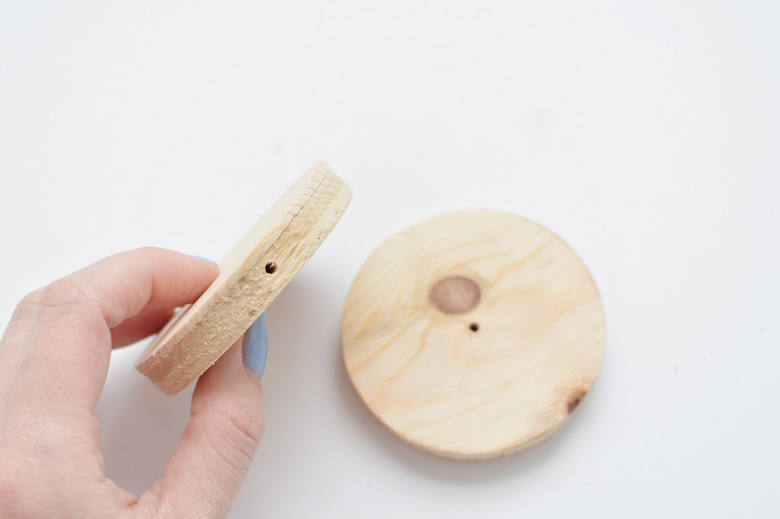
Take the drill bit you used earlier and drill five of the discs through the center. Then, drill holes in the remaining four from one side to another (through the diameter.) These small holes are where you'll thread the elastic through.
Step 9
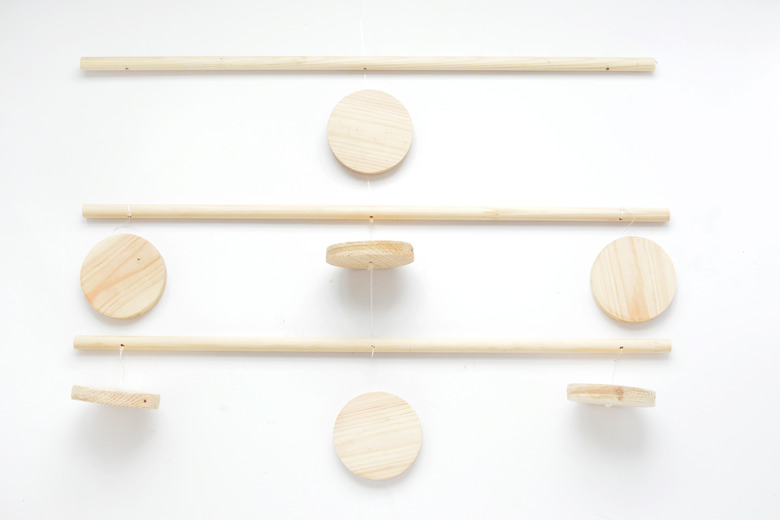
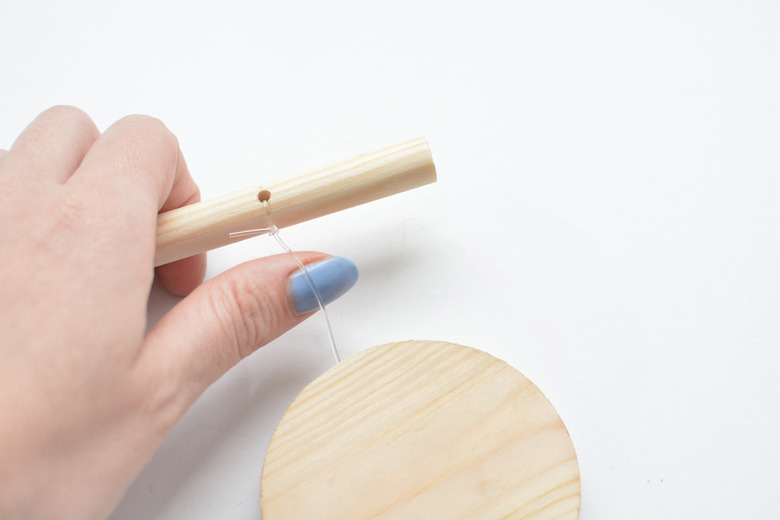
To assemble the mobile you'll thread elastic through the middle holes on the dowel alternating with a wooden disc. Take a long length of elastic measuring approx 1.5 meters (you can trim it down later.) Tie several knots at one end and then thread the first wooden disc through so it hangs vertically. Tie a knot at the bottom of the disc. Then, leave a gap of one inch, tie several more knots and then thread on the first piece of dowel through the center hole. Repeat these steps alternating the discs between vertical and horizontal hanging.
Leave the excess elastic when you reach the top of the mobile as this will be used for hanging later.
Step 10
Once you have threaded the central column of the mobile, you can hang the discs on both ends. Unlike the middle section where you used one long piece of elastic to keep the mobile together, the end discs are tied on individually. This means that the arms of the mobile can spin around making it much more entertaining for baby as the shapes cast moving shadows!
Tie the discs to the end holes with elastic and secure with a few tight knots. Remember to alternate the discs between horizontal and vertical hanging.
Tip: Babies eyes are drawn to bold black and white patterns so you could paint the discs and still keep to a simple monochrome design!
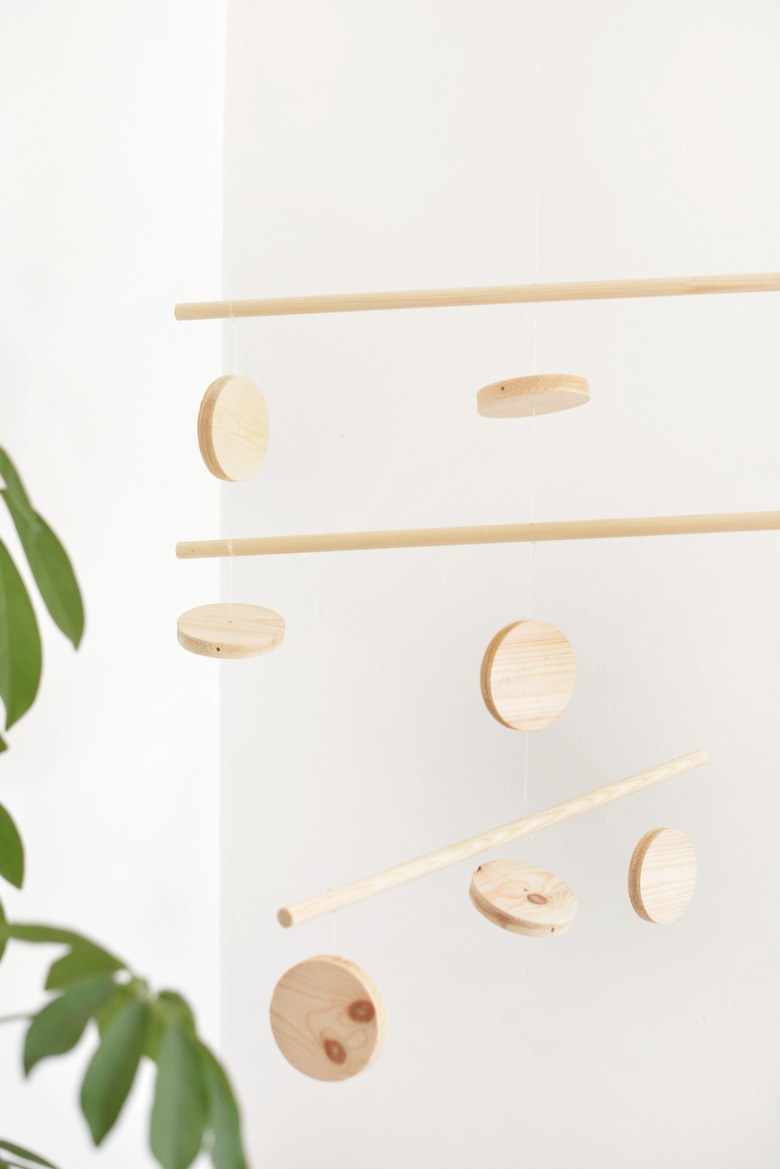
To hang the mobile simply secure it to a ceiling hook and watch your baby wonder at their new toy!
