Maintenance Tips For Crank Casement Windows
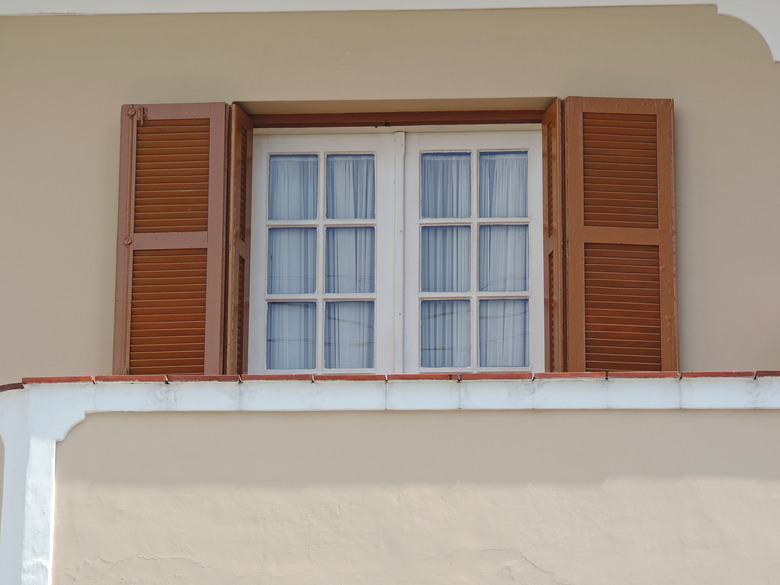
Casement windows function somewhat like doors, and because they swing on vertical hinges, they can develop many of the same problems. Short of malfunctions caused by faulty installation, most maintenance issues with these crank windows can be handled by a homeowner. The most common snags include:
- Poor lubrication in the crank mechanism
- Debris in the track along which the control arm slides
- Loose screws
In addition, as casement windows age, they sometimes don't close as tightly as they did when they were new. You can usually stop drafts with weather stripping, but if the latch mechanism has become loose, there's a simple trick you can use to tighten it.
Finally, if the glass in a casement window suffers cracks or cloudiness from condensation, you can usually replace it yourself. That may require some disassembly but, in most cases, it isn't complicated.
Maintaining the Crank Mechanism
Maintaining the Crank Mechanism
When it takes more effort than it should to operate the crank mechanism, that usually means that it's time for some lubricant. Lithium grease or a spray lubricant such as WD-40 will do the job —just make sure the nozzle has a long tube to allow you to focus the spray where you need it. Apply the lubricant at the base of the crank handle and let it seep from there into the gears. You should also open the window and spray into the crank mechanism from outside as well as into the track along which the control arm slides. Open and close the window a few times to distribute the lubricant. If the window is still hard to open or close, look for debris in the control arm track and scrape it out with a flat head screwdriver.
Simple Crank Repair
A common problem with well-used casement window cranks is that the handle slips when you try to open or close the window. You can often fix slippage with a file. Just loosen the set screw and pull off the handle to expose the notched crank head. Use the file to deepen the notches on the head, replace the handle and give it a whirl. Not much better? Try again. Keep filing until you're sure the strategy won't work before you move to plan B, which is probably to replace the crank.
Loosening a Sticky Window
Loosening a Sticky Window
Layers of paint on your old wooden windows can make them difficult to open. Sometimes you have to force the window out with your hand before the crank mechanism will work. Stripping or sanding the paint off the vertical edges of the frame and replacing it with a single coat of shellac-based primer usually fixes this.
Windows can stick for other reasons, though. One or more of the hinges may be loose, or the window frame itself may have fallen out of square. You can usually reset loose hinges by tightening the screws or replacing them with longer ones, but re-squaring the frame is more challenging and is typically a job for a pro.
If your window pivots on hinge pins, try this trick to straighten it: Close the window and note the difference in the gap between the window and the frame at the top and bottom of the window. The goal is to adjust the gap to make the window align with the frame, and you can do this by moving the bracket that holds the pin on the top or bottom frame, but not both. Remove the screws holding the bracket, then tap the bracket toward or away from the frame with a hammer. Drill new pilot holes, reset the screws, and you're done.
Stopping Drafts
Stopping Drafts
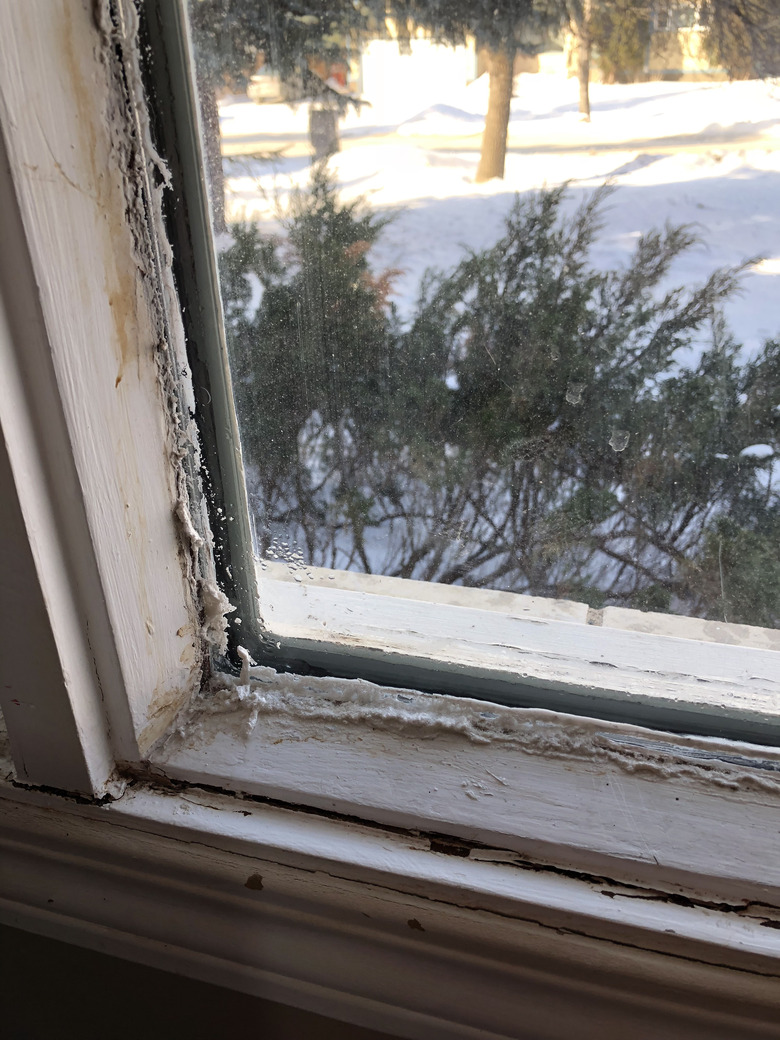
Wooden windows tend to warp as they age, and even vinyl ones can lose their shape slightly. When a window doesn't close all the way, air passing through the gap makes the room colder and creates condensation that makes the warping worse. The raison d'être of weather stripping is to close gaps and prevent drafts, so don't be squeamish about using it. However, depending on the style of the latch mechanism, a simple adjustment may accomplish the same goal.
If the latch hook is attached to the outer edge of the window, open the window so you can access it from outside. Remove the screws and take off the latch, then fill the screw holes with epoxy putty. Once the putty is hard, reposition the latch, drill new screw holes and reset the screws.
Or, perhaps the latch hook is attached to the inside of the window and isn't quite making connection with the latch. If so, remove it, place a cardboard shim behind it to move it closer to the latch, and reset the screws.
Replacing Cracked or Cloudy Glass
Replacing Cracked or Cloudy Glass
You can usually remove glass from casement window frames by prying off the stops attached to the inside of the frame and pushing the glass from outside. If the glass is cracked, it's essential to lay duct tape across the pane to prevent the glass from shattering and to wear protective gloves and goggles when you do this. In most cases, it's safer and easier to replace glass if you take the entire window frame down and do the job in your workshop.
The procedure for dismantling the window varies with model, but in most cases, you can unhook the control rod by opening the window to the point at which the rod slips out through a slot in the track. Once the rod is free, unscrew the hinges or the hinge pin holders on the casement frame and lift out the window. It's good to get a helper for this job, especially if the glass is cracked. Have one person holds the window while the other removes the hardware.
You always have to replace cracked glass, of course, and the same goes for double-pane or triple-pane glass that has become cloudy. This cloudiness happens because moisture and condensation have managed to creep between the sealed panes. You can't separate the panes to allow the moisture to dissipate, so the only other option is to buy new glass. New thermopanes can be ordered from the window manufacturer, or consult a glass replacement specialist.
After resetting the new glass and replacing the stops to secure it, it's a good idea to seal the edges with silicone caulk. It helps seal out moisture and will prevent clouding and deterioration of the window frame.


