What You Should Know About Dryer Filters
You really do need to clean your dryer's lint filter every time you use the dryer. The U.S. Fire Administration reports that 2,900 dryer fires occur each year, causing an estimated $35 million in property damages, 5 deaths and 100 injuries, and that 34 percent of these fires are due to a failure to clean the dryer.
Basic cleaning of the lint filter is easy and just takes a minute or two, but it's only part of the job of keeping your dryer clean. You also need to periodically give the filter a deep-cleaning and clean the slot into which the filter fits. It's also vital to clean out the dryer vent, because that's where many fires start. Cleaning the vents also helps keep your dryer in good working order, so it lasts longer and you use less energy to dry your clothes.
Know Your Dryer's Air Circulation System
Know Your Dryer's Air Circulation System
Dryer models differ, but they all work in basically the same way. When you turn on the switch, the drum starts rotating while a blower circulates air past the heating element and into the drum. The air then exits through the lint filter into the exhaust port in the bottom of the dryer. From there, it goes into the vent and ultimately passes through the vent opening in the side of the house.
Tip
When the dryer is running, you should feel a steady stream of warm air coming through the vent opening. If the vent cap has a flap, the movement of air should be strong enough to hold it open at a 45-degree angle. If the air flow from the vent opening is too light, it indicated that the vent needs cleaning.
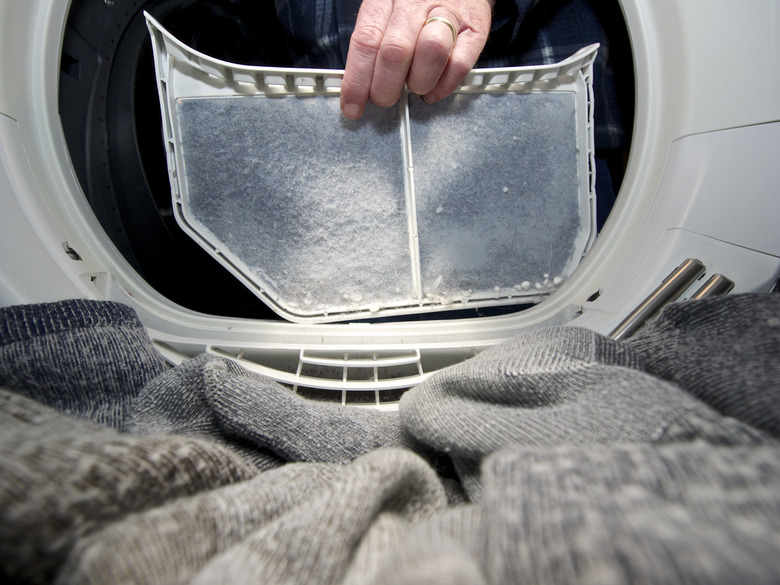
If the lint filter wasn't present, the lint would quickly collect in the vents and block them, so the filter performs a vital function. The filter doesn't catch everything, though, and a fair amount of lint still finds its way into the vent. The filter fills up fairly quickly, and after you dry a full load, it isn't unusual to find an inch or so of buildup. If you don't remove this, air can't circulate through the dryer, and warm, moist air builds up in the tumbler. Clothes take longer to dry, and the temperature can get high enough to set the lint on fire. No one wants that, so cleaning the lint trap after every use is a must. Here's how to do it.
How to Clean the Lint Filter
How to Clean the Lint Filter
Things Needed
-
Vacuum cleaner
-
Warm, soapy water
-
Brush
-
Cardboard core from a paper towel roll
-
Tape
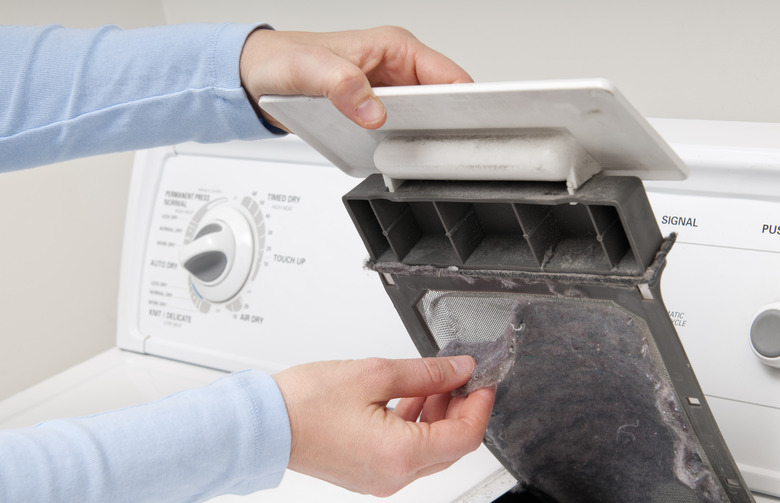
- Locate the lint filter. It's usually in one of three places: in the top of the dryer, just inside the front door at the base of the tumbler, or on the back of the dryer. If you don't know where it is, consult your owner's manual.
- Pull the filter out of its slot and remove the lint from the screen with your fingers.
- Test the filter by pouring a small amount of water on it. If the water beads up rather than passing through the screen, the filter needs a deep clean. Wash it in warm, soapy water, using a brush. Rinse it and let it dry before putting it back in the dryer.
- Use a vacuum and the cardboard core from a roll of paper towels to clean the filter slot. Tape the cardboard roll to the vacuum nozzle, then squeeze the end of the roll to make a narrow tip that fits into the gap between the filter slot and the dryer body. Use this to remove all the lint in the slot.
Warning
if the screen on the lint filter has a hole or is damaged in any way, replace the filter. A damaged filter gives you a false sense of security and is worse than no filter at all because it gives you a false sense of security.
How to Clean the Dryer Vent and Duct
How to Clean the Dryer Vent and Duct
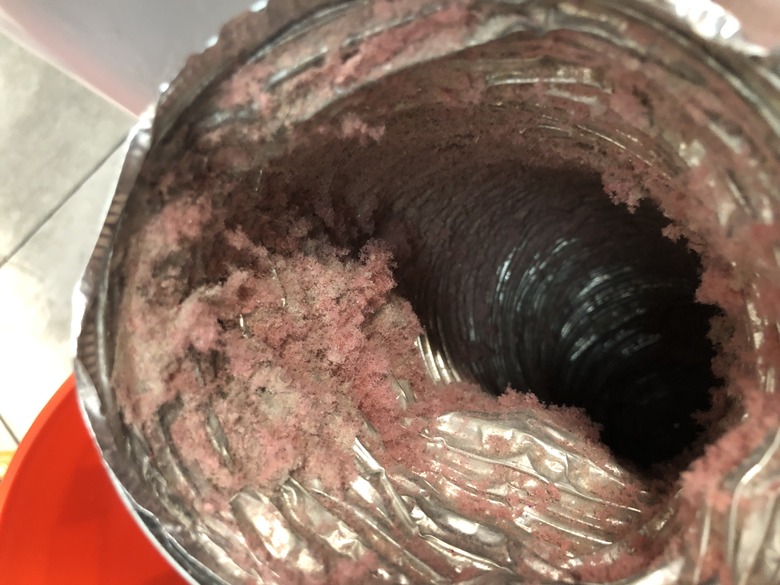
If any section of your dryer vent duct is constructed with corrugated flexible metal pipe, it's important to clean the duct frequently, because the corrugations trap lint. Even smooth metal ducts need cleaning at least once a year. If you notice damage to any part of the duct while you're cleaning it, replace the damaged section of pipe.
Flexible metal ducts may be forbidden by code in some areas, so it's wise to check with your building inspections office. If it is not allowed, replace this kind of duct with rigid vent.
Warning
Especially dangerous are a type of flexible plastic duct that at one time was commonly installed to provide ductwork for dryers because they were so easy to install. These plastic ducts are still available, but their application should be limited to approved uses, such as for bathroom fan ducts. They are not a good choice for any application, but they are especially dangerous for use with clothes dryers, since they can easily melt under the heat of the air. If you have such a duct, replace it immediately.
Things Needed
-
Screwdriver
-
Vacuum
-
Crevice tool
-
Dryer lint brush
1. Pull the dryer far enough from the wall to allow you to get behind it. Unscrew the clamp holding the vent duct to the exhaust outlet and pull off the vent hose.
2. Clean out all the lint inside the exhaust port with a vacuum cleaner. Use a crevice tool for extra suction power to ensure you get everything.
3. Use the vacuum to clean lint out of the duct hose. If you suspect there is lint inside the duct that is out of reach of the vacuum, you have two choices:
- Try to reach the lint with a lint brush, which is a special long-handled brush designed for cleaning out dryer vents.
- Blow out the lint with a leaf blower. If you're using a wet/dry vacuum, you can also use it as a blower by switching the hose to the other port on the vacuum cleaner housing.
4. Go outside and vacuum lint from the vent outlet on the side of the house. You can also use the lint brush to reach deeper into the duct, if necessary.
Tip
If you have to clean an unusually large amount of lint, or you find it necessary to clean lint more often than twice a year, consider hanging bedsheets and other large items on the clothesline to dry. It's also a good idea to limit your use of fabric softeners and dryer sheets, which make lint sticky and promote clumping.


