Try This DIY Centerpiece Using Flowers From Meghan Markle And Prince Harry's Wedding
We may receive a commission on purchases made from links.
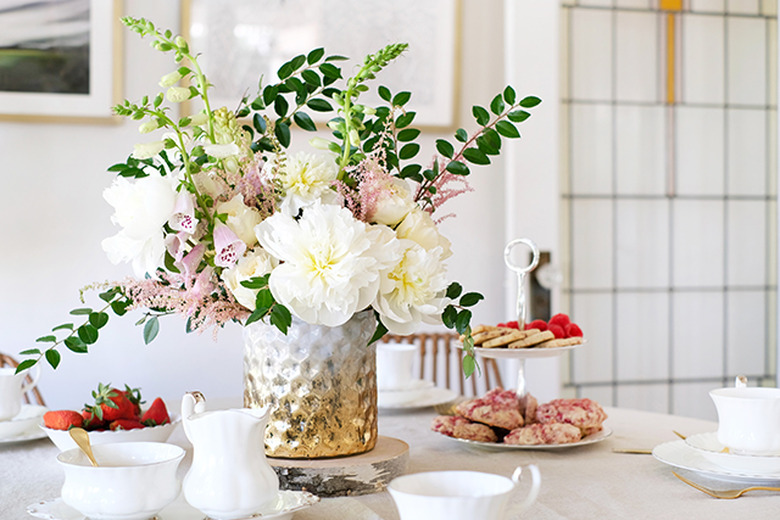
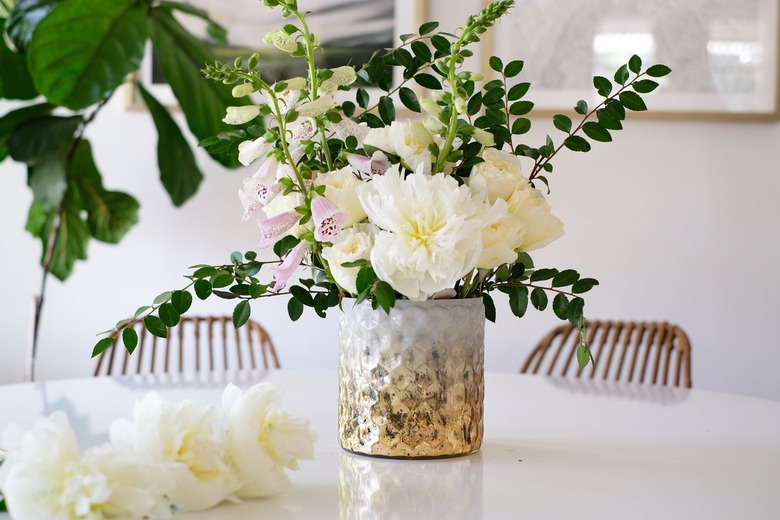
While most of us probably can't cross the pond to attend the royal wedding of Meghan Markle and Prince Harry, we can still celebrate the event at home. This DIY floral centerpiece is inspired by the flowers Meghan and Harry will feature at their wedding: branches of beech, birch, and hornbeam, as well as white garden roses, peonies, and foxgloves. (Markle has said that peonies make her "endlessly happy.")
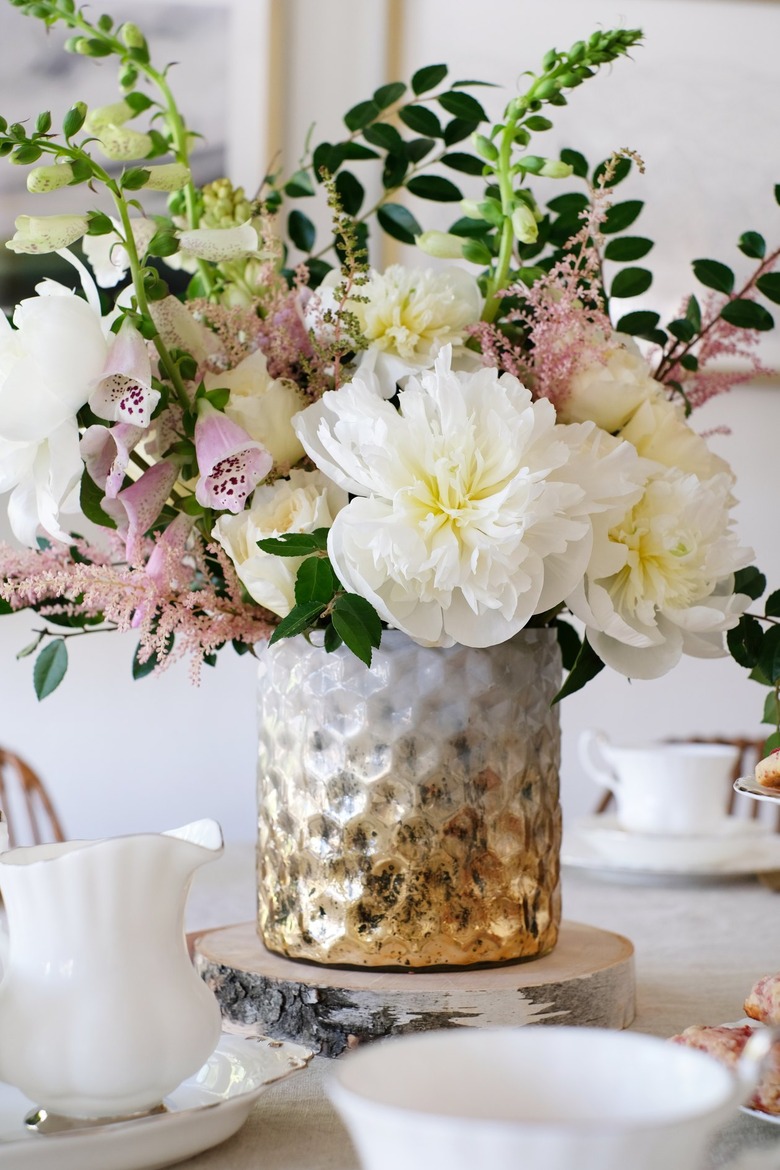
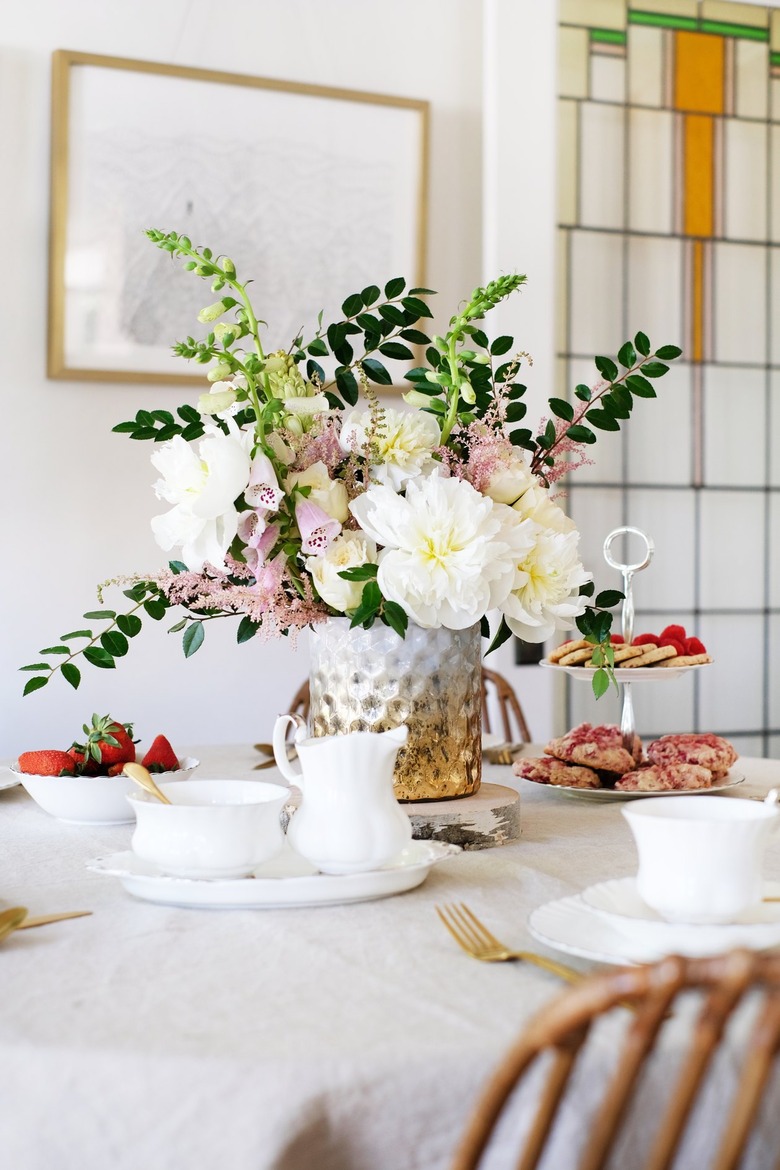
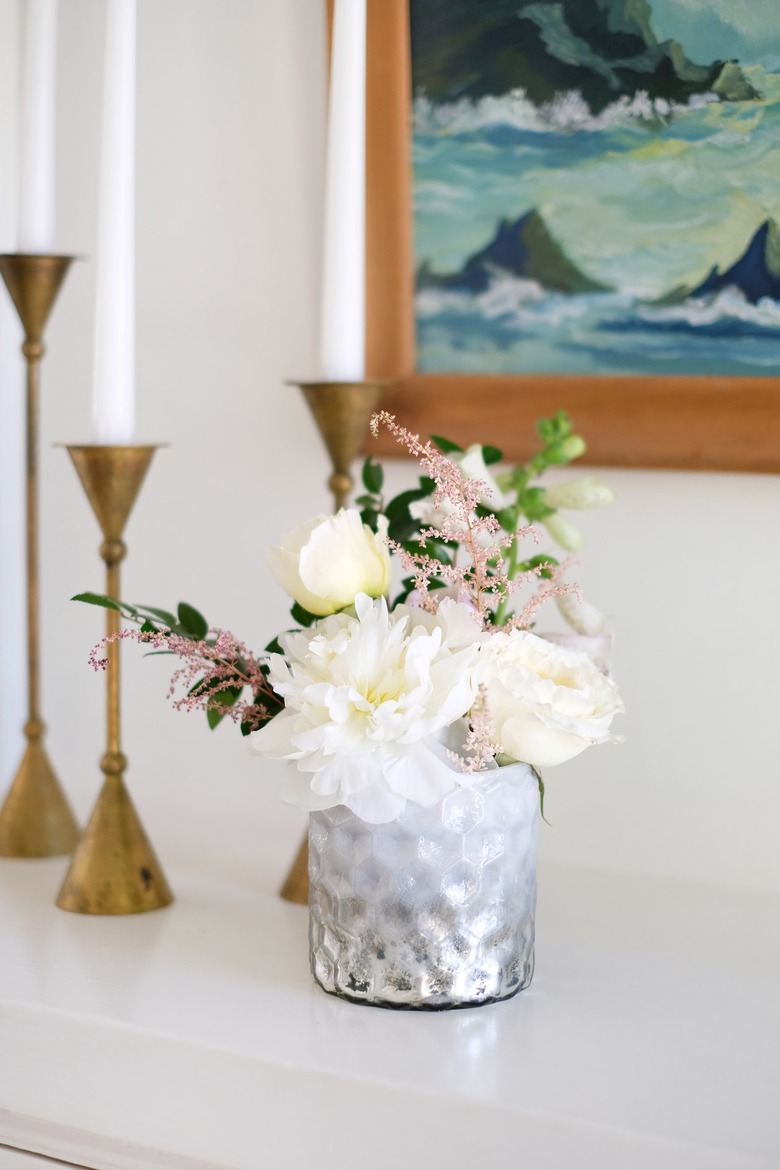
So, with as much of a royal touch as I could emulate, I created a centerpiece using several of these elements. Meghan's choices feel very English garden-like, so I kept the arrangement wild and a little untamed. And royal wedding aside, this could be perfect for your own nuptials, a baby shower, or a birthday celebration. (Or really just to brighten your home on any day of the week.)
Tip: If you're not an expert florist, I always suggest creating your arrangements in a more free-form, wild, and organic style. I like to add a lot of different textures and greenery — it's a forgiving look that actually makes you look highly skilled in the floral department.
Things Needed
-
5-inch diameter vase (wide and low)
-
Floral oasis
-
Peonies, ( 6 )
-
White garden roses, ( 6 )
-
Pink Astilbe, ( 6 stems )
-
Huckleberry branches
-
Foxglove, ( 3 to 4 stems )
-
6-inch round piece of birch
-
Floral food, 1 package
-
Water
-
Floral Snips/Shears
Step 1
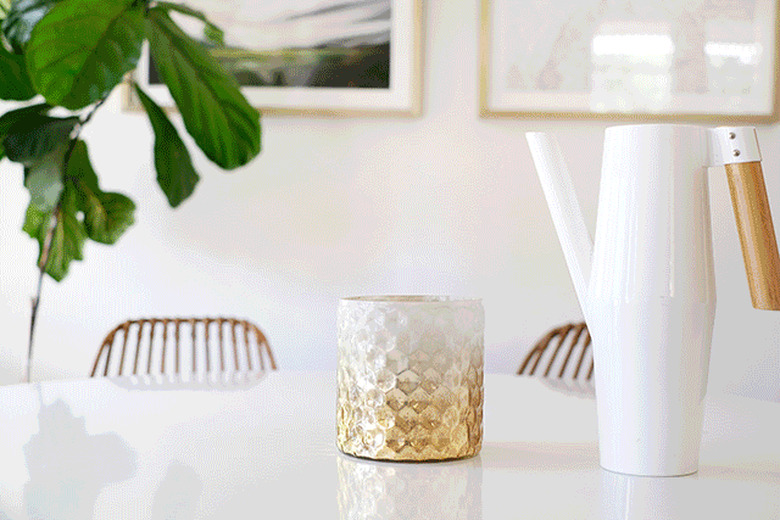
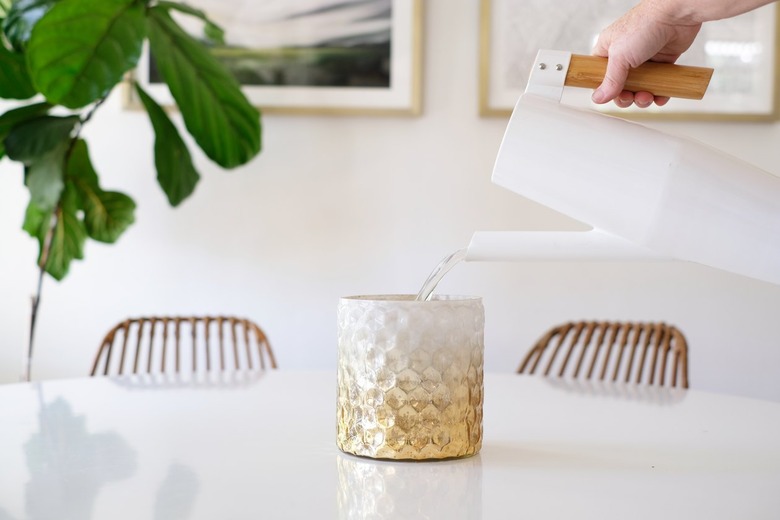
Add water and floral food to your selected vase. I chose a mercury glass container because I felt like it complemented a royal wedding-themed arrangement.
Step 2
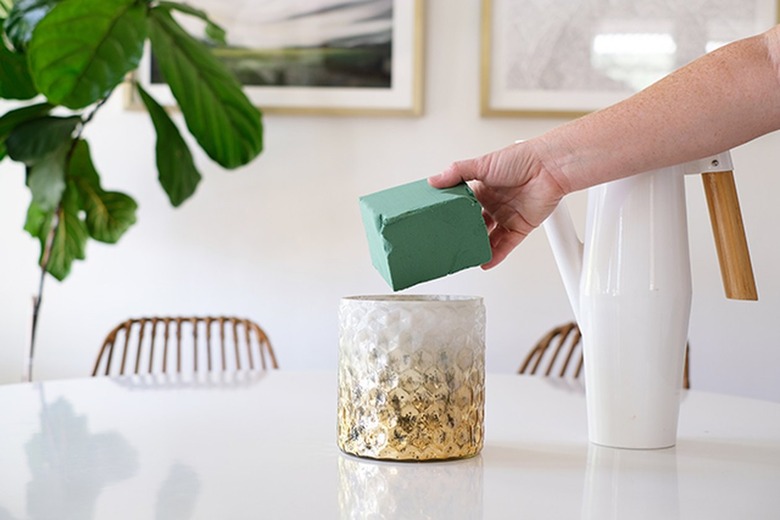
Cut a piece of floral oasis to the size of the vase and immerse in the water.
Step 3
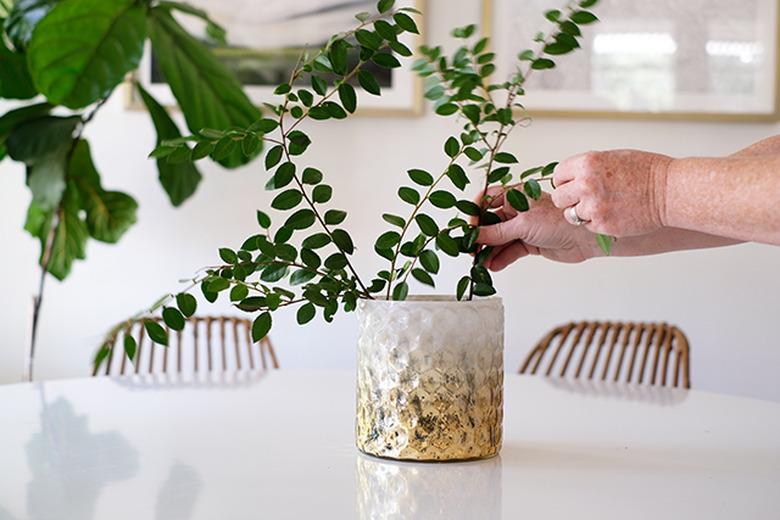
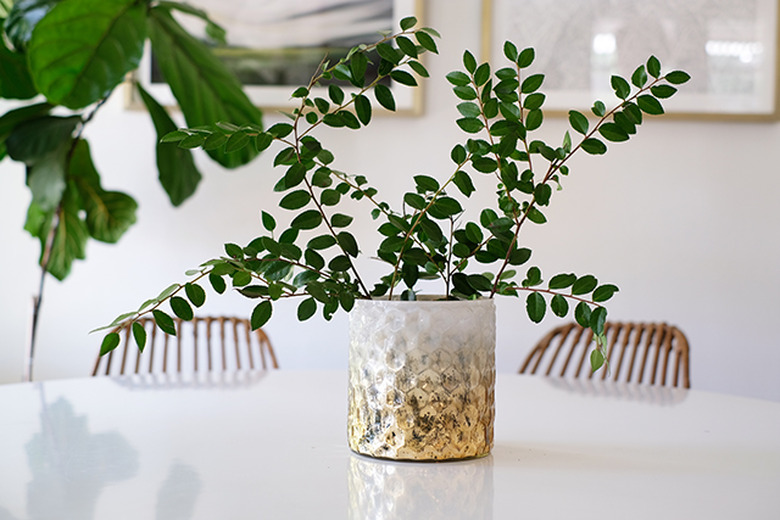
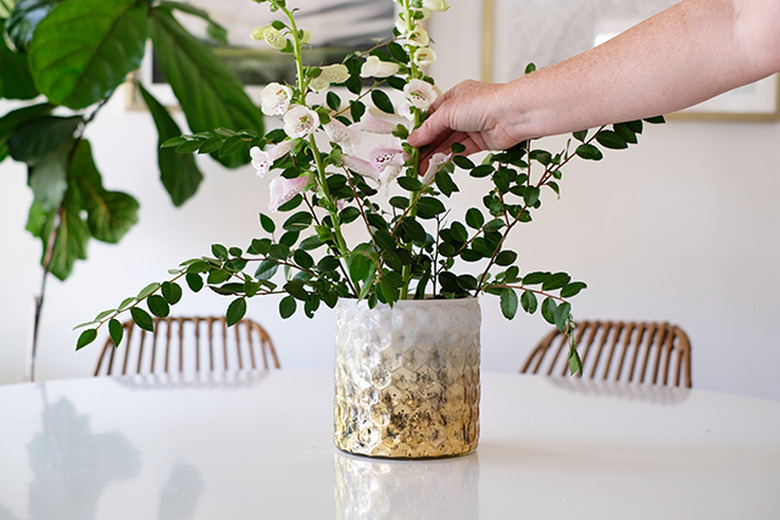
Start by adding the greenery first. I used huckleberry branches. They are a nice hearty branch and I love the deep shade of green. These branches will create the basic shape, width, and height of the arrangement. While you do want to have a little bit of height, for the most part we're going to keep this shape wide and quite low. But in order to get that wild, carefree look, keep one side of the arrangement a little heavier and higher — this will be featured on the left side of this DIY.
Step 4
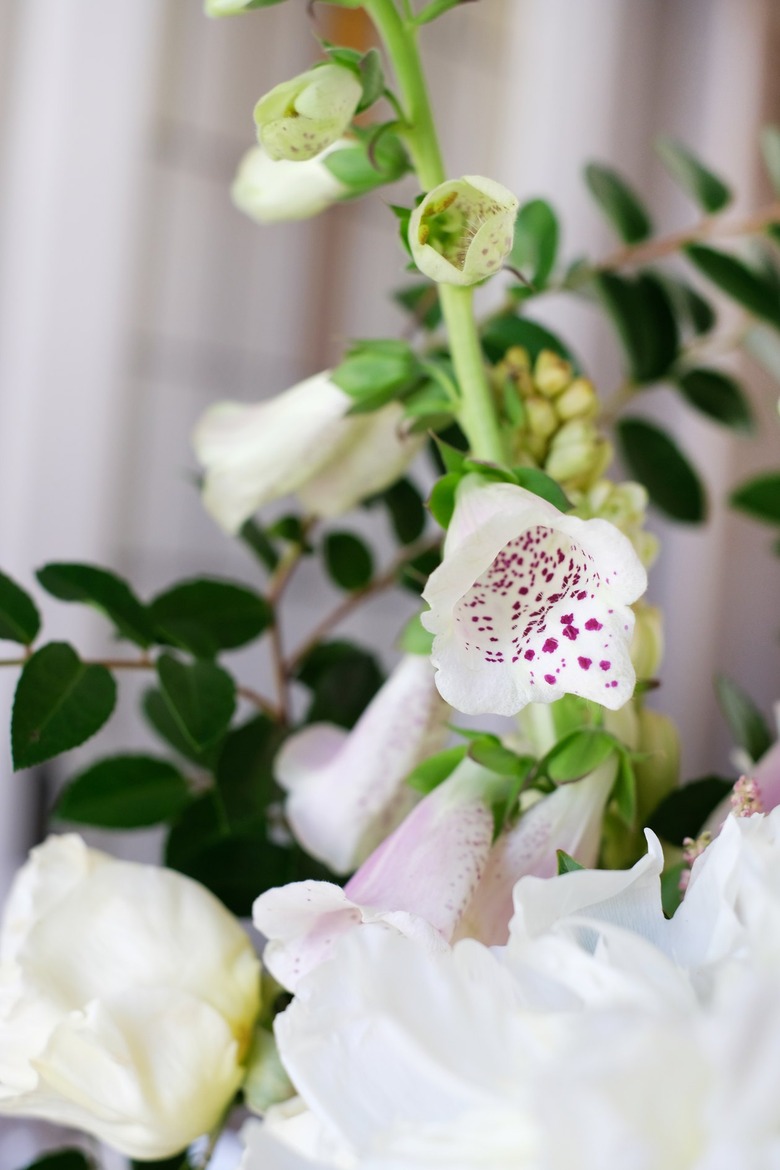
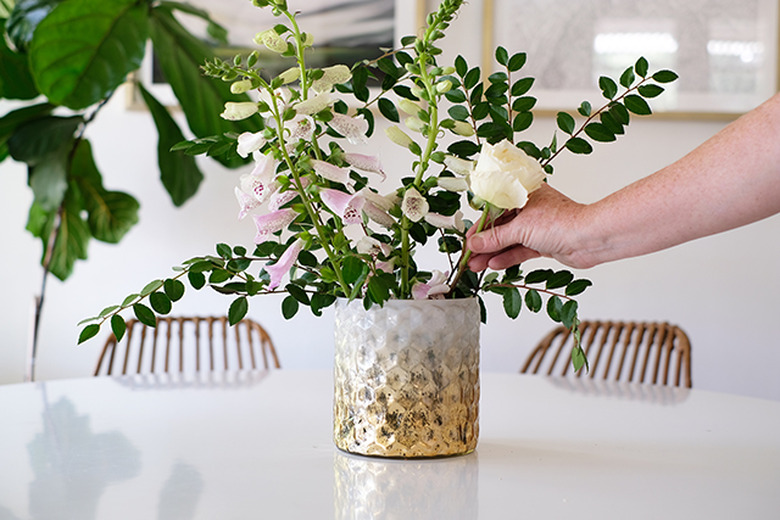
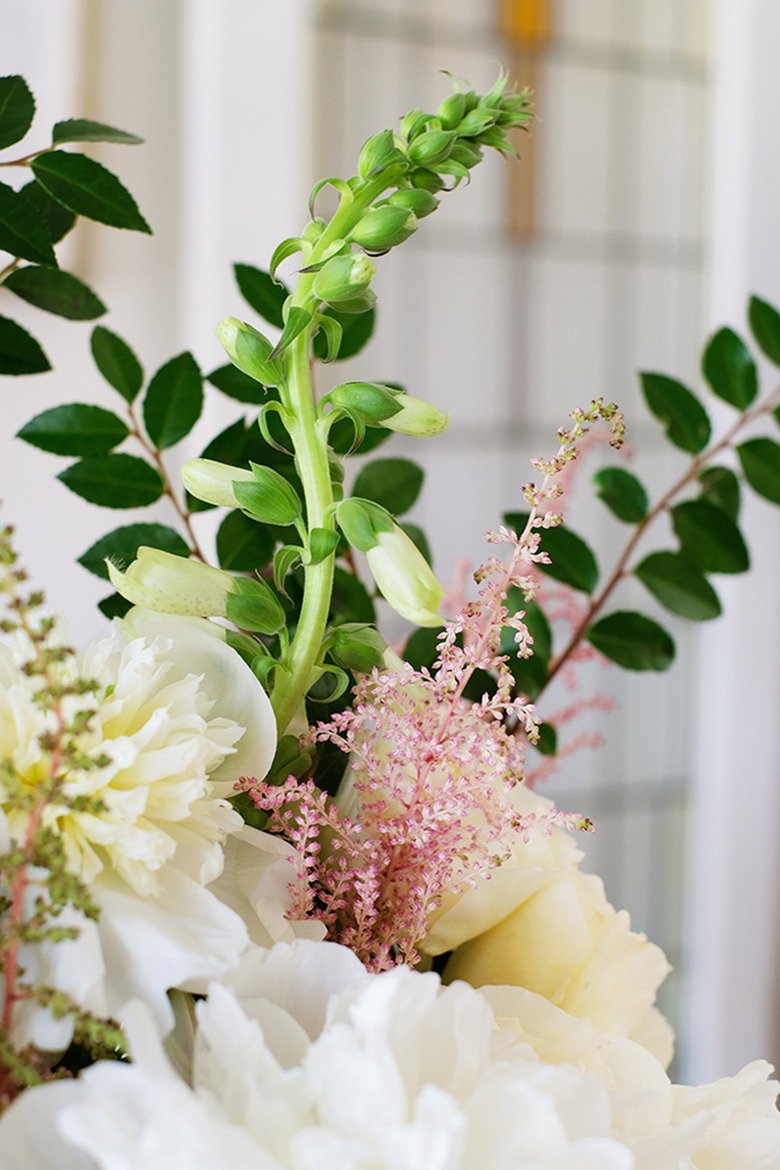
Foxglove comes in a variety of pastel colors and usually have a pretty speckled flower. I chose this pale lavender color. These stems will be the tallest part of the arrangement, so I kept these weighted more on the left hand side of the arrangement.
Step 5
Next I added the white garden roses. I kept these lower and closer the rim of the vase. Because the foxgloves are on the left hand side, I kept more of the roses to the right hand side of the vase.
Step 6
I like to save the best for last, and peonies are definitely the star of the show. These are also the biggest blooms and will fill in any holes that are left in the arrangement. I kept most of these stems at about the same height as the roses, except for a couple that sit a couple inches higher on the left hand side of the arrangement.
Step 7
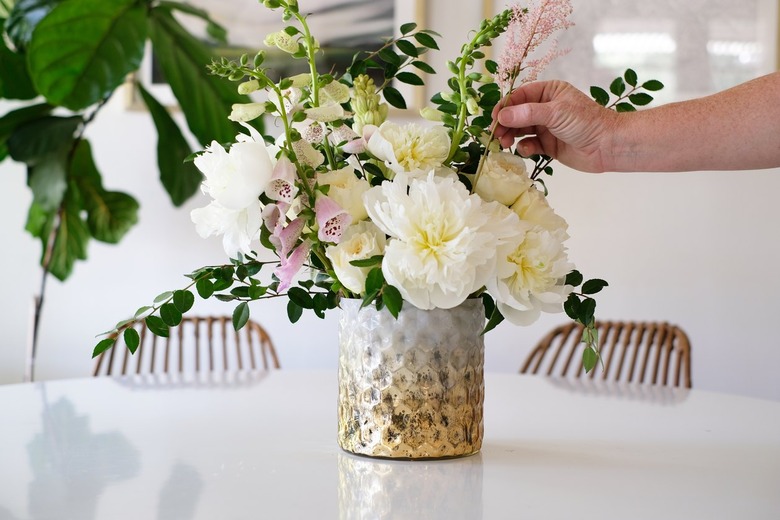
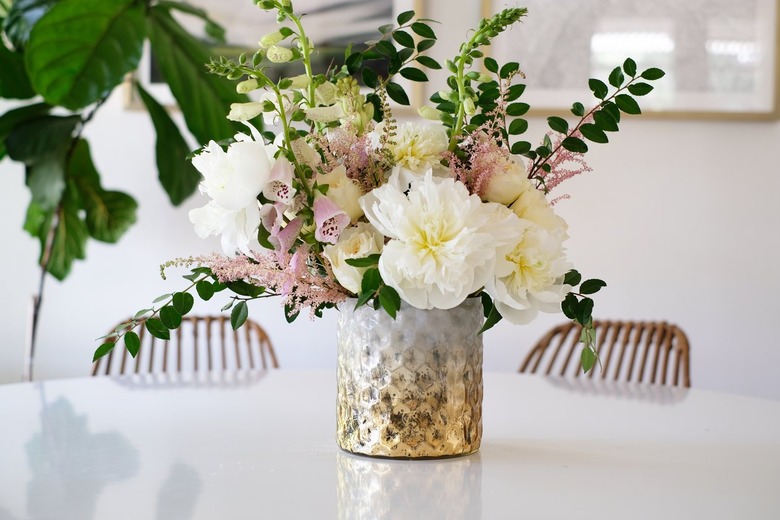
Astilbe is this very pretty delicate pink sprig. It's the perfect shade of blush and adds some texture to the arrangement. There shouldn't be any holes left at this point, but if there is a little gap, a sprig of astilbe can fill that in.
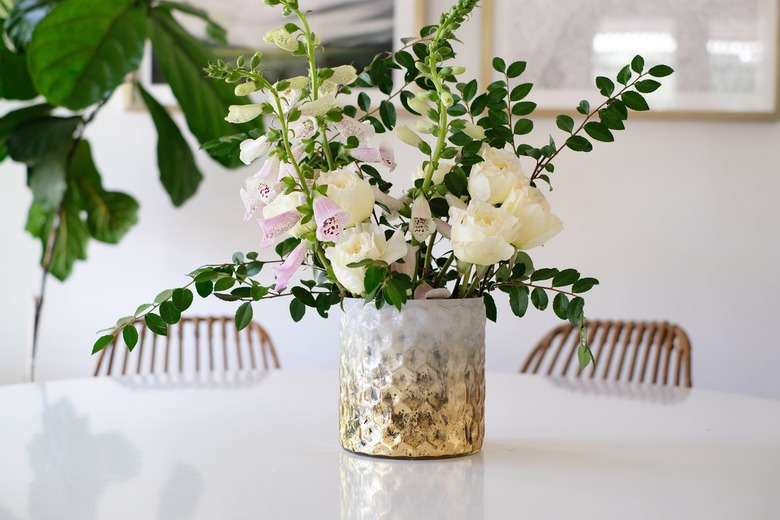
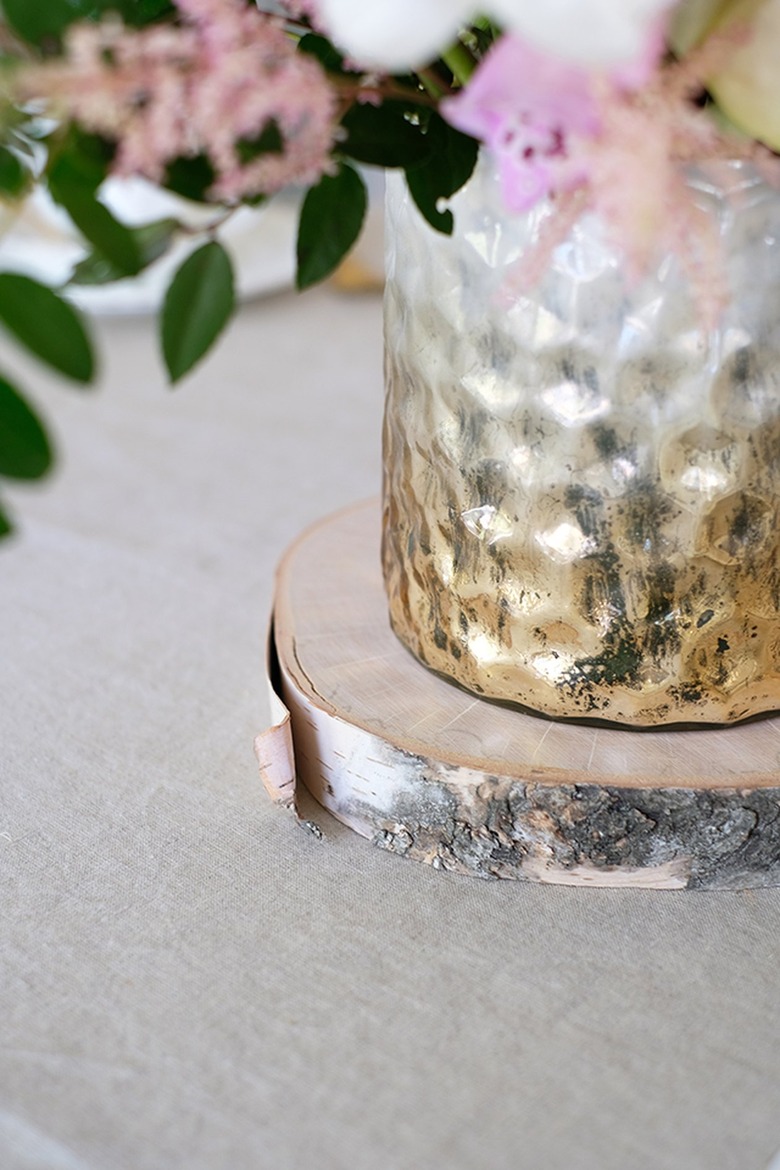
And there you have it! Turn the vase around to make sure there are no holes or empty spaces. For an extra touch, you can place the vase on top of a round piece of birch.
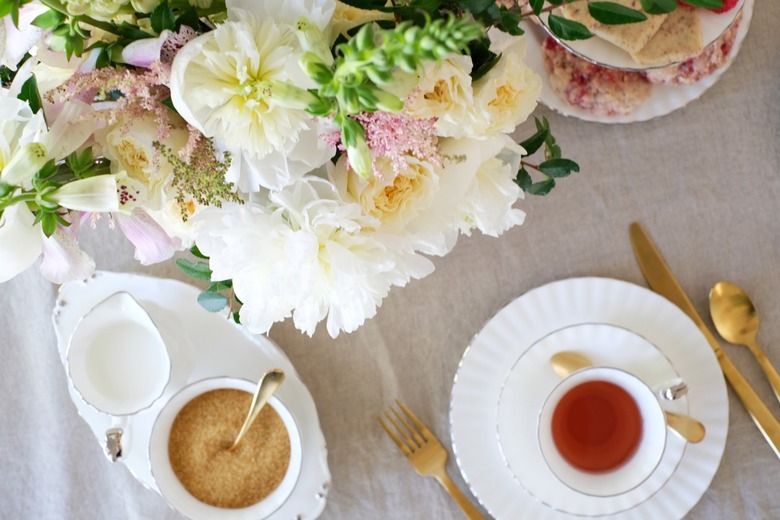
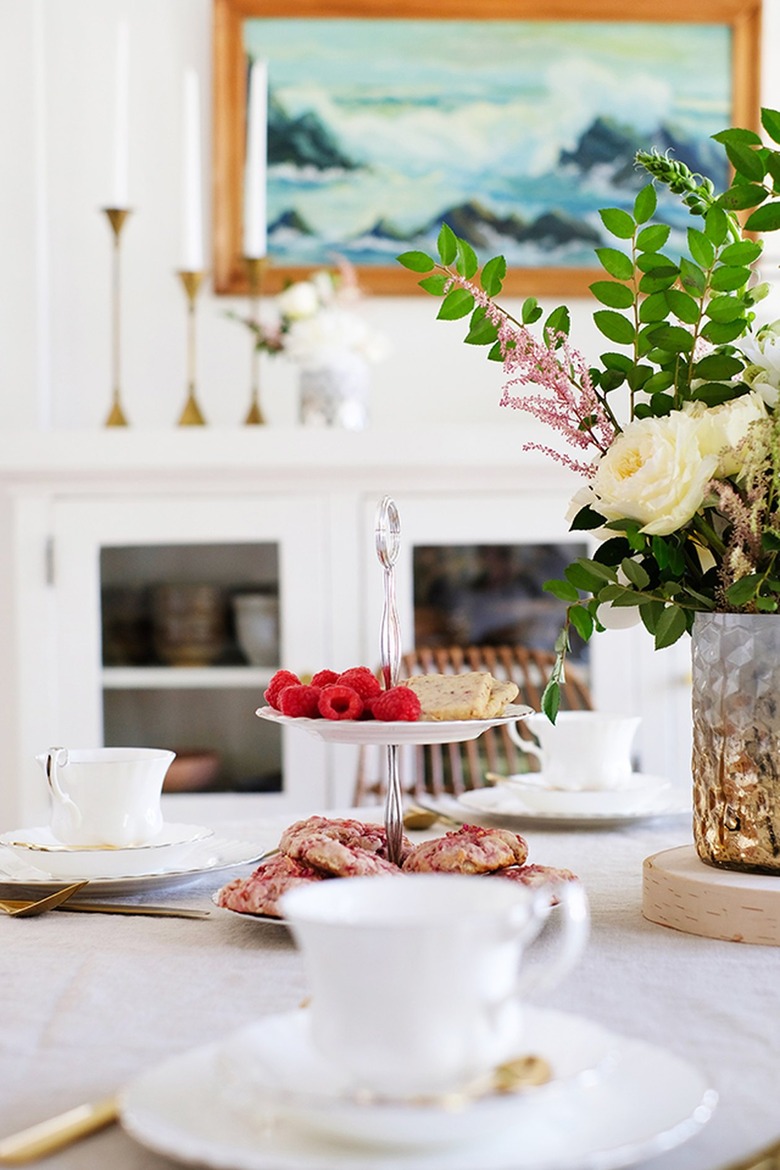
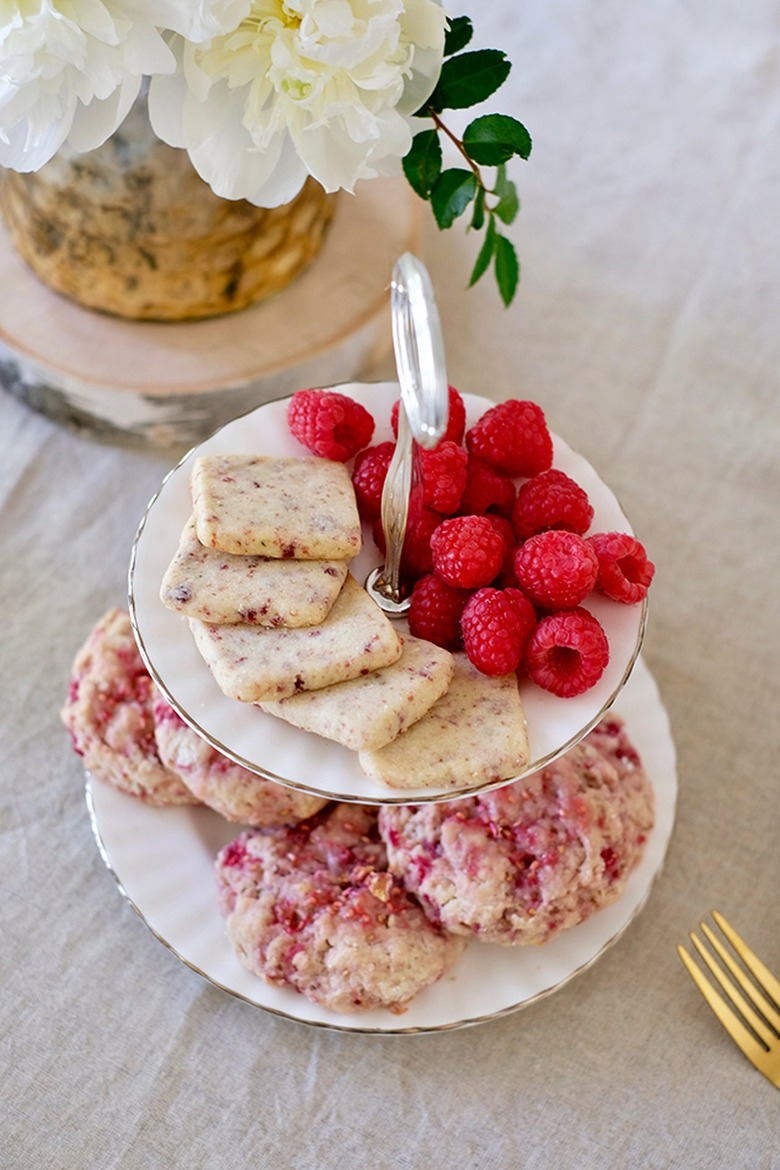
And if you are going to watch the royal wedding, then a proper British tea party with scones, shortbread, fruit, and tea are a must.
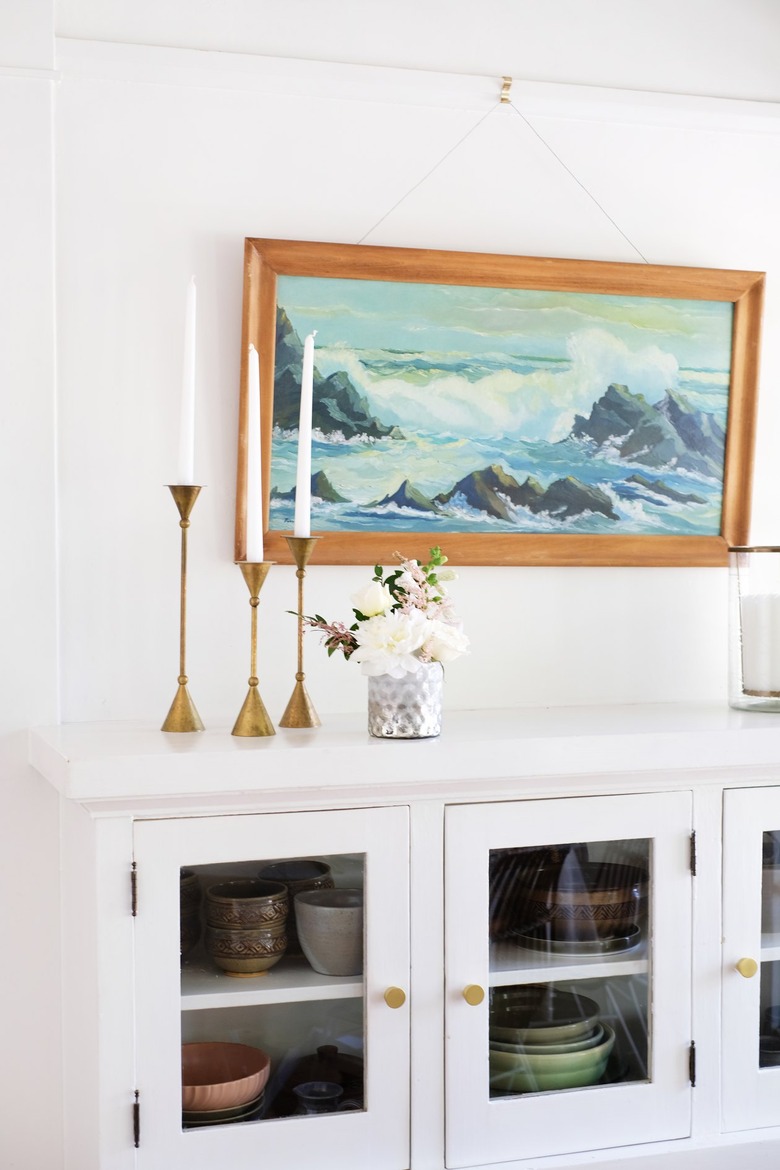
Bonus tip: If you're making a centerpiece, you'll probably have some leftover blooms, so feel free to follow the same basic steps to create a mini-arrangement. After all, you really can't have too many flowers.
