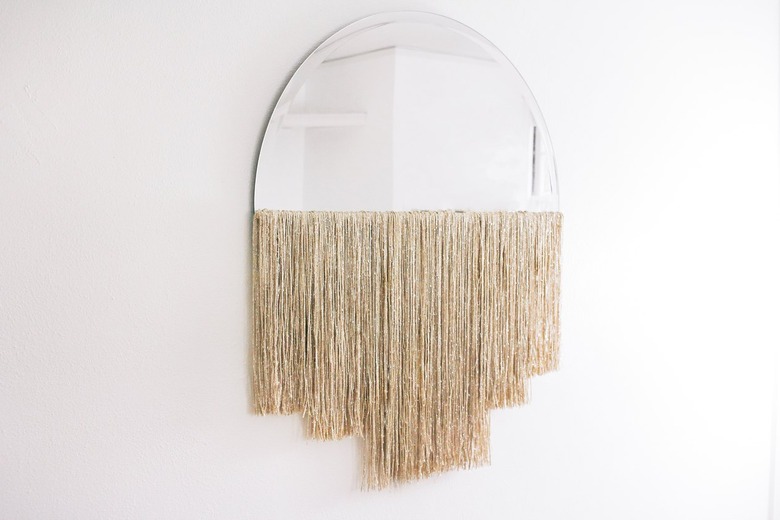
Add Boho Sparkle To Your Space With A DIY Fringed Mirror
We may receive a commission on purchases made from links.
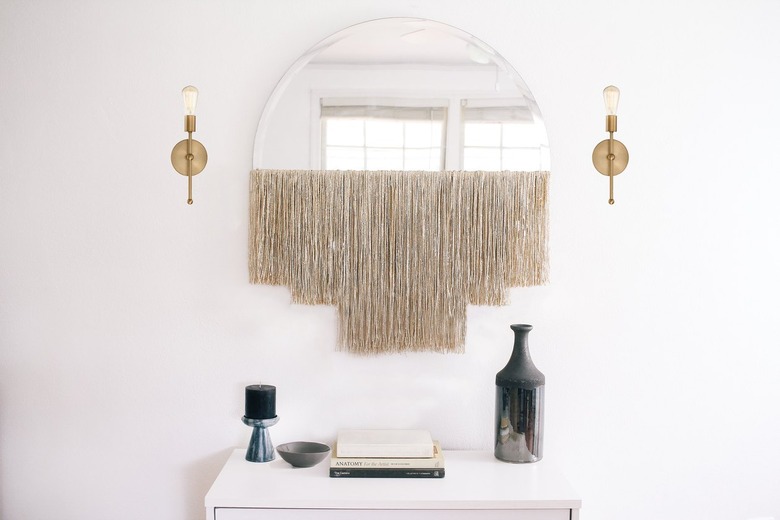
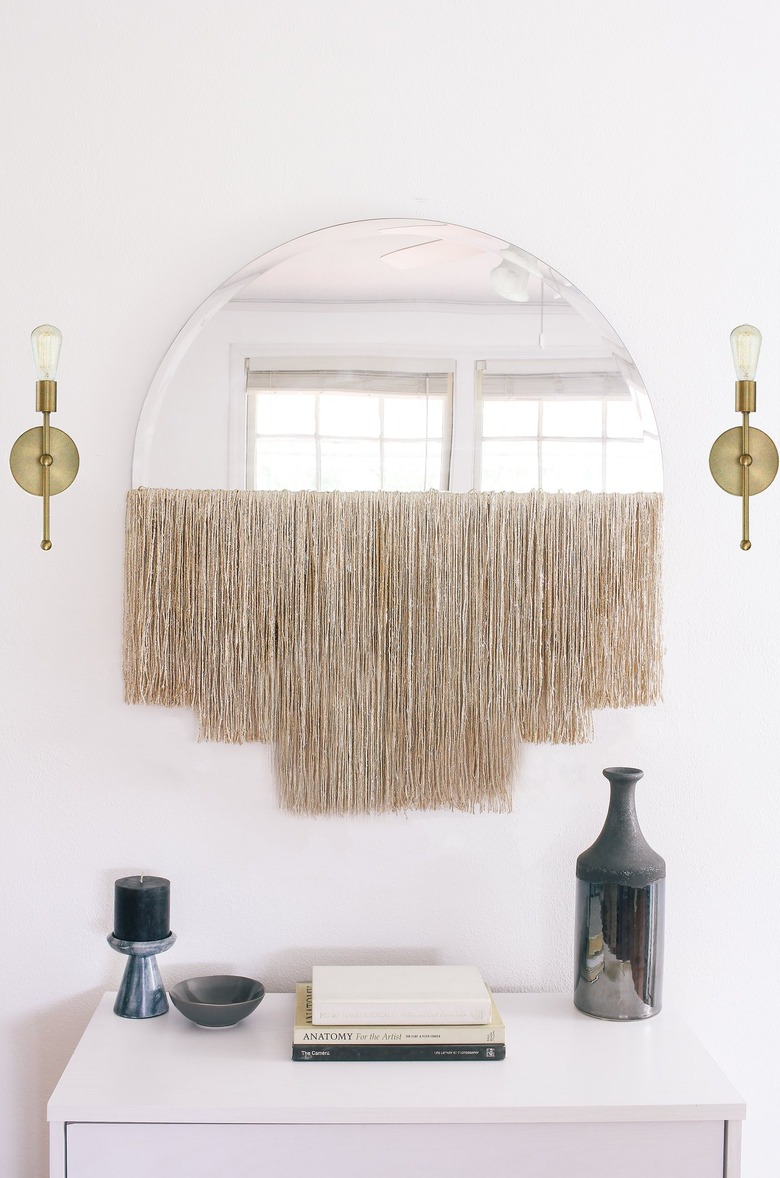
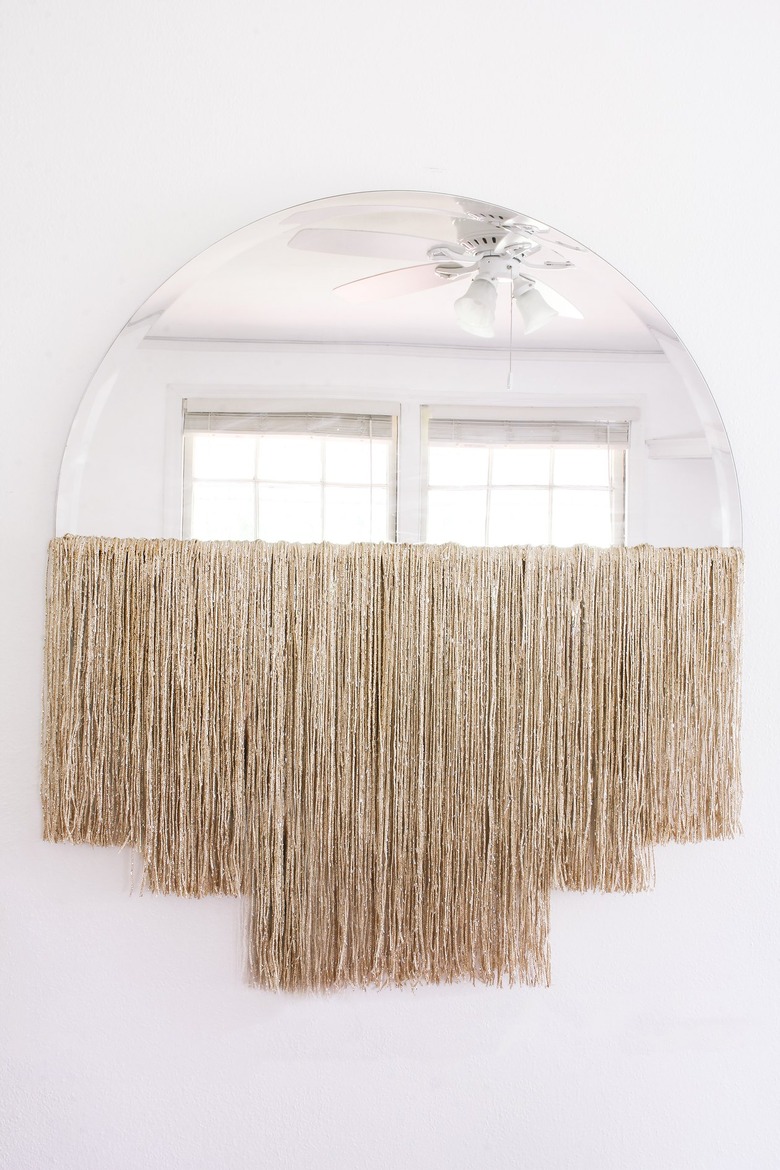
Mirror, mirror on the wall, who's the fringiest one of all? This DIY. Totally inspired by this gorgeous designer mirror (which we admit stopped us cold mid-scroll), we decided to put on our do-it-yourself hats to figure out how to get the look for less using this budget-friendly Amazon mirror. And we're also throwing it waaaay back using none other than champagne-colored fringe curtain panels to create the oh-so-fluffy bottom fringe. Half mirror, half wall hanging, we just love the boho sparkle it adds to a space.
Things You'll Need
Things You'll Need
- 30-inch frameless mirror
- 3-foot x 6.5-foot fringe curtain panels, ( 2 )
- 3/8-inch-x-36-inch square wood dowel
- Hand saw
- Scissors
- Tape measure
- Painter's tape or masking tape
- Fabric glue
- Construction adhesive
TIP: We opted to use fringe curtain panels because our mirror was on the larger side and we needed fringe long enough to cover half of it. However, if you're using a smaller mirror, you could likely get away with using 12- or 18-inch chainette fringe trim and simply layering a few panels of it to create a thick wall of fringe.
Step 1
Step 1
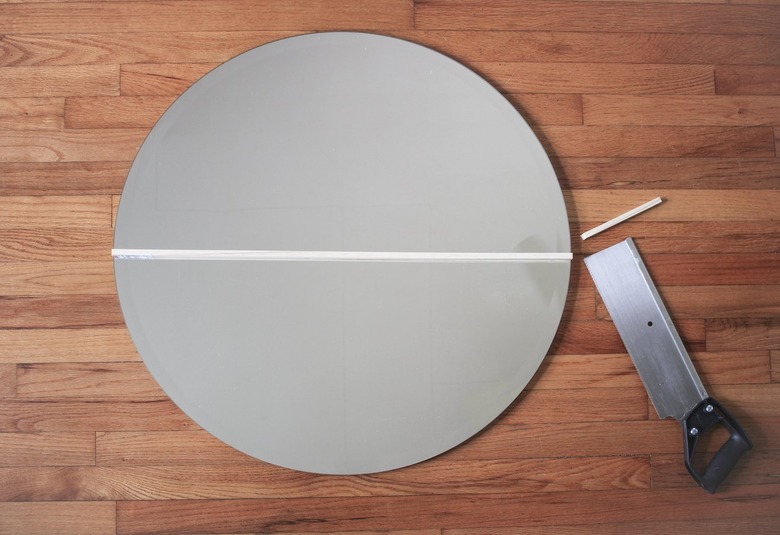
Place the wood dowel across the center of the mirror and mark on the wood where to cut off the excess so the dowel will be the same diameter as your mirror (in our case, 30 inches). Use a hand saw to cut off the excess.
Step 2
Step 2
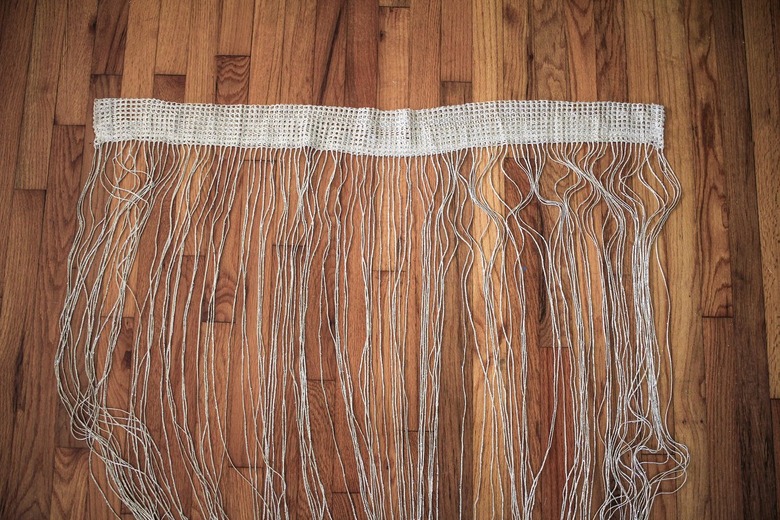
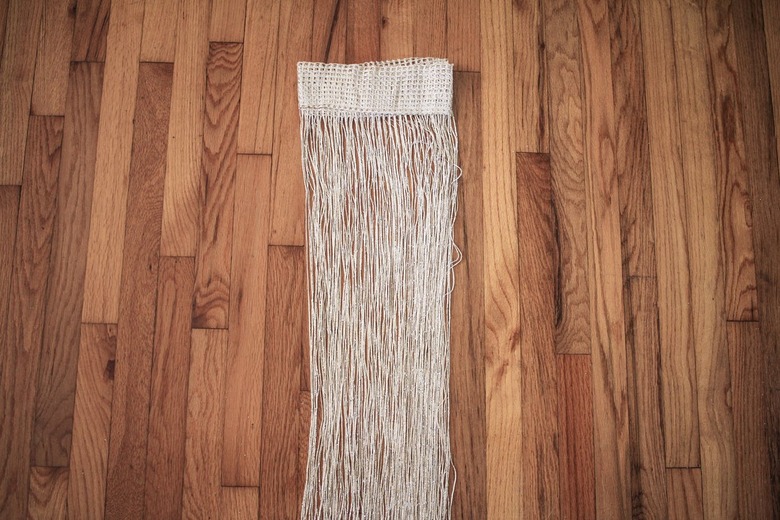
Lay one of the fringe curtain panels flat on your surface and smooth out the strings.
Step 3
Step 3
Fold the fabric band at the top of the curtain panel in half. Then fold the top fabric band in half again and smooth out the strings so they're as straight as possible. Your curtain panel should now be folded in fourths.
Step 4
Step 4
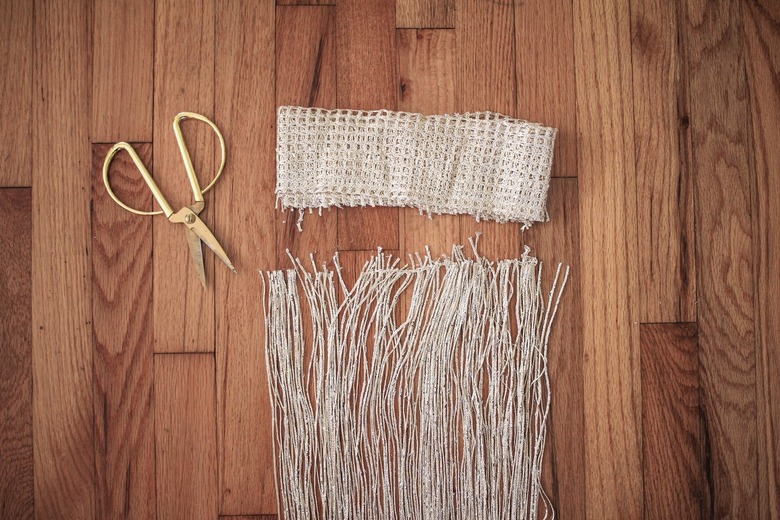
Cut off the top fabric band so you're just left with loose strands.
Step 5
Step 5
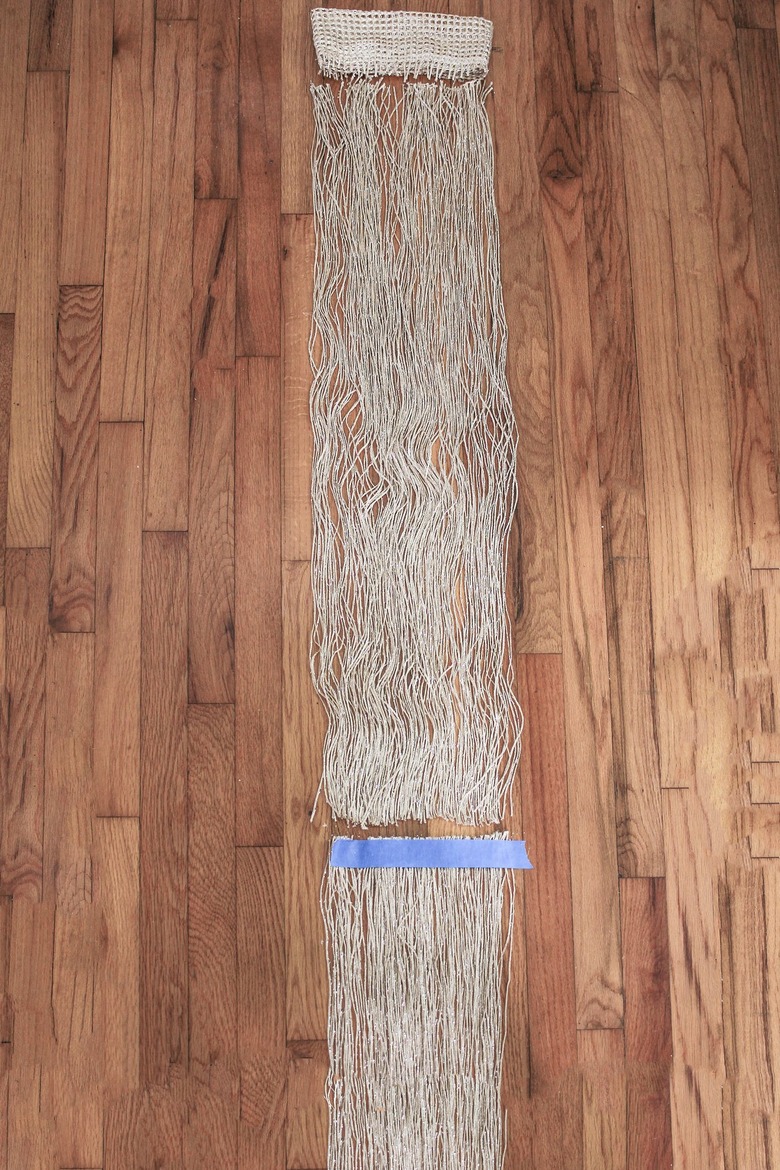
Measure halfway down the length of the strands and cut the strands in half. It helps to first tape the strands down with painter's or masking tape to hold them in place while you cut.
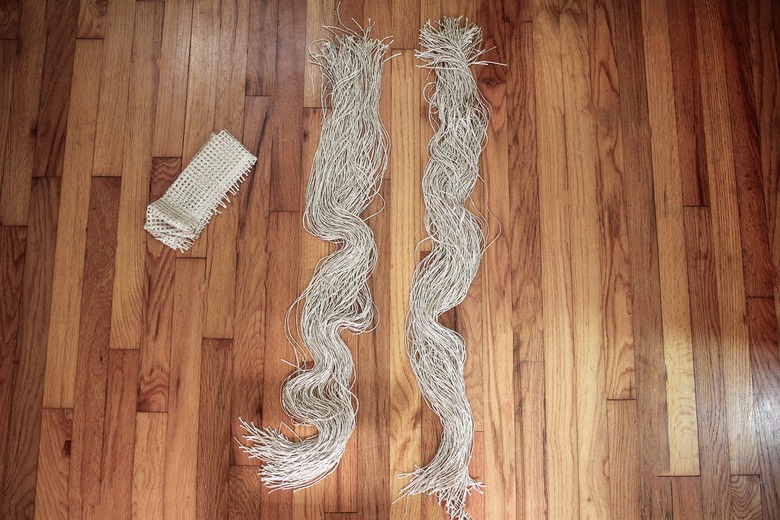
Repeat Steps 2 through 5 with the second curtain panel.
Step 6
Step 6
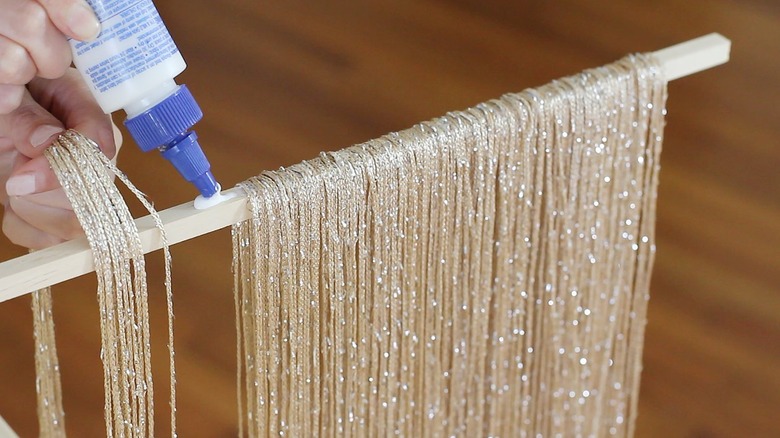
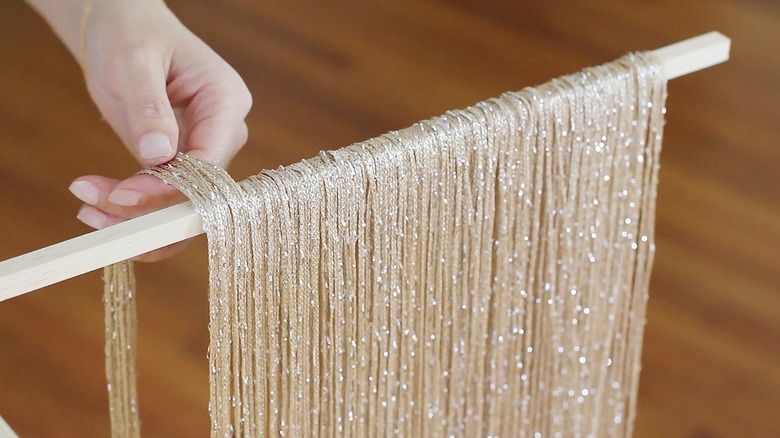
Working in batches of 10 to 15 strands at a time, fold the strands in half, drape them over the wood dowel and glue them in place along the top of the dowel with fabric glue. Folding them in half helps to create a nice thick wall of fringe and also conceals the dowel with a beautiful waterfall effect.
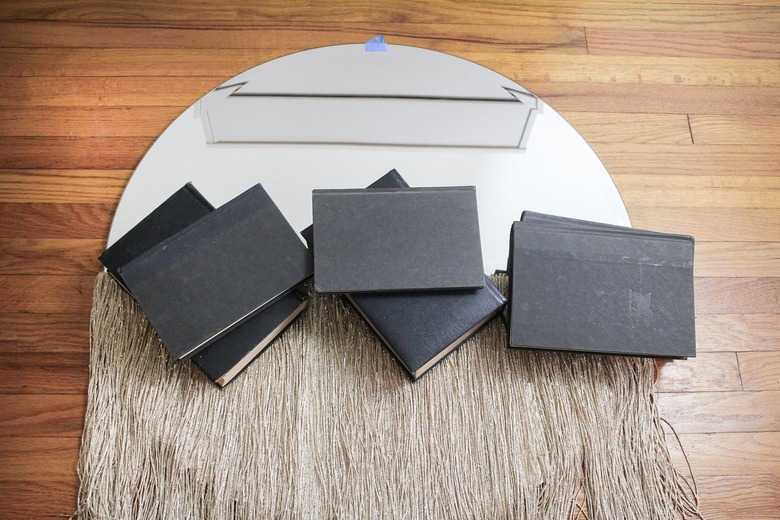
TIP: It's helpful to balance one end of the dowel on the edge of a table while you work (using books to weigh down the other side of the dowel) and then switch ends once the glue is dry.
Be sure to push the strands tightly together as you glue. It's okay if some of the strands are layered on top of each other, as it'll create a thicker fringe. Allow the fabric glue to dry at least one hour.
Step 7
Step 7
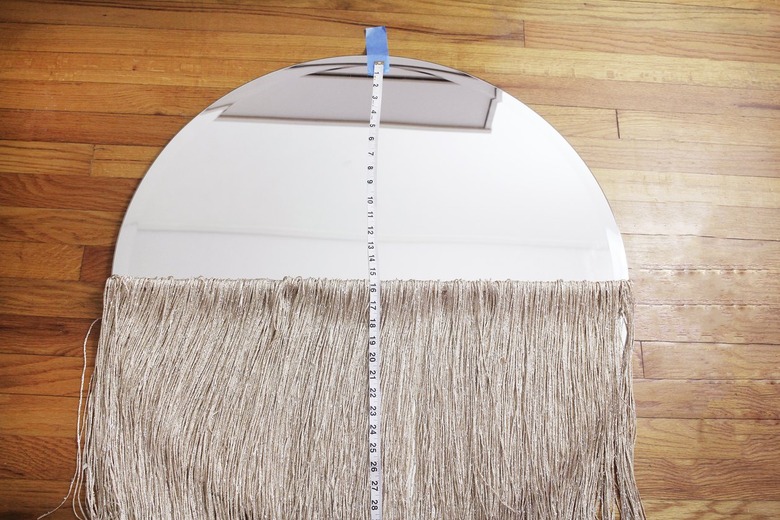
Check the backside of your mirror to see where the hanging hardware is placed, and then mark the top center on the front of your mirror with a piece of painter's tape. Using the tape as a reference point, position the fringe on the front of the mirror, halfway down from the top (in our case, 15 inches for a 30-inch mirror).
Step 8
Step 8
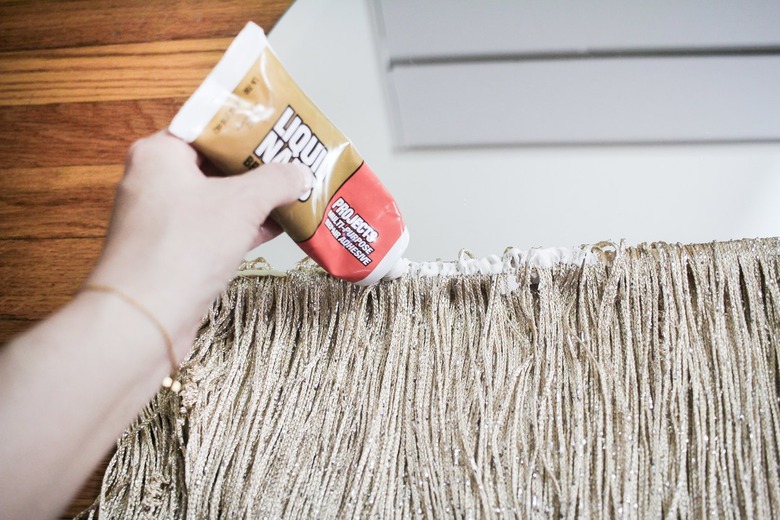
Pipe construction adhesive along the entire back of the dowel — directly on top of the strings — and then press the dowel firmly to the center of the mirror.
Wipe away any excess glue with a paper towel, and then stack a few books on top to hold the dowel firmly against the mirror. Allow the glue to cure fully for at least 24 hours.
Step 9
Step 9
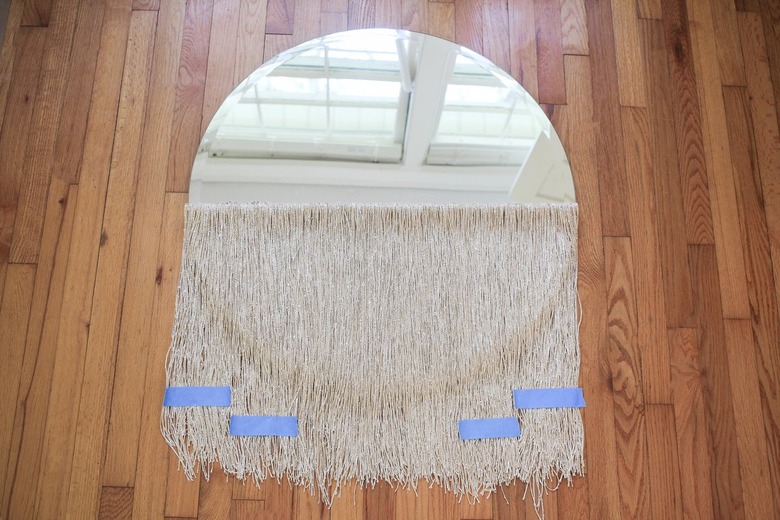
Smooth out the fringe so the strings are nice and straight. Cut four pieces of painter's or masking tape that are five inches long and use them to mark where you will cut the three-tiered shape on the fringe. Since our fringe was 21 inches long, we placed the first tier 14.5 inches down from the top of the dowel and the second tier 16.5 inches down from the top of the dowel.
Step 10
Step 10
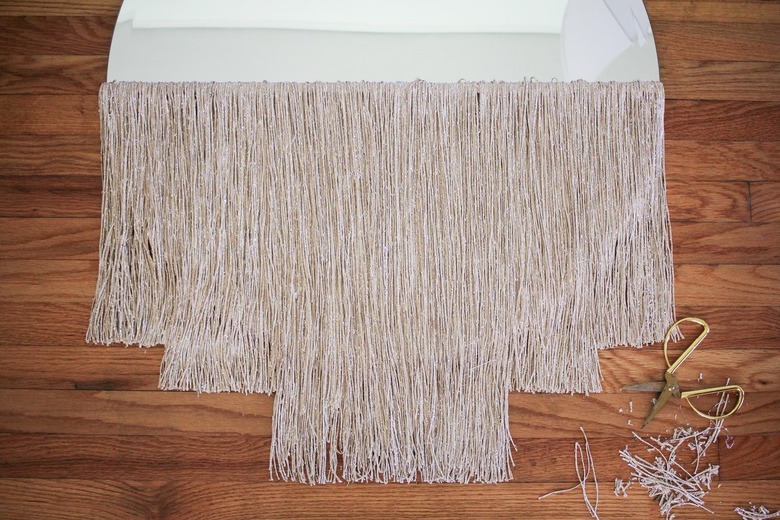
Use scissors to trim off the strands along the length of each tape piece, and then remove the tape pieces. Stand back and trim off any rouge strands as needed. Finally, your mirror is ready to hang.
It's high-end decor on a dime. Now that's what we're talking about.
