How (And When) To Paint Wood Floors
To hardwood purists, painting a wood floor is almost a sin, but sometimes there's no better way to reclaim an old floor. For example, your floor may be engineered hardwood, and you may have over-sanded it and worn through the veneer. Or consider an old solid wood floor that has already been over-sanded and will be destroyed if you try to sand it again. Painting is an alternative to replacement that can extend the life of such floors for several years.
You don't have to be contemplating replacement to consider painting your floor, even if you're a purist. In fact, a painted wood floor can look just as attractive as a natural one, and in some cases it can look even better. In many ways, paint is easier to maintain than clear floor finish, and when the paint wears thin, it's a simple matter to apply a refresher coat.
Painting a wood floor is a less demanding task than refinishing it with clear finish, but as is true for every decorating job, you get the best results if you use the right method the first time around. Proper preparation is key, and that includes making necessary repairs.
Tip
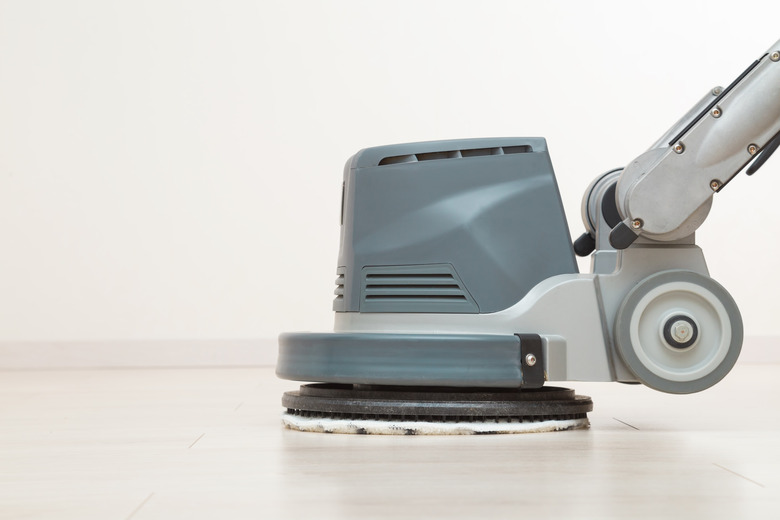
You don't have to sand off the old finish of your wood floor before painting, but you do have to scuff it to ensure the new paint will adhere. You may want to rent a floor buffer for this.
Choosing Paint
Choosing Paint
Conventional paints aren't tough enough to use on floors. The best options are oil- or water-based porch and floor enamels, but these don't come in a wide range of colors. If you can't find a color you like, check the selection of trim enamels at the paint store. You can often get trim enamels custom-mixed to produce the hue and shade you want, but be prepared to topcoat with at least two protective layers of clear polyurethane finish, because these products won't stand up to foot traffic by themselves.
If the existing finish has worn down to the bare wood anywhere on the floor, you'll also need primer. Be sure to get a product that is compatible with the paint you're using. When in doubt, a generic floor primer or a high-solids stain-blocking primer are both good choices.
Preparing Your Wood Floor for Painting
Preparing Your Wood Floor for Painting
Floor paint adheres well to most floor finishes as long as the finish has been de-glossed. The most effective way to do this is to scuff it with 120- or 150-grit sandpaper. That can be a tough job if you have to do it with a pad sander, especially if the floor is large. Make things easier for yourself by renting a floor buffer and a sanding screen. Affix the screen to the buffer pad and run the buffer over the entire floor as if you were polishing it. The screen will flatten the old finish while it de-glosses, and you'll be left with a smooth surface ready for fresh paint.
Follow these steps to prepare your wood floor for painting:
- Screen the floor.
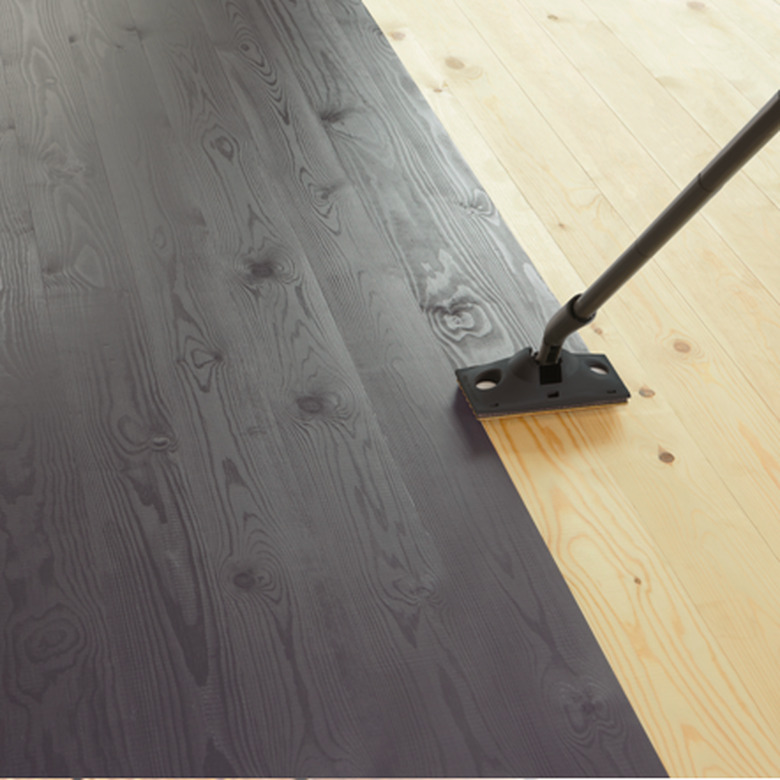
- Vacuum the surface well.
- Tack the floor with a damp cloth.
- Test paint adhesion by applying a small amount to a non-conspicuous part of the floor and letting it dry overnight.
- Scrape over the test spot with a scraper to make sure it stays put. If it does, you're good to go. If you can scrape the paint off easily, the floor may need more preparation, such as a wash-down with trisodium phosphate and water, or you may need to use different paint.
How to Paint a Wood Floor
How to Paint a Wood Floor
Before you actually start painting, be sure to plan your escape. Choose your exit door and start painting in the opposite corner of the room. Be sure to provide plenty of ventilation by opening windows unless the weather is unusually humid. In that case, turn on the central air system, which will reduce humidity and speed the drying process. In all cases, you'll want to be wearing a respirator.
1. Prepare the Baseboards
Remove the baseboards or tape them so you son't have to worry about getting paint on them. Removing the baseboards eliminates the need to cut in around the edges of the floor with a paint brush, which saves time and avoids having edges that look slightly different than the rest of the floor.
2. Apply the First Coat of Paint
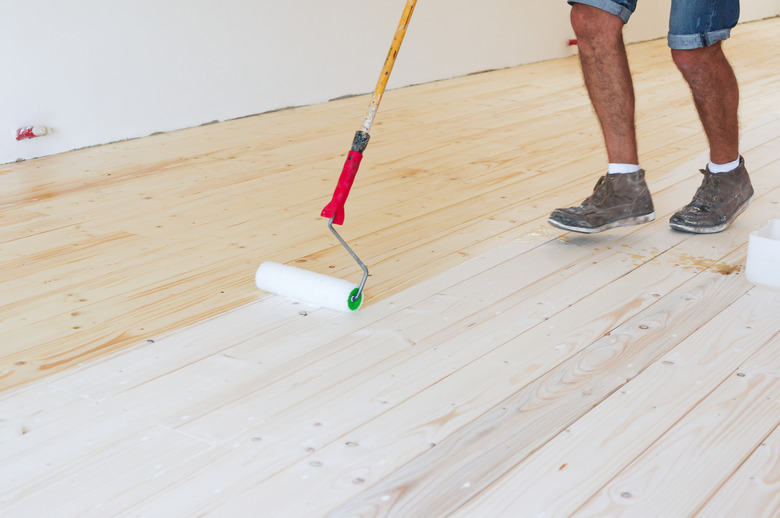
Paint the floor with a roller or a paint pad on the end of a 4-foot extension pole. If you use a roller, you can load it in a paint tray the same way you would if you were painting walls. When using a pad, you may find it more efficient to pour the paint on the floor and drag the pad through it from one side of the room to the other. In both cases, you'll want to move the applicator tool in the same direction as the wood grain—cross-grain strokes will be noticeable when the paint dries.
Apply a thin coat with the first layer. It's okay if you leave a few voids or holidays (thin spots). The paint won't dry properly if you apply it too heavily, and subsequent coats will cover any thin spots.
3. Apply Additional Coats of Paint
- Let the paint dry for at least 24 hours and test it before walking on it.
- If you're after the smoothest possible finish, buff the floor again with a sanding screen, being careful to vacuum and tack thoroughly when you're done.
- Apply a second coat of paint.
- If the color is uniform and you're happy with the finish, you're done, but if not, apply a third coat.
4. Top-Coat with Two Coats of Clear Polyurethane
Apply a protective coat of clear polyurethane, using the paint pad and the pour-and- drag method. If you use a water-based product, the finish will dry in about 2 hours, so you can apply a second coat on the same day. If you use an oil-based product, you'll have to wait overnight before applying a second coat.
Wait for two or three days before opening the room to traffic or moving furniture around. Most finish products require that long to crosslink and become impact resistant.


