Illuminate Your Yard With A Beautiful DIY Outdoor Torch
We may receive a commission on purchases made from links.
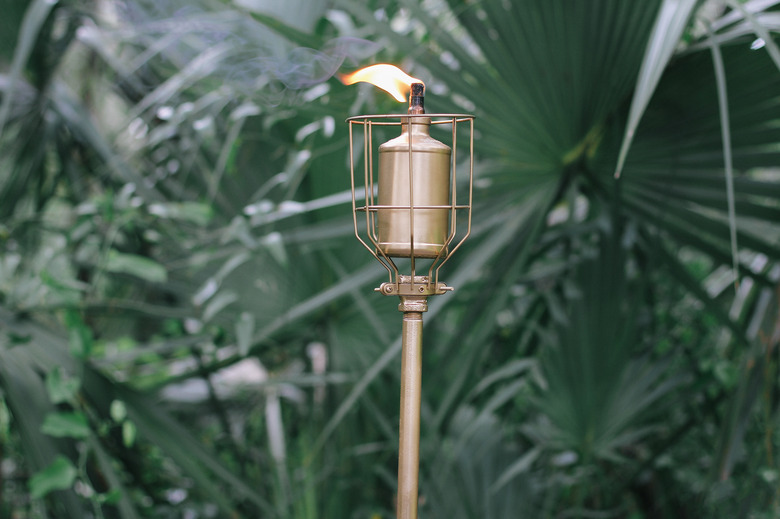
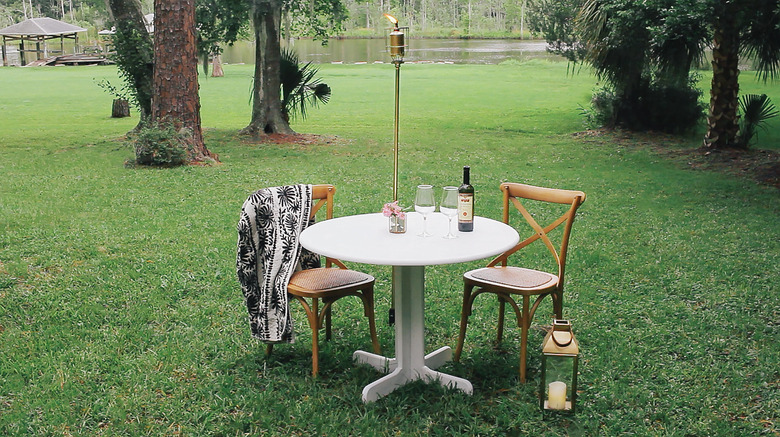
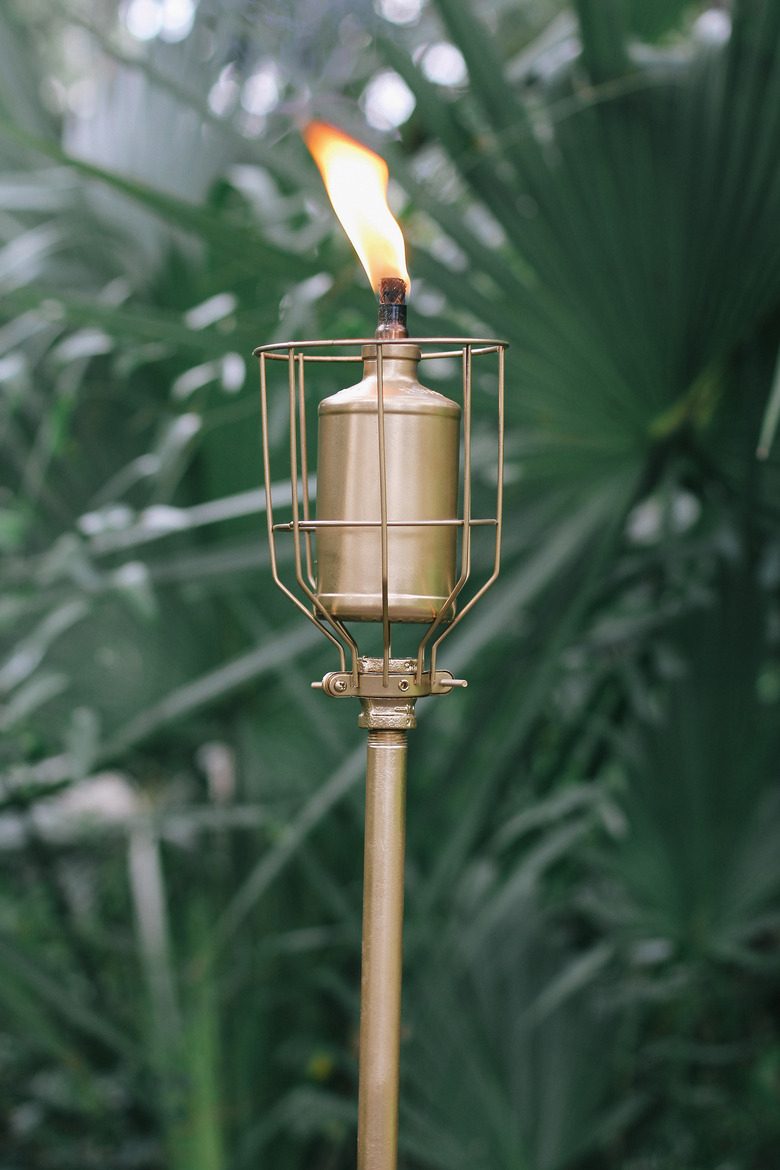
When balmy summer nights call for dining beneath the stars, nothing spoils the fun more than the buzz and bite of mosquitoes. Banish those unwelcome guests with a beautiful citronella torch, which pulls double duty as outdoor lighting and bug repellent. With its sleek lines and brassy finish, this DIY torch offers a serious style upgrade from the bamboo tiki torches you find at the store. A little bit industrial and decidedly modern, you'll brighten up your backyard in style while also keeping the bugs at bay.
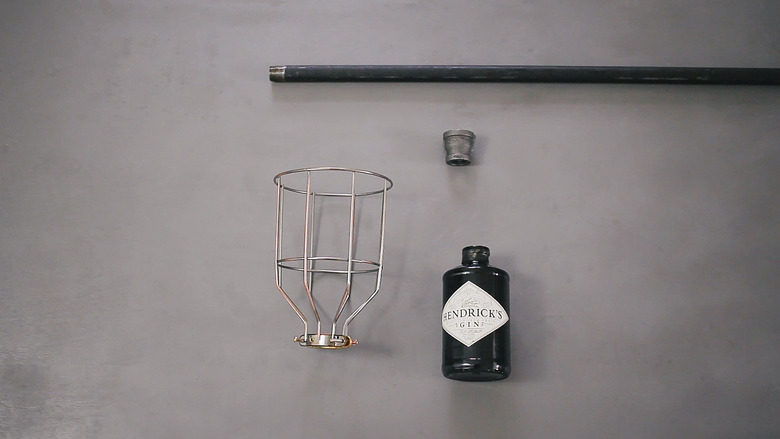
Things Needed
-
1/2-inch-by-5-foot steel pipe
-
3/4-inch-by-1/2-inch steel coupling
-
Screwdriver
-
Recycled glass bottle
-
Funnel
-
Citronella torch fuel
-
Torch replacement wick
-
1/2-inch-by-3/8-inch copper coupling
-
Plumber's tape
Step 1
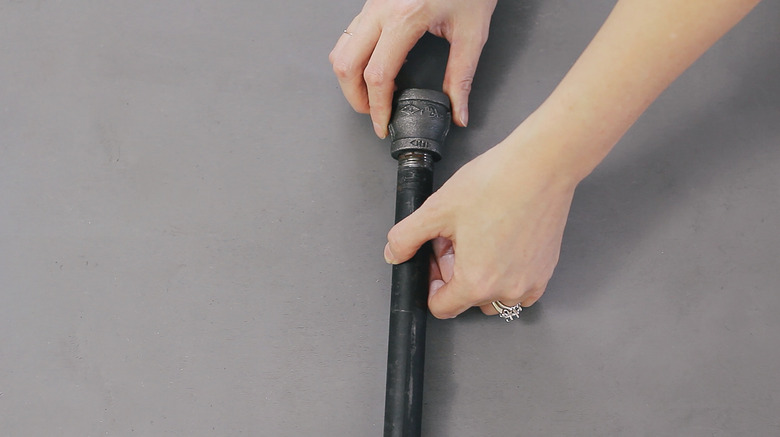
Twist the 3/4-inch-by-1/2-inch steel coupling onto one end of the steel pipe until the two pieces are tightly fitted together.
Step 2
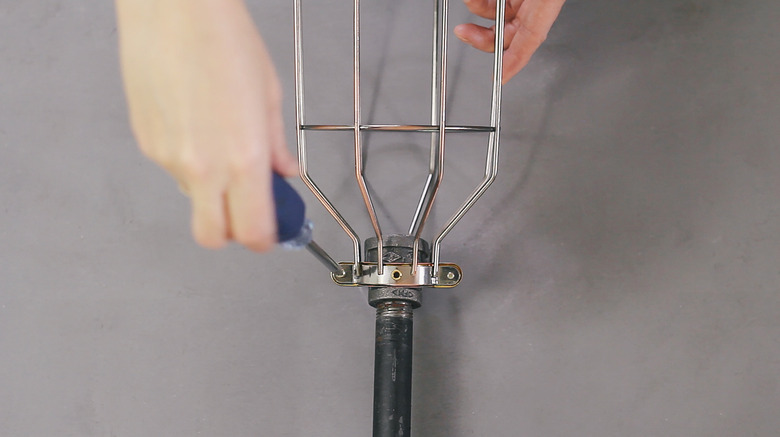
Slide the light bulb cage onto the widest part of the coupling and tighten the screws to secure it firmly in place. Make sure the fit is super tight so that the light bulb cage won't slide down.
Step 3
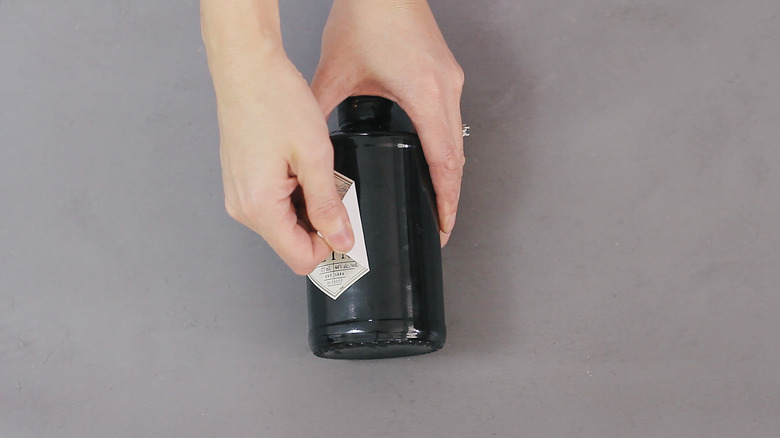
Peel the label off an empty glass bottle, rinse it out, and dry it thoroughly. You'll want to choose a bottle that is small enough to fit inside the light bulb cage but has a wide enough base that it won't be wobbly inside the cage. We particularly liked the cylindrical lines of this gin bottle (375ml).
Step 4
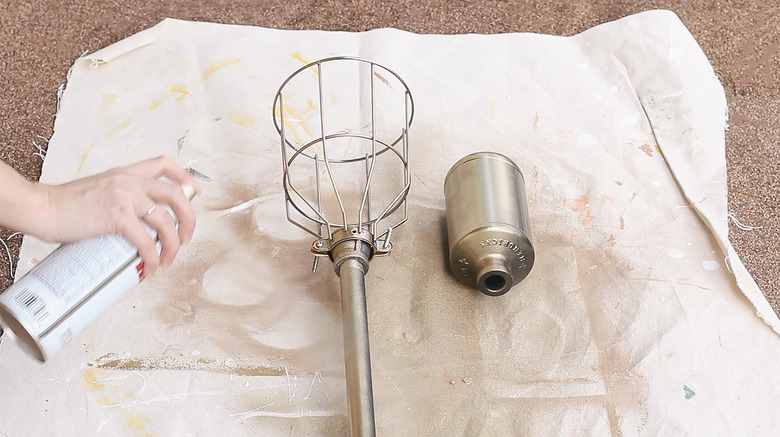
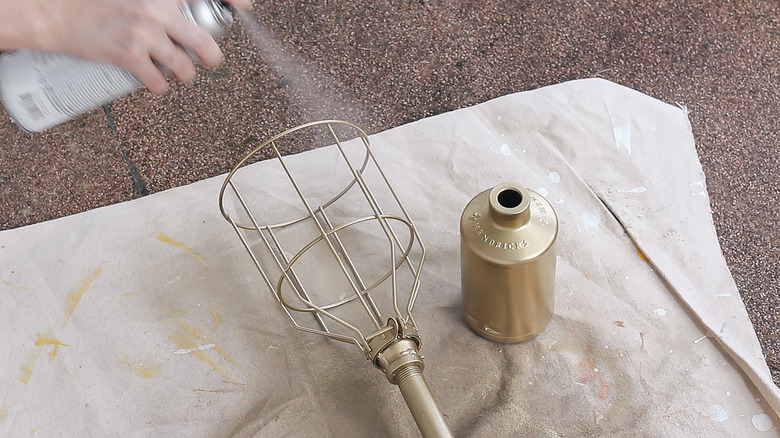
Spray paint both the bottle and the torch with a gold/brass paint. It's best to paint several light coats, allowing adequate drying time in between each coat.
Step 5
Once the paint has dried, spray both the bottle and torch with several coats of clear gloss topcoat that is rated for high heat (generally found in the hardware store near the paint for barbecue grills or cars).
Step 6
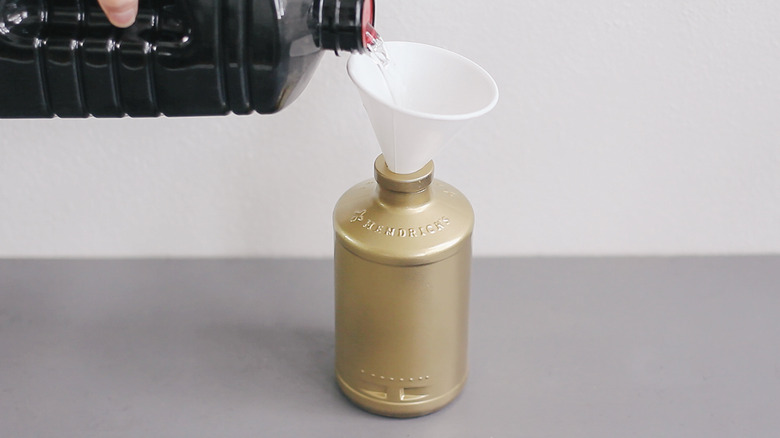
Place the funnel in the mouth of the bottle and pour citronella torch fuel into it, filling the bottle about three-quarters of the way full. Don't fill it all the way because you don't want it to overflow when you add the wick.
Step 7
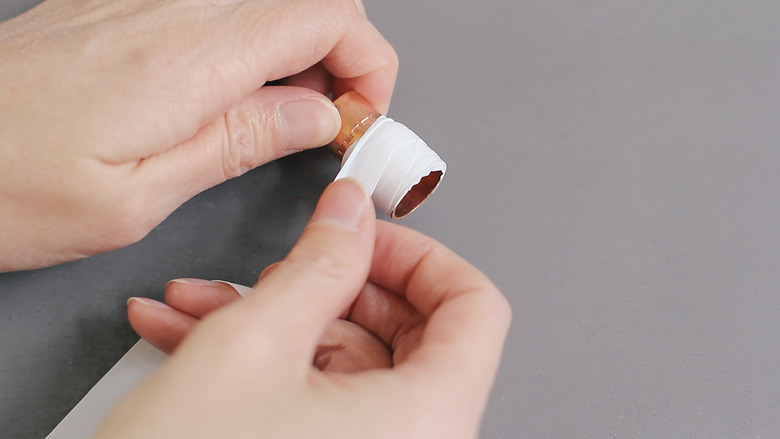
Wrap the wider end of the 1/2-inch-by-3/8-inch copper coupling with plumber's tape so it will fit snugly in the mouth of the glass bottle.
Step 8
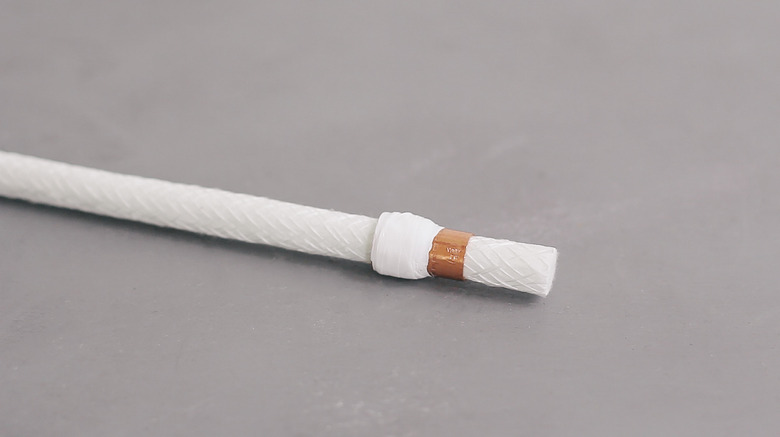
Slide the torch wick into the copper coupling.
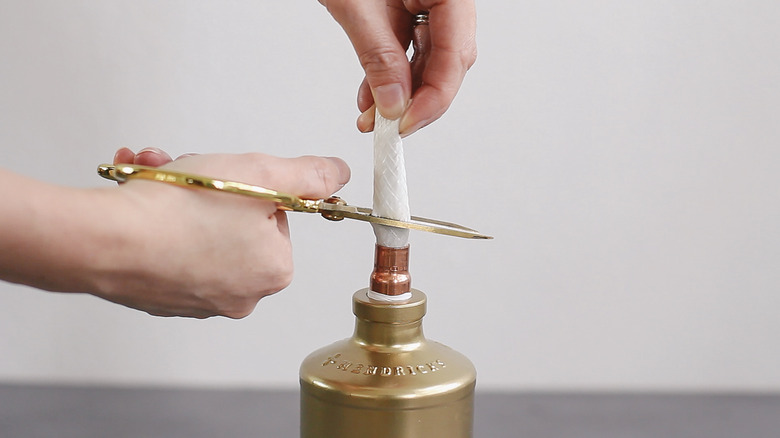
Place the wick into the bottle so that the coupling sits snugly in the mouth of the bottle. Then trim the wick to a half inch to keep the flame from getting too high.
Step 9
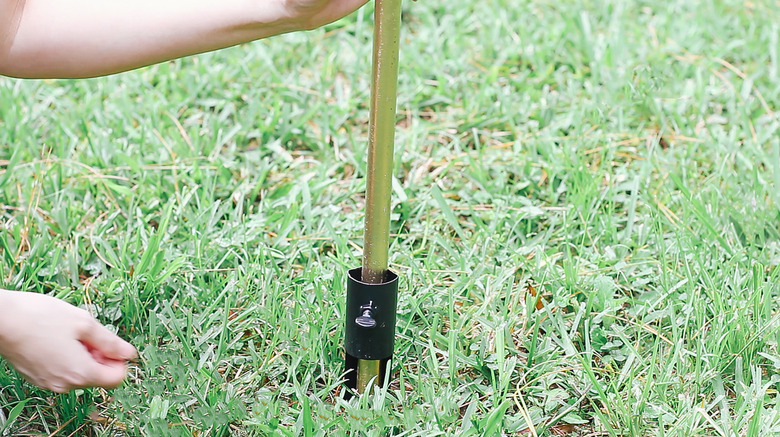
Install the torch securely in the ground with a handy torch stake.
Place the bottle inside the light bulb cage, and light 'er up!
Now your yard looks fabulous, and you can enjoy those warm and bug-free nights all summer long.
