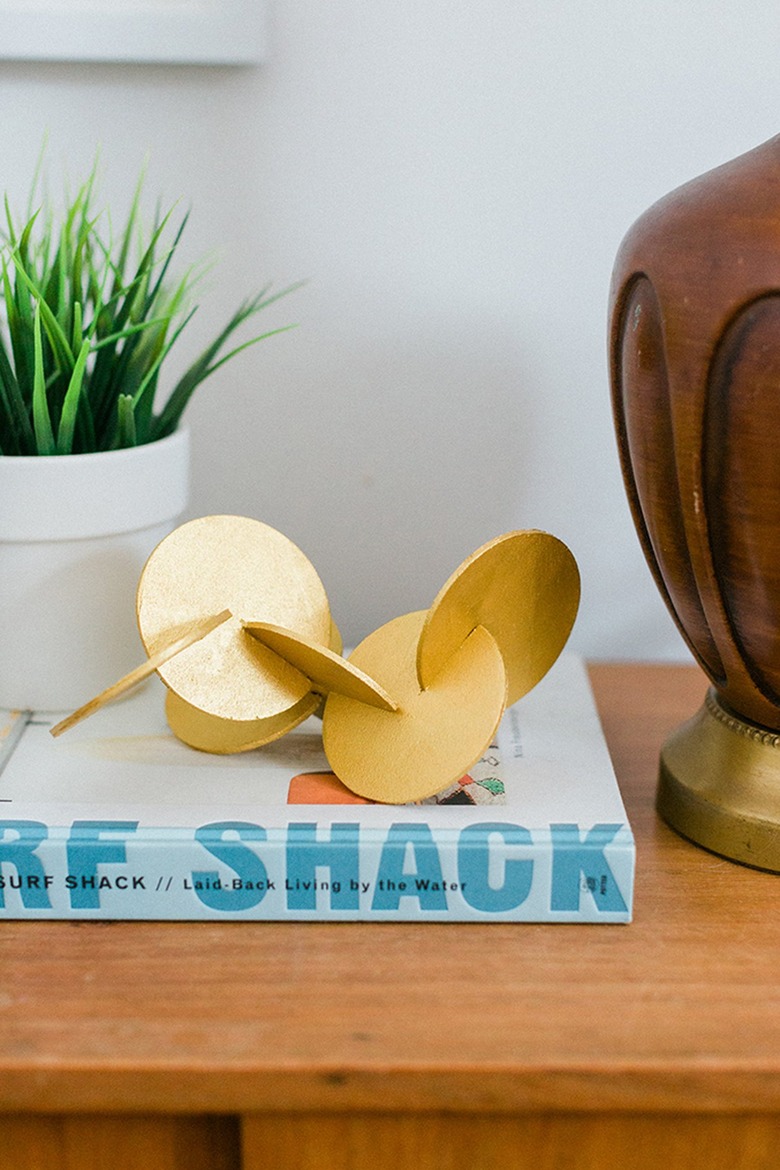
DIY Geo-Disc Object (Abstract Art For Only A Few Dollars)
Hunker readers, we know you love designer art that won't break the bank, and we don't blame you. We're all about getting the most bang for our decorating buck, so we crafted a tutorial on how to make your own designer-inspired DIY geo-disc object that looks anything but cheap (even though it just cost a few dollars to put together). We know what we're doing this weekend. You too?
Things Needed
-
3-inch wood craft discs, ( 6 )
-
Hand saw
-
120-grit sandpaper
-
Tacky glue
-
Scrap cardboard
-
Paint brush
-
Metallic gold paint
Step 1
Step 1
Use a hand saw to cut a slit into each disc, going about halfway through the circle. (Be careful and handle with care!)
Step 2
Step 2
Slip sandpaper between the slit and move it back and forth to make it bigger. Keep an extra disc handy so you can test the width of the slit as you go. You'll want it to be able to fit snuggly over another disc.
Step 3
Step 3
Squeeze a line of tacky glue along each slit, and slide the discs together as seen in the pattern featured in the photo below, or in any random sculptural way. (There's no wrong way to do it!) Wipe away any excess glue with your fingertips or a damp paper towel.
Step 4
Step 4
Use a paint brush to coat the entire finished object in metallic gold paint. Allow to dry for 30 to 60 minutes, and then paint on another layer. Repeat until you can no longer see the wood finish underneath.
Step 5
Step 5
Allow the finished object to fully cure overnight, and then place it on a credenza, bookcase, or coffee table where it can be admired!


