DIY Copper Candelabra = Spooky Chic Halloween Decor
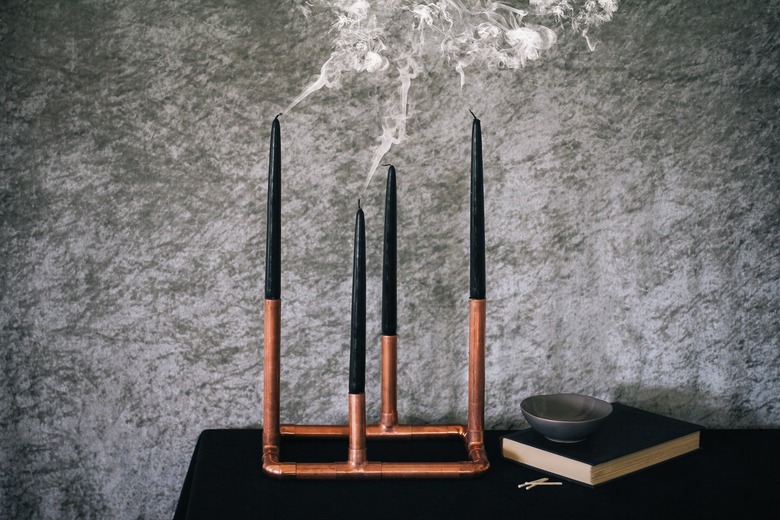
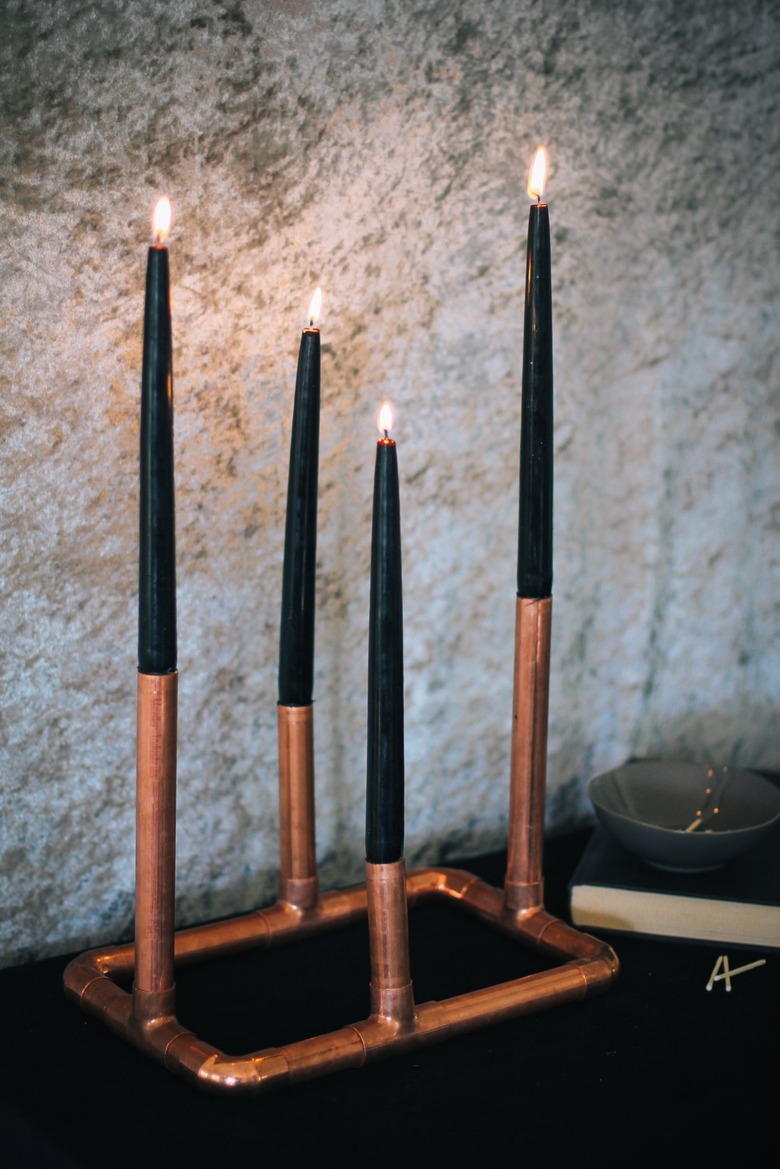
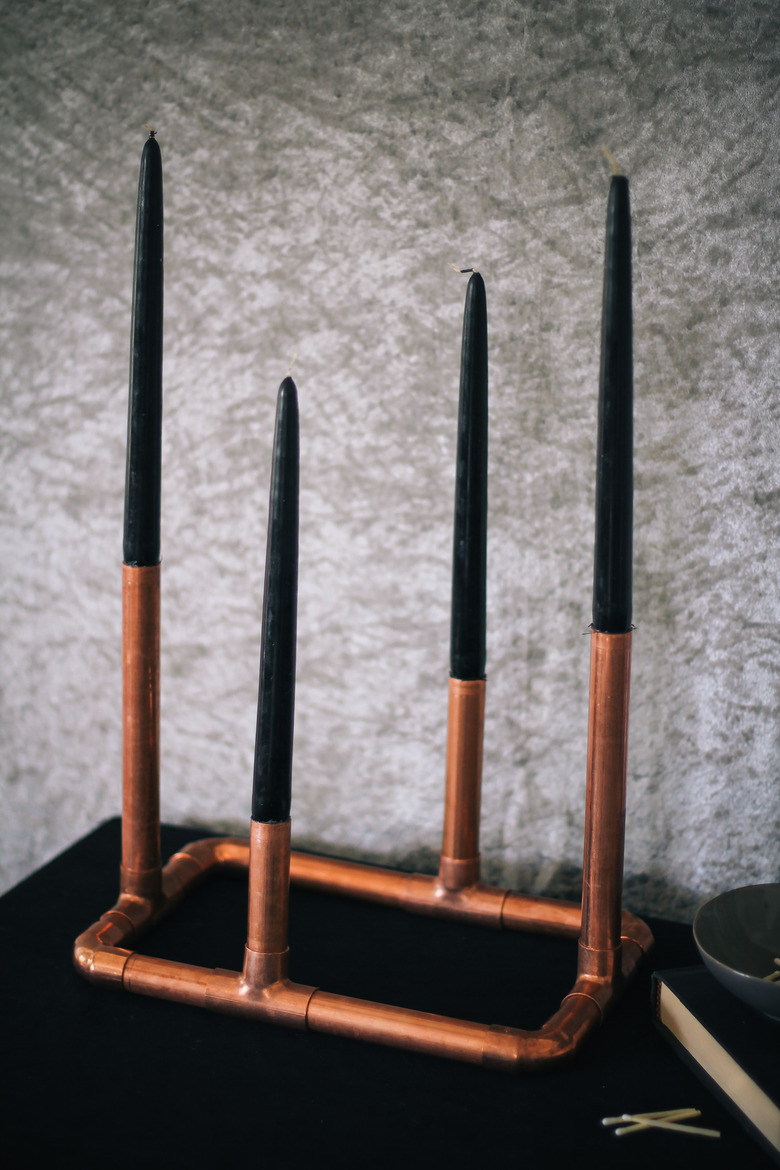
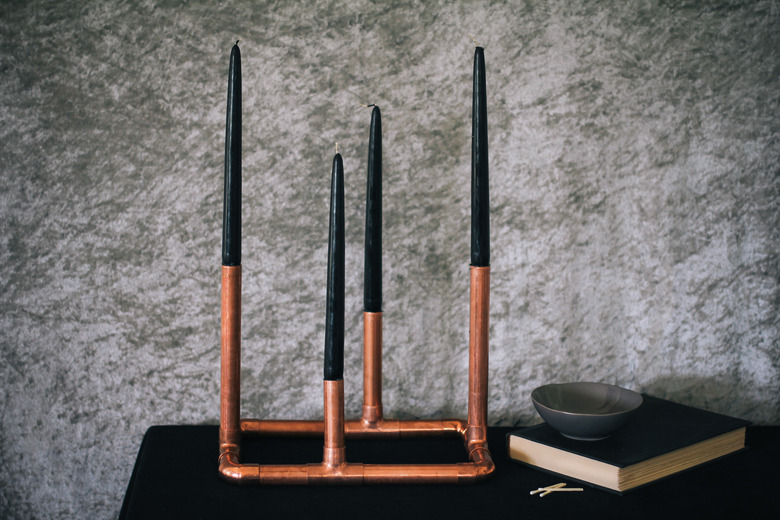
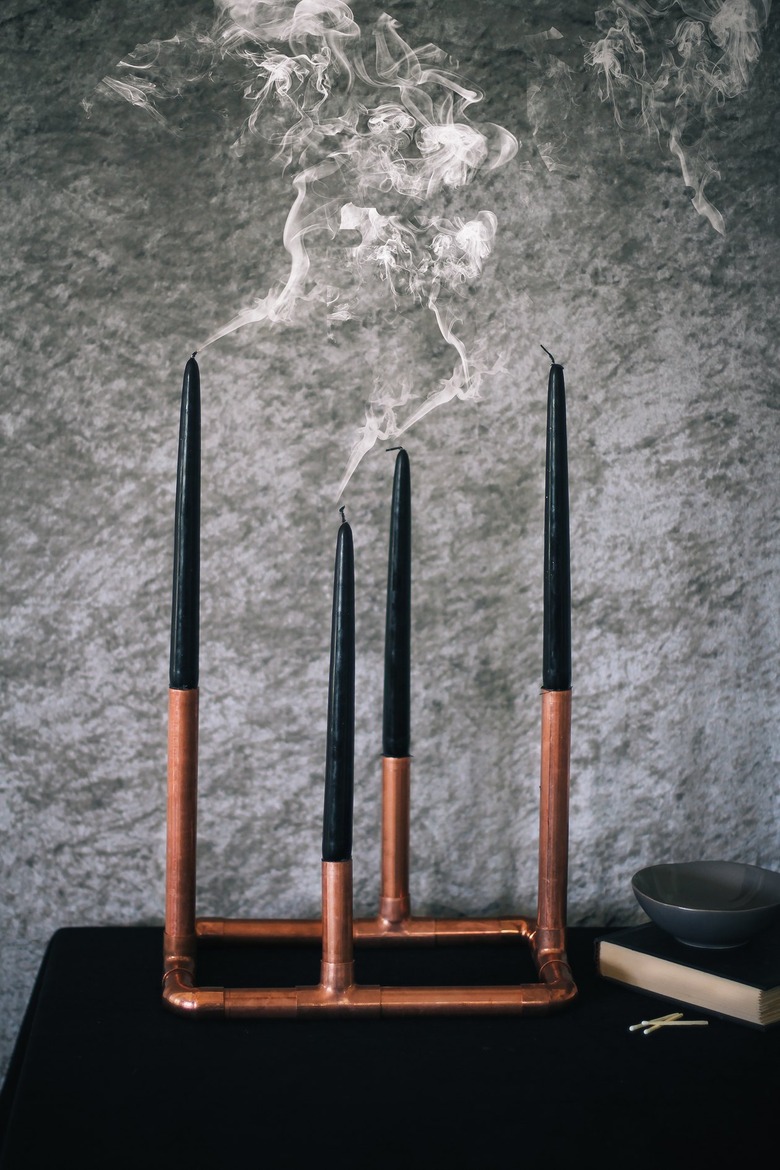
If traditional orange-and-black Halloween decor is not your vibe, trust us when we say spooky chic is a thing. And this DIY candelabra proves it. Fashioned from copper pipe, its sleek lines are modern and stylish while still offering a bit of eeriness, especially when paired with black taper candles for an extra Gothic touch. Leave the kitschy cauldrons and fake spiderwebs for the haunted house down the street — this candelabra is festive for All Hallows' Eve but sophisticated enough to keep up all year round.
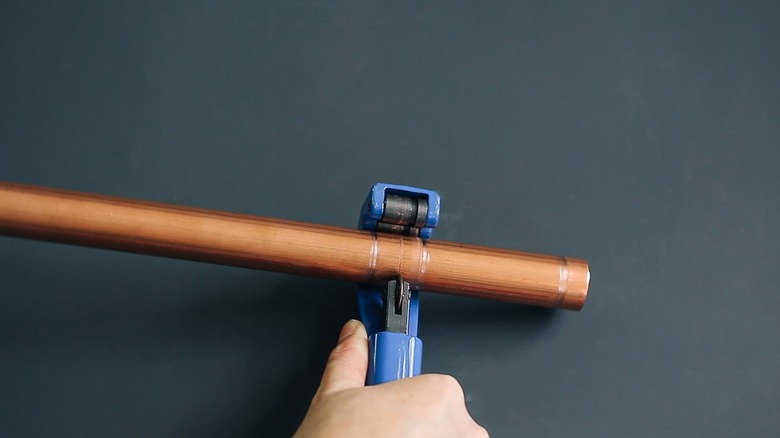
1. Cut the pipes.
Use the pipe cutter to cut the copper pipe into the following sizes:
- 8-inch pipes (2)
- 5-inch pipes (3)
- 3-inch pipes (3)
- 2-inch pipes (4)
2. Assemble the base.
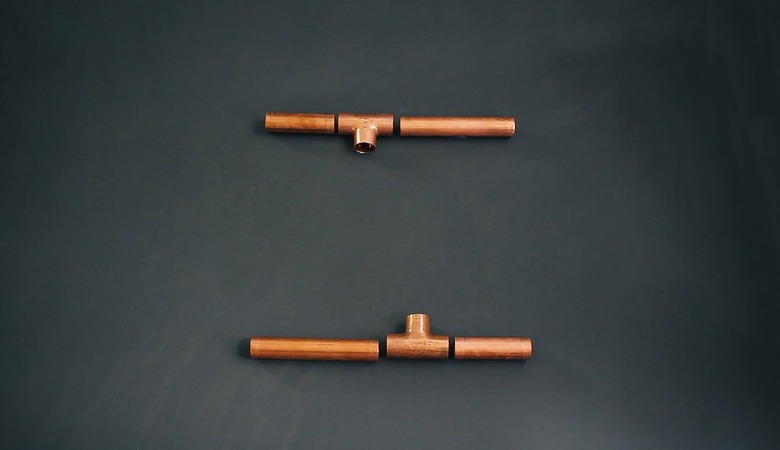
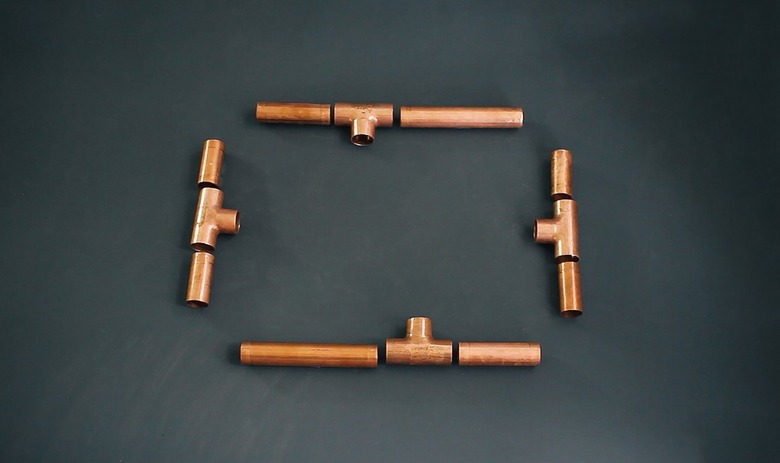
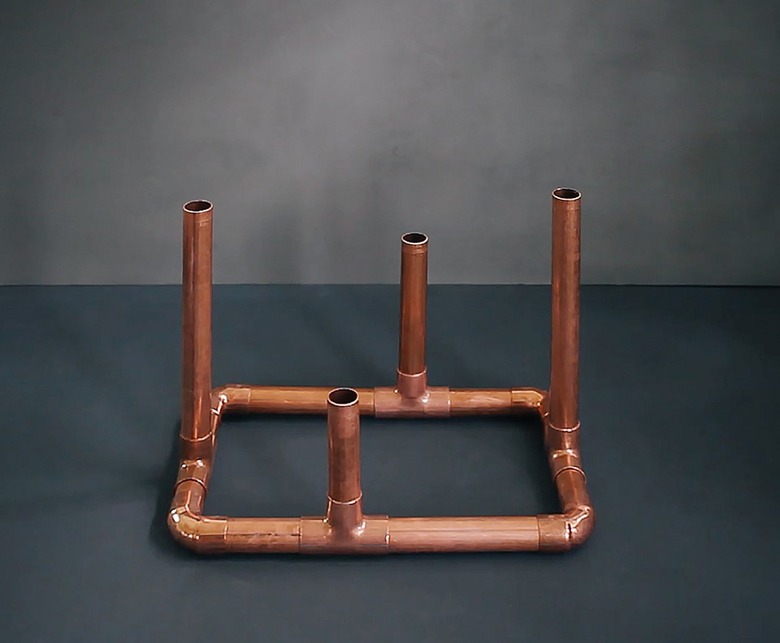
Start with the first long side by laying out a tee joint in the center with a 3-inch pipe on one side and a 5-inch pipe on the other side. Reverse the order on the other long side so that the 5-inch pipe and 3-inch pipe are on the opposite side of the tee joint. This will stagger the candles when it's time to add the arms.
Now lay out the two short sides of the base. Start with a tee joint in the center and add a 2-inch pipe on each side.
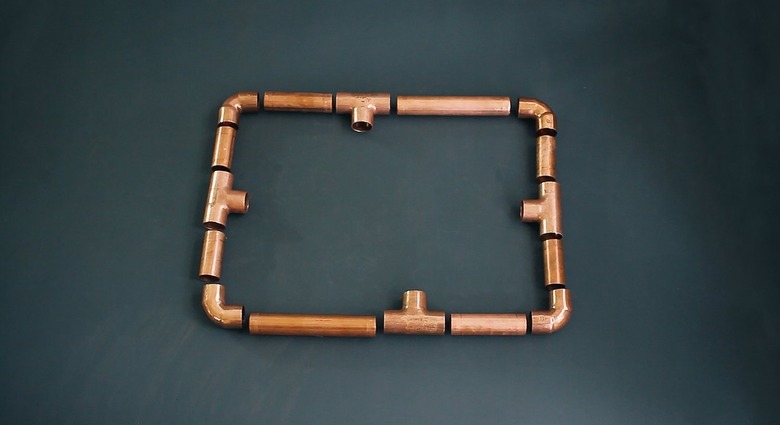
Then add a 90-degree elbow in each corner to form a rectangle.
3. Glue the base together.
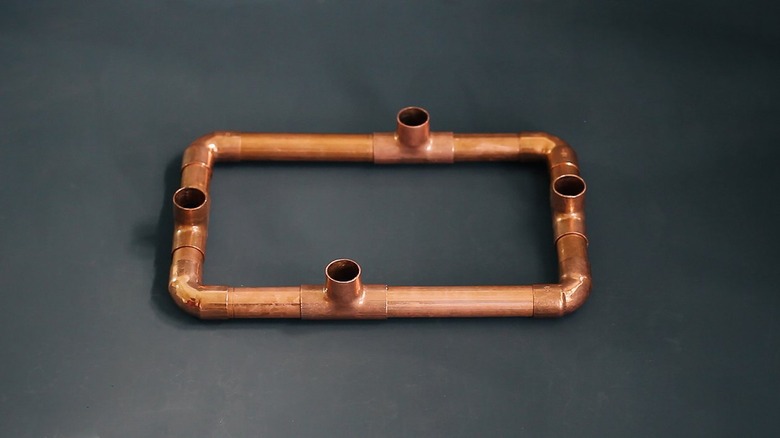
Dry fit all of the pieces together and then turn all the tee joints upright.
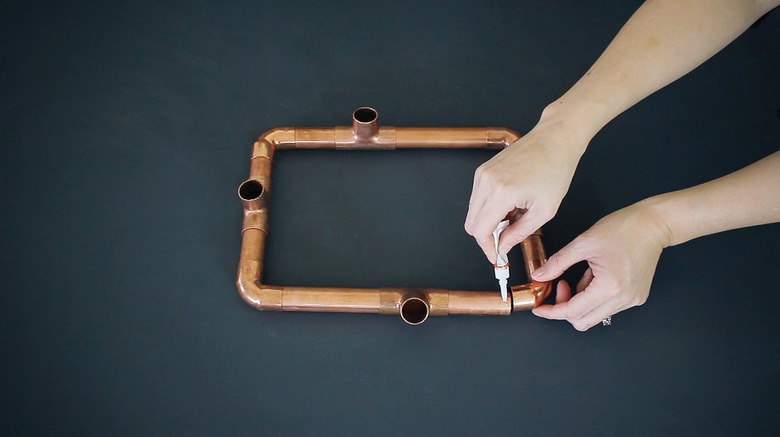
Glue the pieces together with an industrial strength glue.
4. Assemble the arms.
Place the two 8-inch pipes vertically in the tee joints on the short sides of the base. Place the 5-inch and 3-inch pipes vertically in the tee joints on the long sides of the base. Glue them in place.
Once the glue is dry, you're all set to insert the taper candles into the arms.
Slightly spooky but majorly chic, this candelabra will add some moodiness to your decor without screaming Halloween. And the best part? You don't have to stash it away in a storage bin for the rest of the year.
Note: To keep your copper clean, all you need are some simple ingredients found in your kitchen.
