This DIY Waxed Canvas Holder For Your Holiday Tree Can Actually Be Used Year-Round
If you happen to be short on space, a tabletop Christmas tree can be a smart solution during the holidays. And luckily you don't have to skimp on style. This DIY fabric planter upgrades a basic pot or tree with minimalist Scandinavian charm, while the waxed canvas and leather handles add a rugged, outdoorsy feel. By waxing the canvas, you'll bring out the beautiful texture of the fabric, as well as create a water-resistant holder for your tree. The best part is that you can use the fabric planter for your indoor greenery long after the holidays are over.
Things You'll Need
Things You'll Need
- Tape measure
- Scissors
- Canvas fabric (aka duck cloth)
- Sewing machine, or needle and thread
- Lint roller
- Fabric wax
- Tooling leather or faux leather
- Leather hole punch
- Brass rivets
- Rivet setter or hammer
Step 1
Step 1
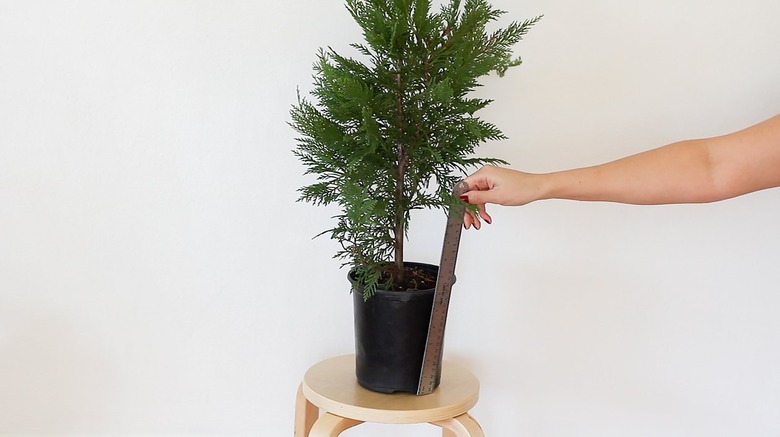
Measure the height of the pot in which your tree is planted.
Step 2
Step 2
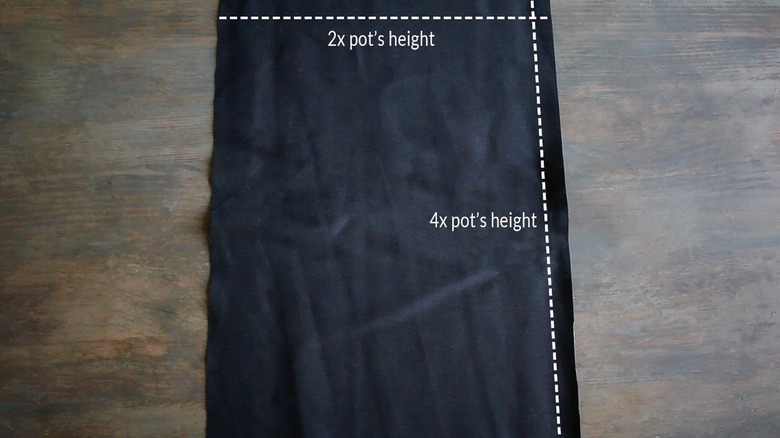
Cut a piece of canvas fabric that is at least two times by four times the height of your planter pot. For example, if your pot is six inches high (as seen in this project), cut your fabric to at least 12 inches by 24 inches. You can cut it larger than these dimensions to create a taller and wider canvas planter; just don't cut it smaller, or your pot won't fit inside.
Step 3
Step 3
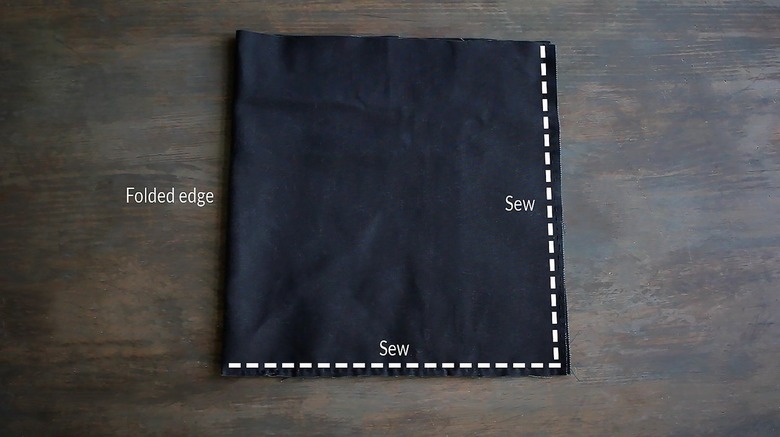
Fold the longer side of the fabric in half and sew along the bottom and open side with a 1/4-inch seam allowance. Leave the top open.
Step 4
Step 4
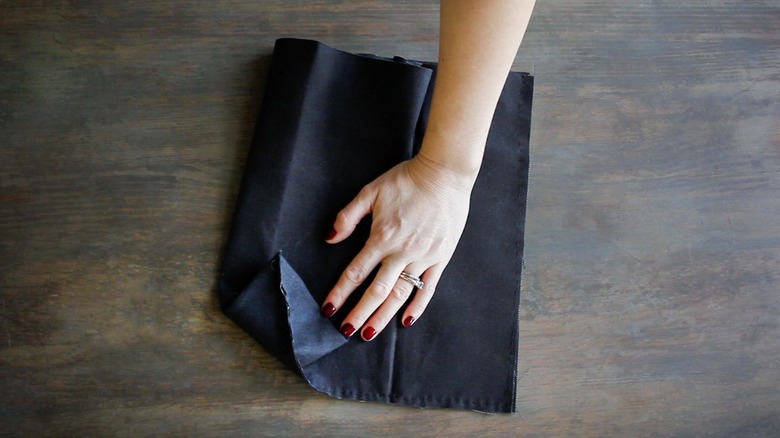
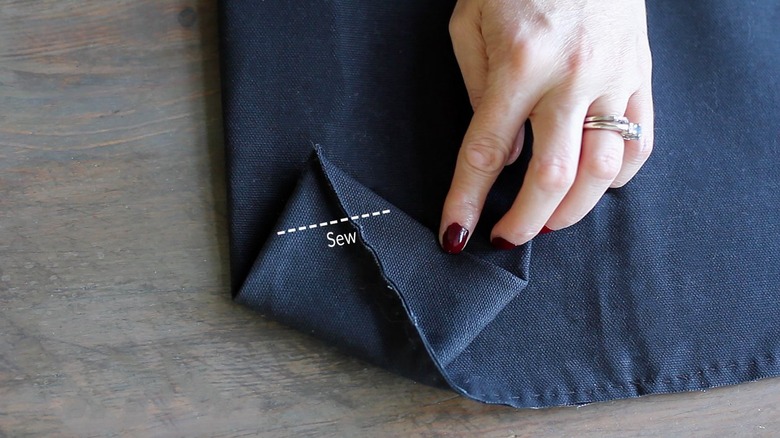
Place your hands inside the bag and push up one of the corners to form it into a triangle.
Step 5
Step 5
Measure one to two inches down from the tip of the triangle and sew a straight line across the triangle. Note: The farther down from the tip of the triangle you sew, the wider the base of the canvas planter will be.
Step 6
Step 6
Cut off the excess fabric on the tip of the triangle (above the line you just sewed). Repeat the same process with the other corner. Doing this will create a canvas bag with "boxed corners" that can sit up versus a bag that lays flat.
Step 7
Step 7
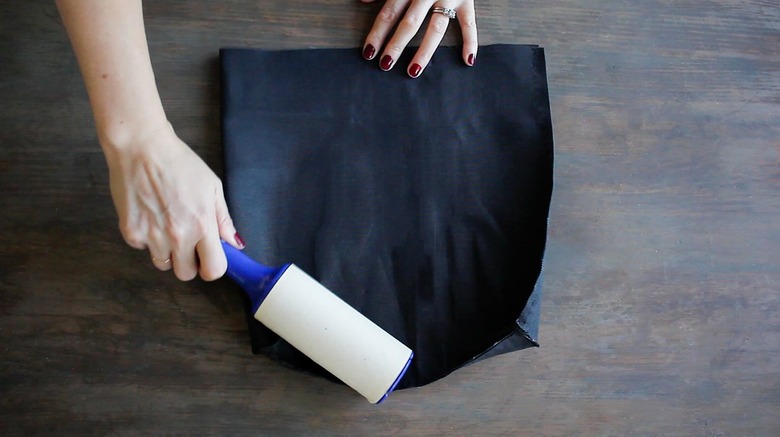
Flatten the corners back out, and use a lint roller to remove any dust or lint from both sides of the canvas bag.
Step 8
Step 8
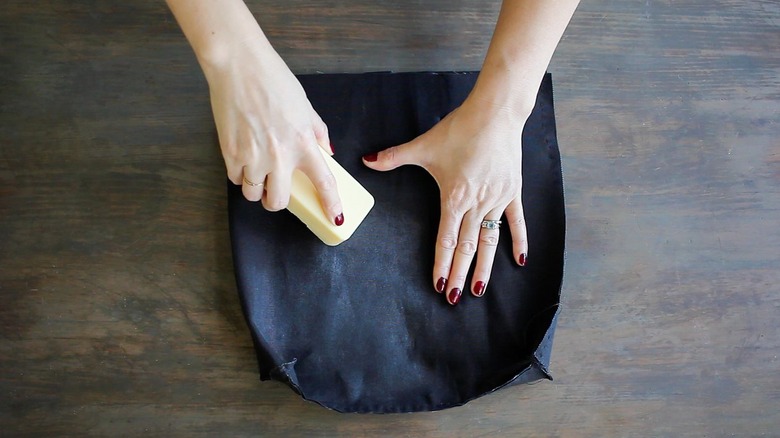
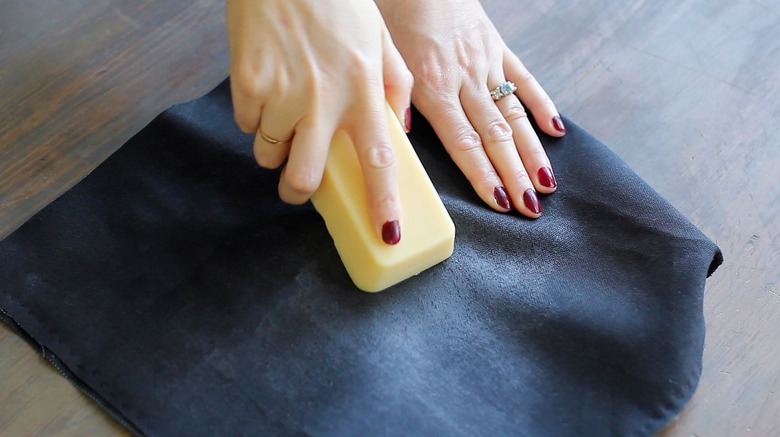
Working in sections, rub the bar of fabric wax onto the canvas with quick back and forth motions to create friction. This will warm up the wax and make it easier to spread. You'll notice the color of the fabric change as you coat it with wax.
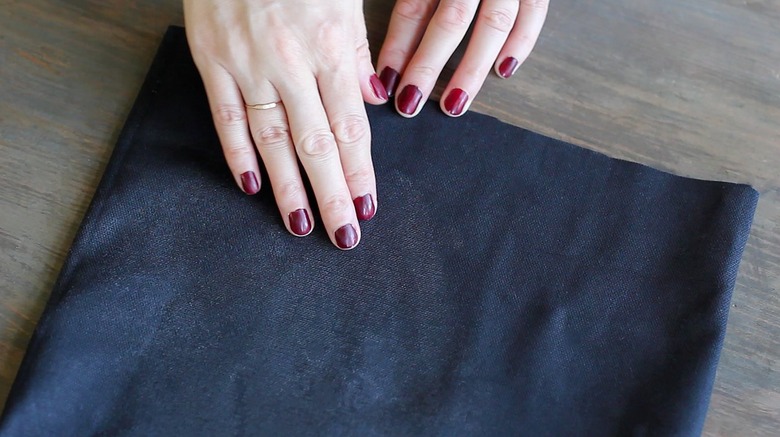
As you go, rub the wax into the canvas with your fingers to really work it into the fibers. Continue until you have coated both sides thoroughly.
Then turn the bag right side out, remove any lint with the lint roller, and coat both sides with wax using the same process.
Step 9
Step 9
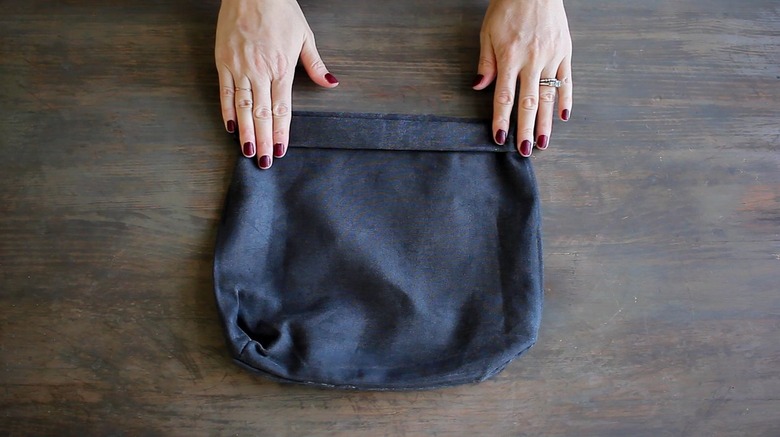
Once the inside and outside of the bag have been coated with wax, fold down the top of the bag twice to form a cuff, which will hide the raw edge.
Step 10
Step 10
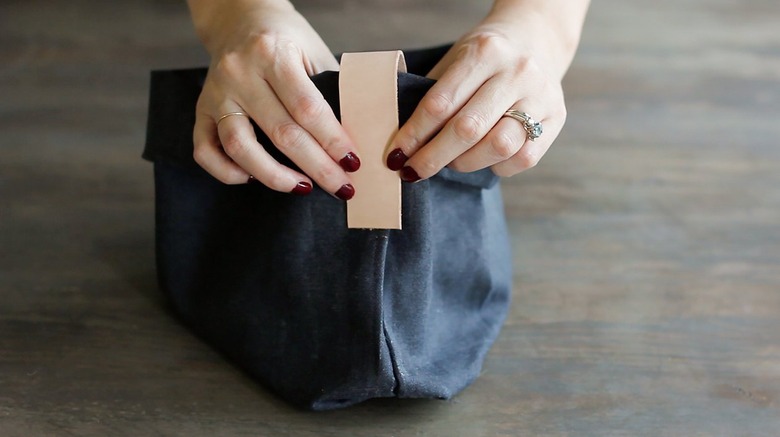
Cut two strips of tooling leather or faux leather that are long enough to fold over the cuff of the bag to create a handle on each side.
Step 11
Step 11
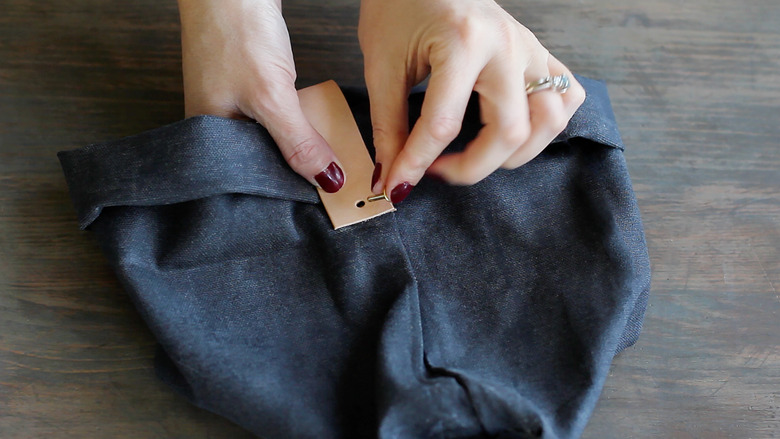
Fold one of the leather strips in half over the side of the canvas bag so that half of the strip is outside of the bag and the other half is inside the bag.
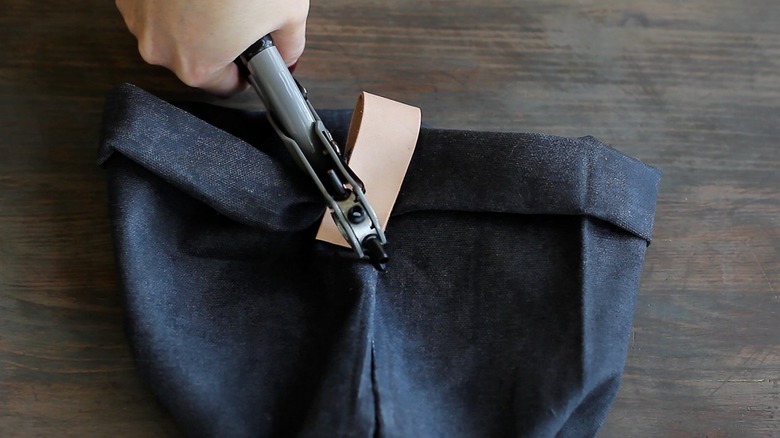
Use a leather hole punch to punch through both layers of the leather strip and the canvas.
Step 12
Step 12
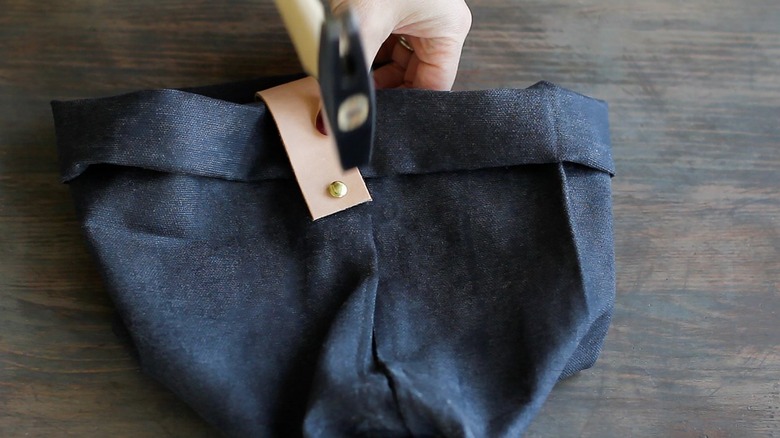
Slide a brass rivet post through the holes, and place a cap on the end of the rivet post (inside the bag).
Hammer the rivet together to secure the handle in place. Repeat on the other side with the other leather strip.
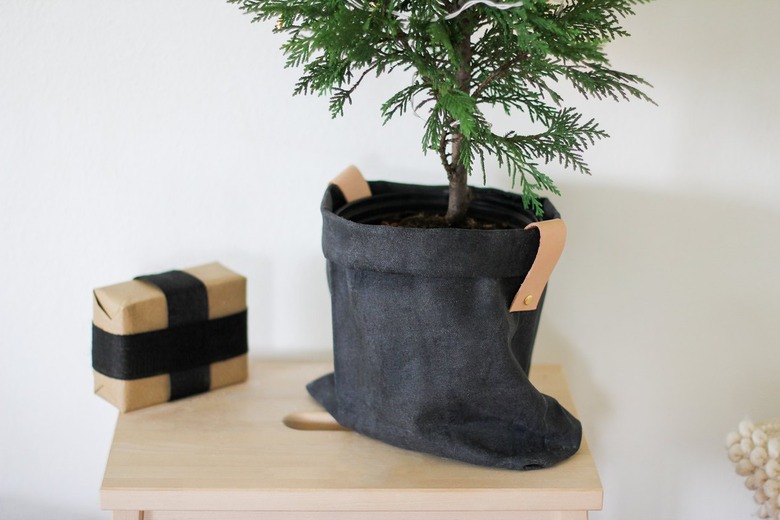
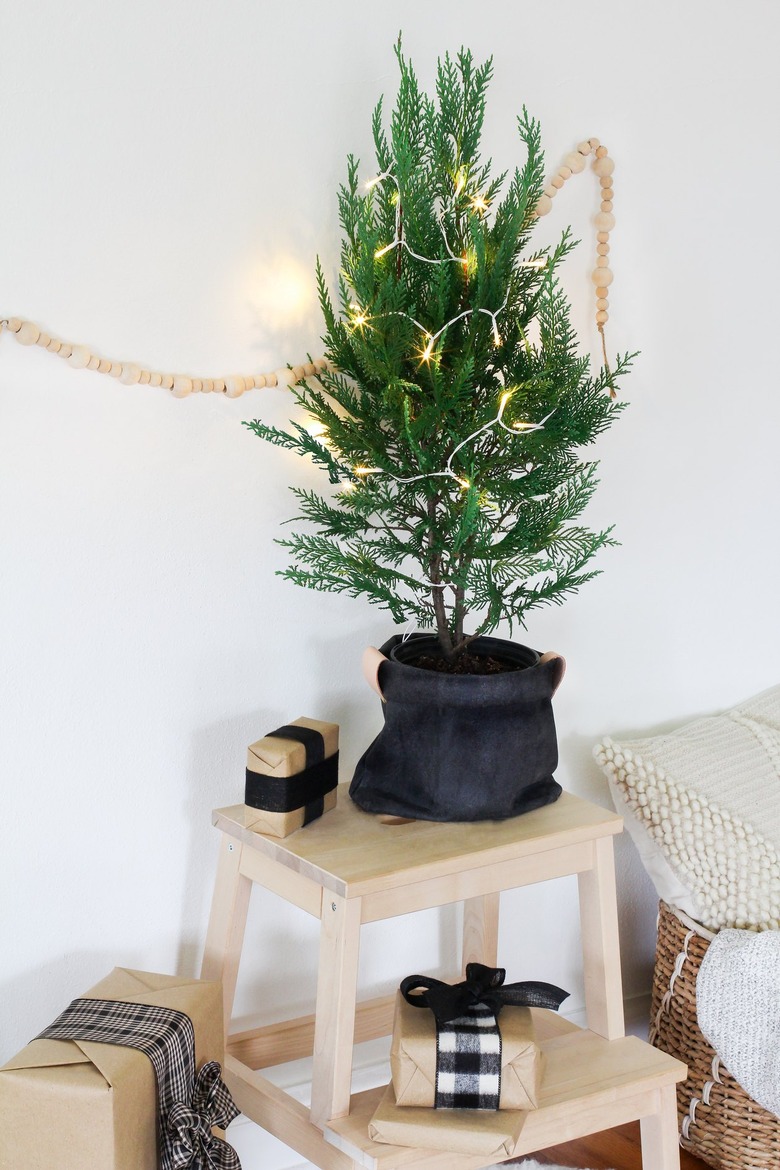
Your waxed canvas tree stand is all ready for its holiday debut. Simply slide the potted tree into the canvas planter and break out the ornaments!
