How To Make A Pillowcase
We may receive a commission on purchases made from links.
So if you want to change the world, start off by making your bed.
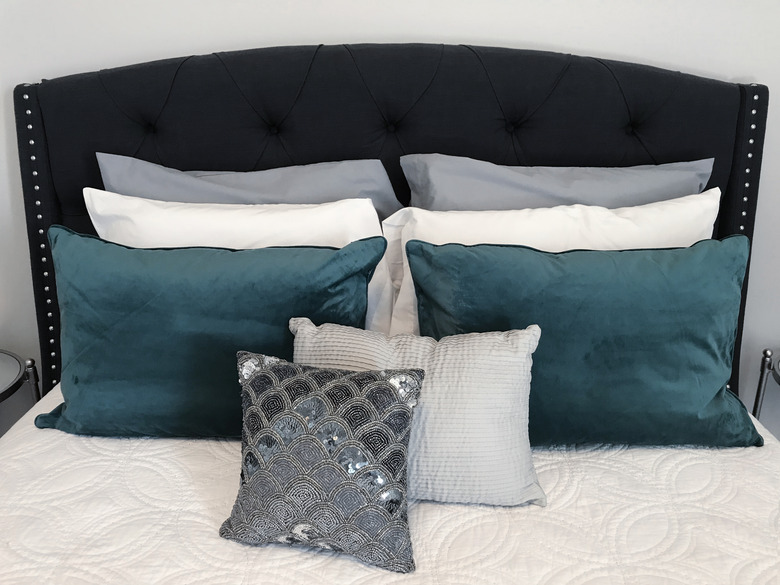
That's right. According to Admiral William H. McRaven, who addressed the 2014 graduating class of the University of Texas at Austin, if you accomplish this simple task in the morning, you will set yourself up for success the rest of the day. "The little things in life matter." So let's talk about how you can quickly make your bed in style: Keep your bedding simple with a fitted sheet, duvet, and bed pillows. Now, let those pillows take center stage in pillowcases that celebrate your unique personality. With basic sewing skills and equipment, you can make your own pillowcase in a flash. Just be careful: They're addictive to make. Before you know it, you'll have a drawer full of pillowcases to change with the season, and they'll become your favorite gift bag during the holidays.
Things Needed
-
Fabric
-
Thread
-
Pins or clips
-
Sewing machine
-
Rotary cutter, ruler, and cutting mat or scissors and measuring tape
1. Choose Two or Three Fabrics
First, consider how you want a pillowcase to feel against your face. Do you want a crisp cotton, a fuzzy flannel, or a luxurious minky? Often the best quality fabrics are those designated for quilts and blankets—they have a high thread count and wear well. Once you decide on the type of fabric, choose the look. Your choices of color and pattern will elevate your personal style, whether it be cozy chic, sophisticated boho, desert minimal, or anything in between.
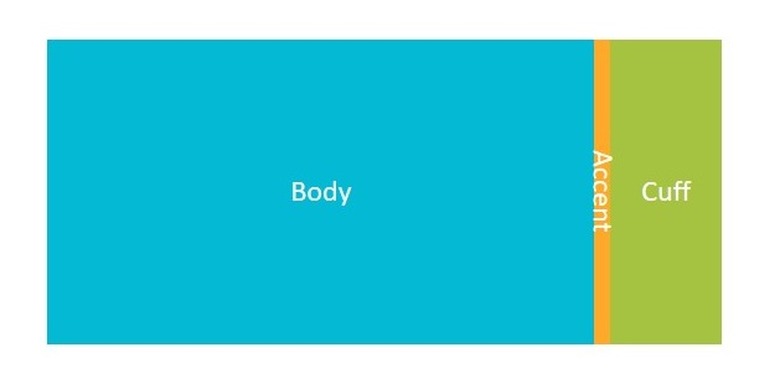
The following instructions explain how to make a pillowcase with a body, cuff, and accent. All three pieces can be cut from different fabrics, or the body and cuff can be the same fabric. You will need the following amounts of fabric; however, if you choose flannels, you'll need a few inches extra to allow for significant shrinkage.
- 3/4 yard (27 inches) for body
- 1/4 yard (9 inches) for cuff
- 2 inches for accent
2. Prepare the Fabrics
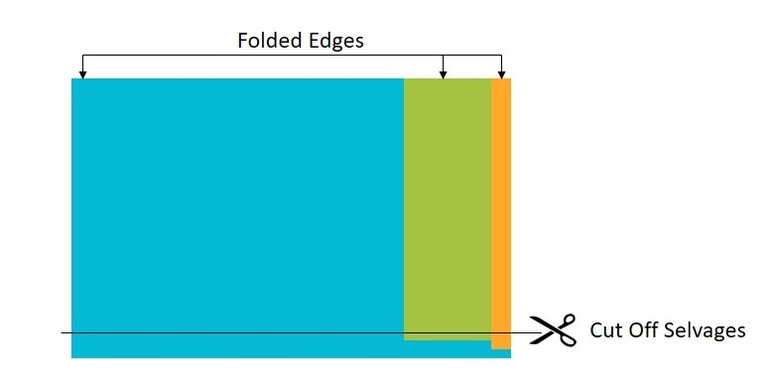
Wash, dry, and iron the fabrics to pre-shrink them. (Do not iron minky because the heat can melt the synthetic fibers.) Fold each piece of fabric in half, bringing the selvages together. Lay the pieces on top of each other, aligning the folded edges. Trim off the selvages with a rotary cutter or scissors. Now all the pieces should be the same width.
Fold the accent strip in half lengthwise, wrong sides together. Press.
3. Join the Pieces
To conceal the raw edges of the fabric, we'll use the roll-up method, also referred to as a tube, hot dog, or burrito.
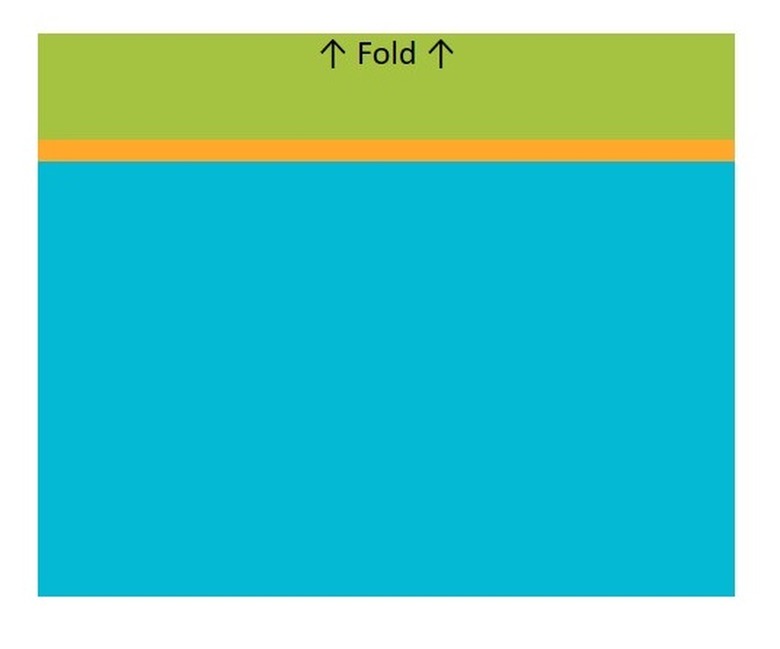
- First, lay out the cuff fabric with the right side of the fabric facing up. the accent strip on top of the cuff, matching raw edges at the top.
- Place the accent strip on top of the cuff, matching raw edges at the top.
- Layer the body on top of the other two pieces with the wrong side facing up. Match raw edges at the top.
- Use several pins or clips to hold the layers in place.
- Roll up the length of the pillowcase body to reveal the lower edge of the cuff. Keep the rolled-up fabric away from the top edge so that it doesn't get caught in the seam.
- Fold up the lower edge of the cuff, encasing the rolled up body fabric. Using the hot dog analogy, the cuff is like a bun encasing the tube of fabric.
- Repin or clip the fabric pieces together to hold all the layers in place. Stitch the long seam 1/4 inch from the edge.
4. Pull Out Pillowcase Body
- Reach inside the pillowcase cuff and pull out the body of the pillowcase. Now all the pieces are joined and the raw edges of the seam are encased in the cuff.
- Press along the seam and folded edge of the cuff so that the unit lies flat.
- Press the accent fabric toward the cuff.
5. Stitch Pillowcase with French Seams
All that is left is to stitch the side and bottom together. To do this, we'll use a two-step process called a French seam so that the raw edges of fabric will be hidden.
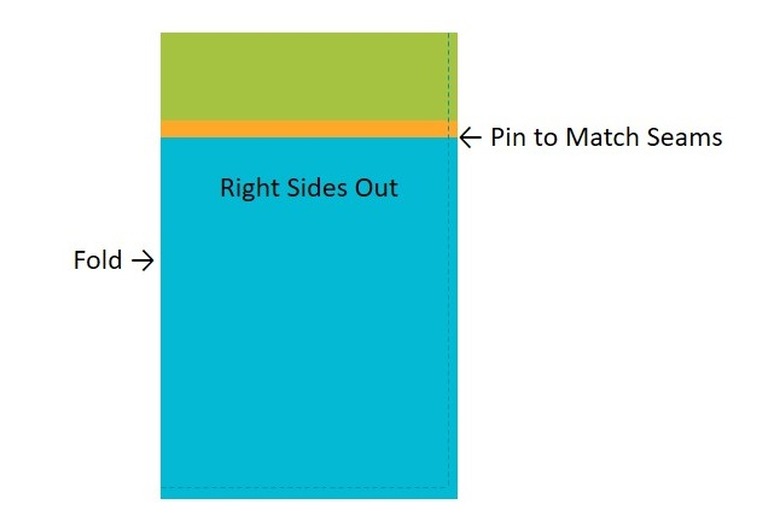
- Fold the pillowcase in half with the wrong sides together. Match the seam lines and folded edges of the accent strip and pin or clip in place.
- Stitch 1/4 inch from the edge, pivoting at the lower corner.
- Once the seam is stitched, trim the seam allowance to approximately 1/8 inch.
- Turn the pillowcase inside out, pushing the corners out. Press.
- Stitch the side and bottom seam again, 1/4 inch from the edge, backstitching a few stitches at the beginning and end of the seam to add strength. This seam encloses the raw edges of the fabric, providing a neat finish inside the pillowcase.
- Turn the pillowcase right side out and press. You're done!
A minimal look doesn't have to be empty of personality, nor does a bed need a pile of pillows and shams to look cozy. Make a style statement with the basics, and you'll be sure to set yourself up for success.
