How To Caulk Windows And Doors
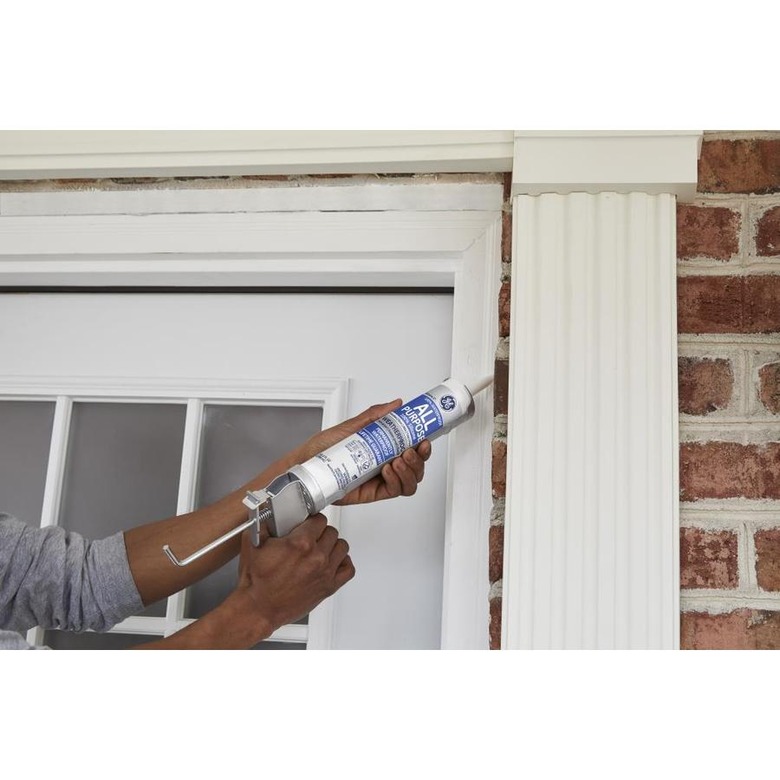
Those little gaps around your door and window frames can cost you a lot of money. They allow cold air to waft into your home, and no matter how well the walls are insulated, you'll feel cold unless you kick up the heater a notch, which could kick up your energy bill by as much as 20 percent. And that's in addition to damage caused by moisture attacking the wall framing if it finds its way in through those cracks. It's pretty easy to seal those cracks with caulk, although you may need to work on a ladder, and that has its inherent hazards. To do a complete job, you should also caulk around indoor window and door frames, and because that usually doesn't call for ladder work, it's even easier.
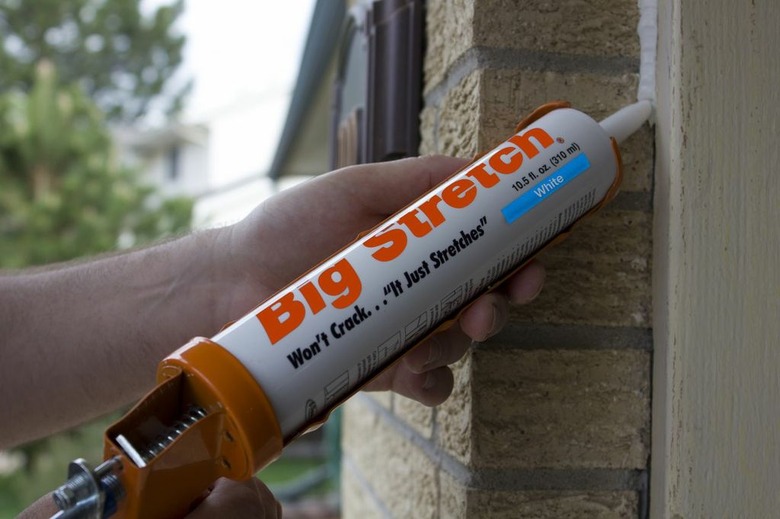
Caulking does involve a certain amount of skill, but it's a skill the average person can quickly develop. Necessary equipment includes a caulking gun, a knife, a paint scraper and some rags. You also need caulk, of course. Many types are available, so it helps to research them to determine the best for your particular purpose. In general, choose silicone caulk for exterior use and pure or siliconized latex for indoors.
Collect Supplies to Caulk Your Doors and Windows
Collect Supplies to Caulk Your Doors and Windows
Once you start the caulking job, it's best to continue until it's done without interrupting things to go to the hardware store, so make sure you have enough caulk on hand. The coverage from a tube of caulk depends on the width of the gaps you have to fill, but assuming the average gap is less than 1/2 inch wide, a single tube is enough for about three or four door or window frames. Because of the variability of gap width, you won't find coverage listed on the caulk label, but you'll find everything else you need to know, including the color, material, setting time, mildew resistance and best place to use the caulk. If you're not sure how much you need, it's better to overestimate. You can always return what you don't use or save it for the next time.
Caulk guns vary in quality. Rather than trying to save money by going for the least expensive one, consider paying $10 to $15 more to ensure you do the best job possible with the least mess. If you have a choice between a notched and smooth plunger, choose the smooth one. It develops more pumping power, and the quick-release lever is more reliable than the one on a notched plunger. That's why these types of guns are advertised as dripless, although they are only dripless if you remember to push the lever. Better-quality guns also have a tip-cutting mechanism and a wire rod for piercing the tube seal so you don't have to carry around a long nail for this purpose.
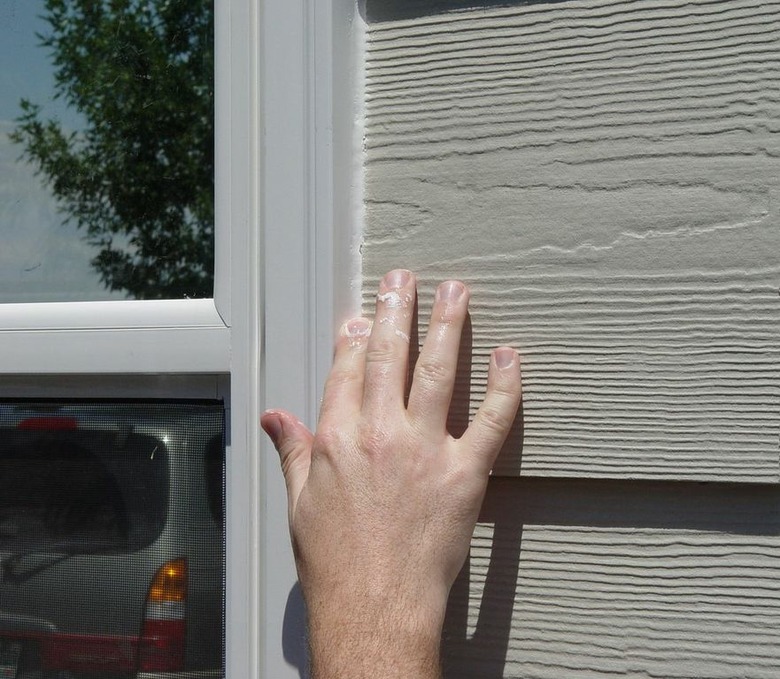
Smoothing the caulk after you apply it is called tooling, and it's an important part of the job. You can simply use your finger for this, which is why you need plenty of rags, or you can use a spoon. If you don't mind spending an extra few dollars, you can also buy a plastic tooling tool, although it's debatable whether this does as good a job as your finger.
Prepare to Caulk Doors and Windows
Prepare to Caulk Doors and Windows
Whether you're working indoors or outdoors, you have to remove any existing caulk before you apply fresh material. If you don't, the new caulk won't seal properly and it will fail in a short time. You can usually get old latex caulk off with a paint scraper, but silicone caulk is more difficult to remove. You can find products that promise to soften or dissolve silicone and make it easier to remove, but in many cases, you'll end up cutting a significant portion of the old caulk off with a sharp knife. It's a tedious job, but you have to do it. Clean up all the loose specks with a damp rag when you're done.
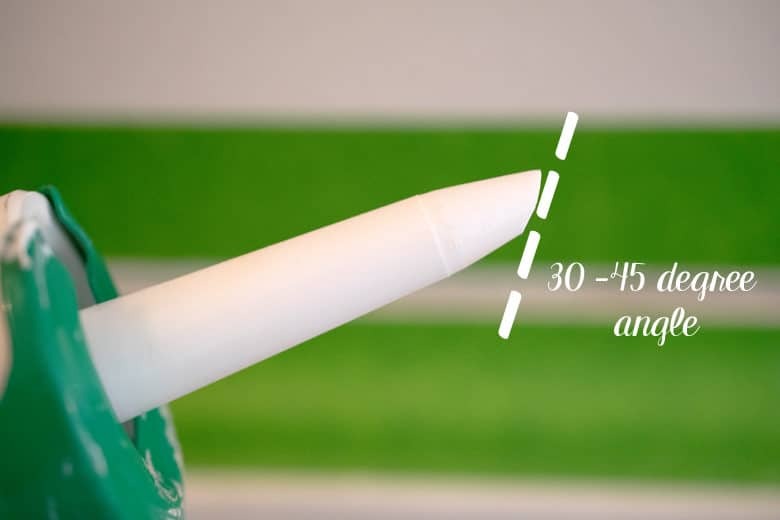
If your caulk gun has a cutter, simply insert the tip into the hole in the handle of the caulk gun as far as it will go and pull the trigger. Otherwise, use a utility knife to cut the tip off the tube. It's best to cut at a 45-degree angle about a third of the way from the tip. This reduces mess: The size of the opening ensures the bead isn't too large and the angle guarantees that all the material flows into the gap you're filling. Once you've cut the tip, insert a nail or the rod on your caulking tube to break the seal, insert the tube in the gun, pull the trigger a few times until the rod contacts the plunger on the bottom of the tube, and you're ready to go.
Tips for Efficient Caulking
Tips for Efficient Caulking
Once you get the hang of caulking, you'll find it to be a fairly effortless activity. In fact, the less effort you expend, the better is the job you'll do. At first, though, you may have to get used to the rate at which material exits the tube so you can adjust the speed with which you draw the gun along the crack. This is why it's a good idea to start in an inconspicuous spot, such as the top of a door or window frame. Always draw the tip away from the material you just applied. If you push into it, you'll just get an unsightly and problematic build-up of gooey material.
Whenever possible, apply a bead in a single continuous motion from one end of the gap to the other. Keep steady pressure on the trigger to maintain a uniform flow of material. If you miss a spot or you have to fill a large gap, finish the bead, then go back and apply more in the places that need it. Don't forget to press the release lever every time you finish a bead. It's a good idea to wrap a rag around the tip to catch any material that falls out.
Tool each bead as soon as you finish applying it. Simply run your finger—or whichever tooling implement you choose—over the fresh caulk in a single, continuous motion, then wipe the excess material off your finger or the implement with a rag. When you're using latex caulk, it's a good idea to keep the rag damp, but use a dry rag when applying silicone, butyl or any other material that isn't water soluble.


