How To Paint Leather
Leather is such a flexible material that it's hard to imagine a coat of paint lasting for any length of time without cracking or peeling. If you use the right paint, though, you can set aside fears of failure. One of the many positive reviews of leather furniture paint online documents a painted leather couch that looks as good six months after painting as it did when the paint dried. You can also find positive reviews of painted handbags, shoes and even jackets.
The first key to getting great results that last is to use the right paint. Choose the colors carefully, because once you apply the paint, it's difficult, if not impossible, to remove. It can be done, but you probably don't want to create that much trouble for yourself. The second key is to prepare the leather properly before you apply the paint. That may include conditioning it if it's dry and hard, because conditioning won't be as effective after you paint. The third key is to follow the application instructions carefully for the product you use. Leather paint is thinner than regular paint, and you seldom get complete coverage with a single coat. After the paint dries, the extra step of applying a sealer is recommended. The sealer adds a layer of protection, and it provides gloss that the paint usually doesn't.
What Paint to Use for Leather?
What Paint to Use for Leather?
Leather is a porous material—even more porous than wood—so much of the paint you apply will sink in and dry in the pores while the rest remains on the surface to create a thin film. Water-based paints soak in better than solvent-based ones, and they are generally more compatible with leather, so most leather paints consist of acrylic latex binders carried in a water solution. If you think that sounds like ordinary house paint, you're right, but there are a few important differences. Leather paint has a higher pigment volume concentration (PVC) than house paint and a lower concentration of binders. You can simulate leather paint by thinning down ordinary acrylic latex paint and adding more pigment, but it won't color as well as paint that is formulated specifically for leather, and it may crack.
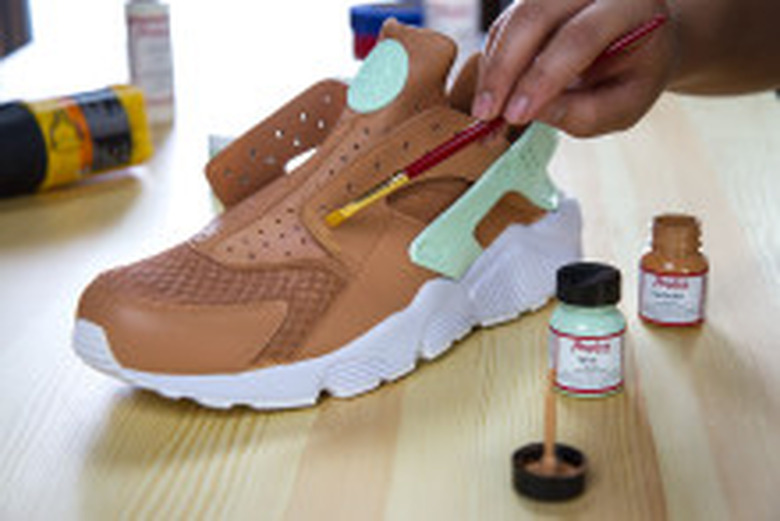
If your interest is in painting features on a leather handbag or a pair of shoes, you need a product formulated for that purpose and marked as such on the label. Such a product is thicker than general-purpose paint because it contains more binders and hardeners. In a pinch, you could use acrylic enamel intended for painting models and miniature figures to create designs on leather. If the leather won't suffer much wear, you could even use nail polish or a similar lacquer product.
Preparing to Paint Leather
Preparing to Paint Leather
Cleaning is an important prerequisite for any painting job, and it's especially important when you're painting leather. Many leather products have a glossy coating that has to be dulled to allow the new paint to adhere. In addition, cleaning and waterproofing products for leather often contain silicone, and that silicone has to be removed or the paint won't adhere. You can usually find leather cleaning and conditioning products at the store where you buy leather paint. If not, hobby stores, luggage outlets and even some shoe repair shops stock them.
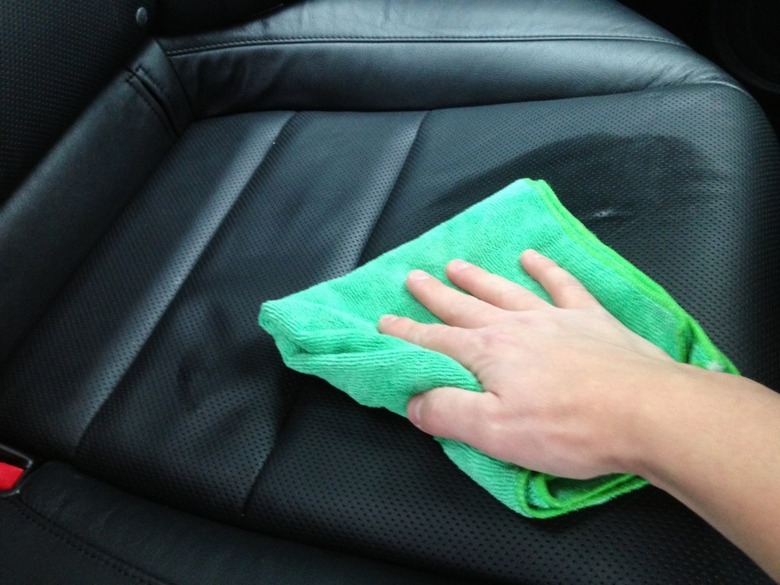
Start by wiping down the leather with a damp cloth to remove surface dirt. If the leather has a sheen, use a leather de-glosser to dull the finish. This is an alcohol-based product that you rub in generously with a rag. If you think silicone is present on the surface of the leather, the paint preparation product should be able to remove it. Check the label. If the leather is dry, it's a good idea to condition it before you paint it. You can use neatsfoot oil or mink oil for this, but don't use saddle soap. Saddle soap blocks the pores and will prevent the paint from adhering. It's best if you apply the conditioner a good week or two before painting to give it time to soak into the grain.
Whether you're painting furniture, shoes, a handbag or some other item, it's important to disassemble it to isolate the part you want to paint. Ideally, the surface should be stretched out so that all the wrinkles flattened down. If you're painting a large piece, protect the floor with drop cloths, just as you would if you were painting a piece of wooden furniture.
How to Apply Leather Paint
How to Apply Leather Paint
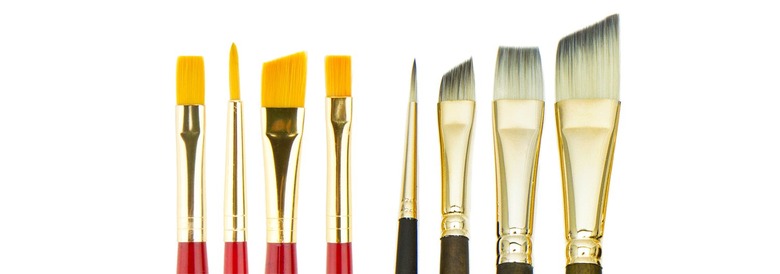
Always check the product label for the recommended application method. You can use a paint brush for most products. Choose the width of the brush according to the area you have to cover. You'll seldom have need for a brush much wider than 2 1/2 inches. Some manufacturers recommend using a sponge or foam brush with their products, and unless specified otherwise on the label, that's usually the best way to spread leather paint.
Keep the brush strokes in the same direction, just as you would when painting metal or wood. Although the paint does soak in, brush or sponge strokes can be visible, especially if they run in random directions. Don't try to get complete coverage with a single coat. Leather paint is thin, and it will sag and run on vertical surfaces if you apply too much at once. Apply a second coat after the first coat dries, which shouldn't take more than two hours. A third coat will probably be necessary, and a fourth as well.
Apply a Sealer After You Paint Leather
Apply a Sealer After You Paint Leather
Acrylic finishers for leather come in sheens from matte to full gloss, so you can customize the appearance to your taste. The sealer protects the paint and is recommended after every paint job, especially after painting decorative designs. You generally need only a single coat of sealer, but consider two coats on heavily used furniture and car seats. Remember that two thin coats are better than a single thick one.
The best way to apply sealer is to use a foam brush or a sponge. Some products come in a spray can, and it's fine to use one of these. When brushing, it's still a good idea to keep the strokes in a single direction to minimize streaking, although this isn't as important as it is when applying the paint. Give the sealer a good 24 hours or more to dry before you sit on your couch, wear your shoes or fill your handbag.


