How To Sharpen Drill Bits
Most drill bits are made from high-speed steel (HSS), which sounds like it would be rock-hard, but in actuality this metal is relatively soft. The reason has mostly to do with the fact that hardened steel tends to fracture as it heats up—something you don't want your drill bits to do. But at the same time, softer HSS steel is more susceptible to dulling—and not just when drilling metal or masonry. A few passes through hardwood stock or even construction lumber will quickly cause a drill bit's cutting edges to lose their sharpness. When this happens, most of us will toss the dull bit away. However, sharpening the cutting edges is easier than you might think and is a much greener, more economical solution than adding old bits to the landfill after just a few uses.
Bit Sharpening Basics
Bit Sharpening Basics
Sharpening any tool, whether it is a kitchen knife, a chisel or a drill bit, can go a couple of different ways. It can be field triage that has a goal of simply getting the tool back into battle; or it can be a precise and studied procedure aimed at making the tool as good as new. Here, we'll discuss the tiage approach.
Not all drill bits are easy to sharpen. Brad-point bits, auger bits, and Forstner bits are finicky and you need to do a lot of research to rehab one of these. But most of us do not use these often—they are really fine woodworking tools. For drilling around the home, we use twist bits and spade bits. And both of these humble types lend themselves well to a quick rehab on your bench grinder.
The first thing to know about sharpening twist bits and spade bits is that angles are important, but not that important. There is some wiggle room. If you have a bench grinder with an adjustable tool rest, you can even eyeball the angles. Yes, it is a better idea to be as precise as you can and use a gauge to set the grinding angles. But most pros will agree that if you are within a couple degrees of ideal, your bit will bore just fine.
How to Sharpen Twist Bits With a Bench Grinder
How to Sharpen Twist Bits With a Bench Grinder
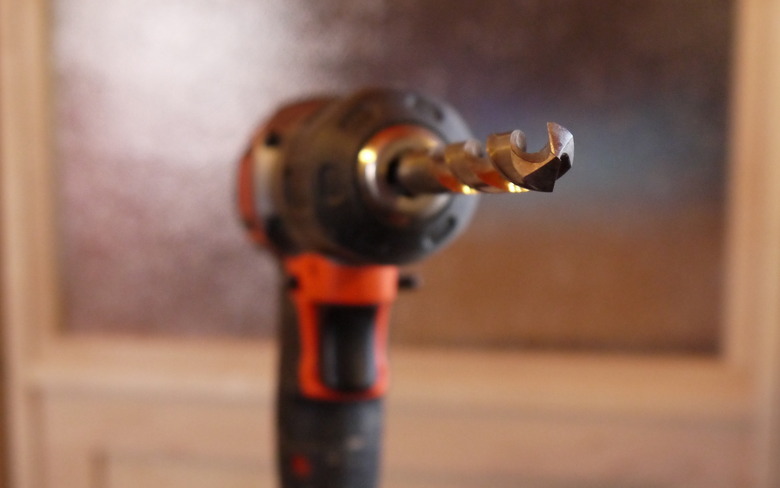
Twist bits are the most of the ones you probably own. The cheaper ones are plain high-speed steel, and the more expensive ones have a coating (carbide usually) to help prolong the blade sharpness. An ordinary twist bit has many angles and facets. The ones that matter most are the cutting edges of the two angled flutes where they meet at the very tip of the bit. The flutes behind them that corkscrew up the shank seldom get dull; their primary purpose is to remove the waste material from the drilled hole, not to cut.
If you study the tip of a twist bit, you will see that there is nothing flat there. This complicates the process of sharpening them on a bench grinder, but all it really means is that instead of holding the bit at a steady angle as you would with a kitchen knife, you twist it slightly as you grind to follow the profile of the tip. A standard twist bit can be sharpened in seconds with two passes on the wheel: one pass for each plane tip.
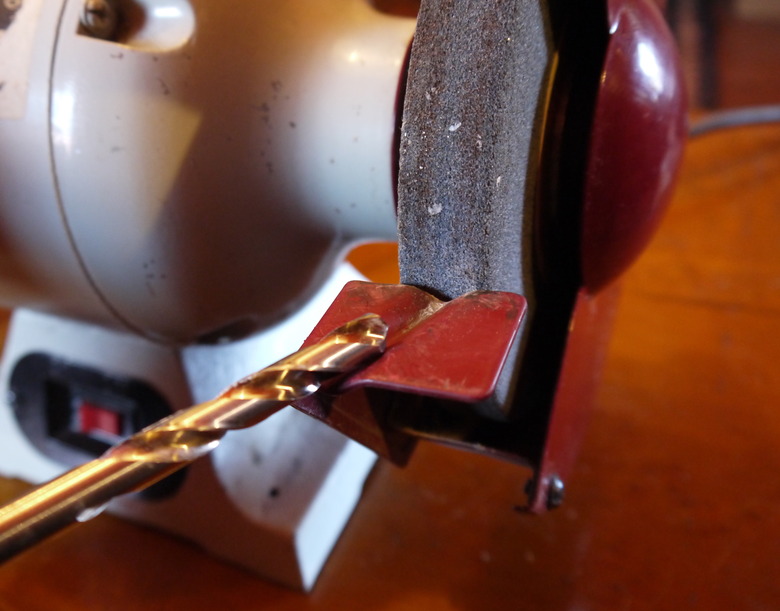
Almost all twist bits have a standard angle for the cutting tip: 118 degrees. If you are building a sharpening jig you'll want to know this angle. But to quickly put a fresh edge on a twist bit, the angle you need to know is 31 degrees. And if you are not a geometry fan, here is some good news: Most bench grinder tool rests have a precast groove that is set at 31 degrees, exclusively to help you sharpen your twist bits. But if your bench grinder tool rest is flat, here is a quick tip: take two hexagonal nuts or bolt heads and press them together with the flat sides flush. The angle formed at the juncture of the two sides is very close to the angle you want for your drill bit tip. Grind your tips and use the nuts or bolt heads as a guide to refine your work until it is just right.
1. Grind the First Flute Tip at 31 Degrees
Warning
DO NOT WEAR GLOVES when sharpening tools on your bench grinder. It is tempting because your fingers must be close to the wheel to control the bit, but the safest approach is simply to use care and attention. Gloves can get drawn into the mechanism of the grinder (or any other power tool for that matter), which is far more dangerous than slightly skinning a knuckle.
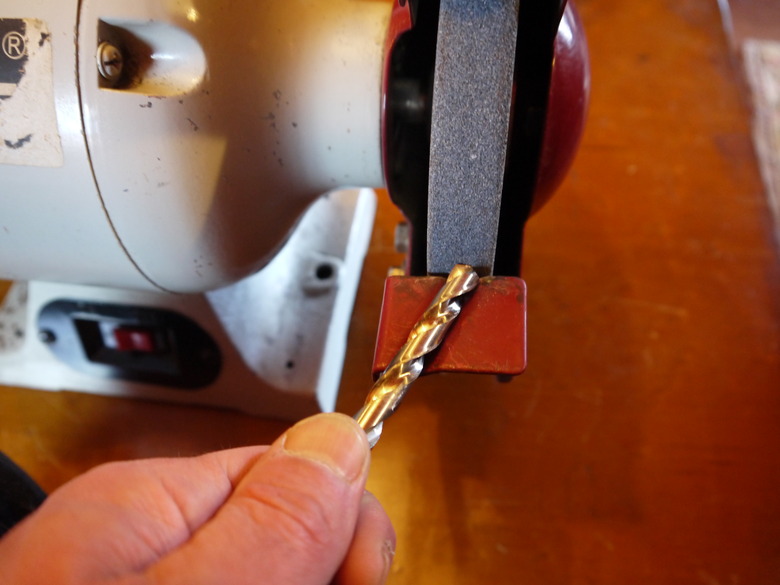
2. Grind the Other Flute
Spin the bit and slowly rotate it as you grind the tip of the other flute. The sequence is first one flute, then the second. And do not overdo it, keeping the amount of material you grind off of each flute equal.
How to Sharpen Spade Bits on a Bench Grinder
How to Sharpen Spade Bits on a Bench Grinder
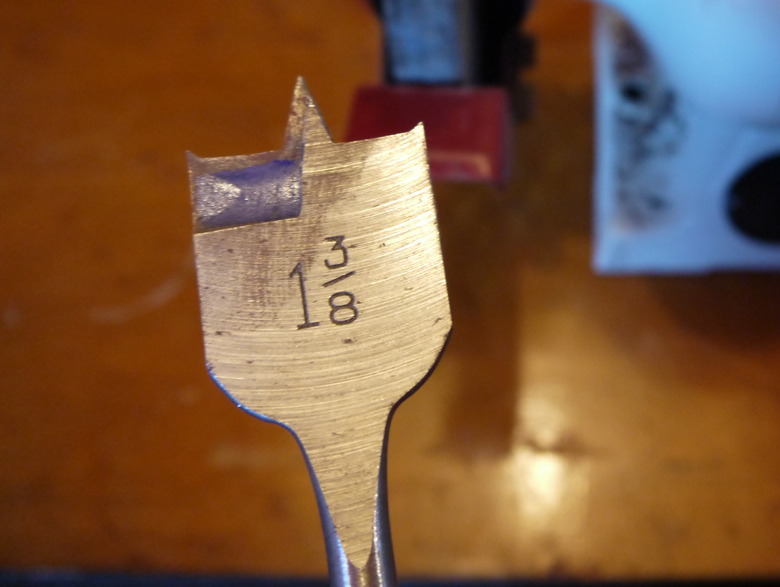
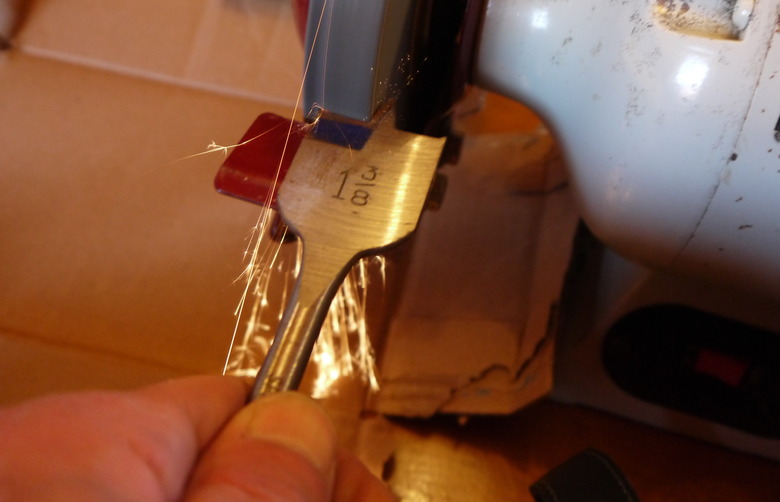
Spade bits are used primarily for larger-diameter holes and they get dull very fast. Don't throw them out. It is the flat cutting edge perpendicular to the bit shank that does the cutting on a spade bit. The cutting angle on these edges is approximately 10 degrees. So all you really need to do is set the tool rest on your bench grinder so it is 10-degree offset from the perpendicular angle where the tool rest meets the wheel. Then, sharpen each cutting edge of the spade bit, gently, to refresh the cutting edge. Make sure the cutting edges are oriented against the wheel to follow their original cutting angle.
Most spade bits include cutting spurs on the outer edges of the bit. These help create a clean edge to the hole—but only when they are sharp. If you are sharpening you spade bits yourself, bid a goodbye to the spurs. If your cutting edges are tuned and sharp, you don't need the spurs anyway.
1. Sharpen the First Flute
Set the tool rest on your bench grinder so it is offset 10 degrees from the wheel interface. With the cutting angle on one side of the bit oriented to follow the wheel angle, press the edge of the bit against the wheel and gently create a new edge. This will mean grinding down the cutting spur that is outboard on the bit.
2. Sharpen the Second Flute
Flip the bit over and sharpen the other side the same way, grinding down the spur.
No Bench Grinder?
No Bench Grinder?
If you do not have access to a bench grinder, you can still sharpen drill bits. Metal files can certainly be used, and they are the best choice if you want to sharpen more complex bits such as augers and Forstners. But if you want to put power tools to work for you, you have at least two other options to the bench grinder:
- Belt sander: Fit your belt sander with a 100-grit belt and clamp it to a sturdy work surface in a vertical position. Ideally, orient it in your bench vise so you can use your work surface as a sturdy resting point for the bit. You'll have to do your best to hit the required angles for the bit tips, but it can be accomplished pretty easily.
- Power drill attachment: If you search around, you can find drill bit sharpening attachments that fit onto a power drill. Most have a bit guide that fits over the drill chuck.
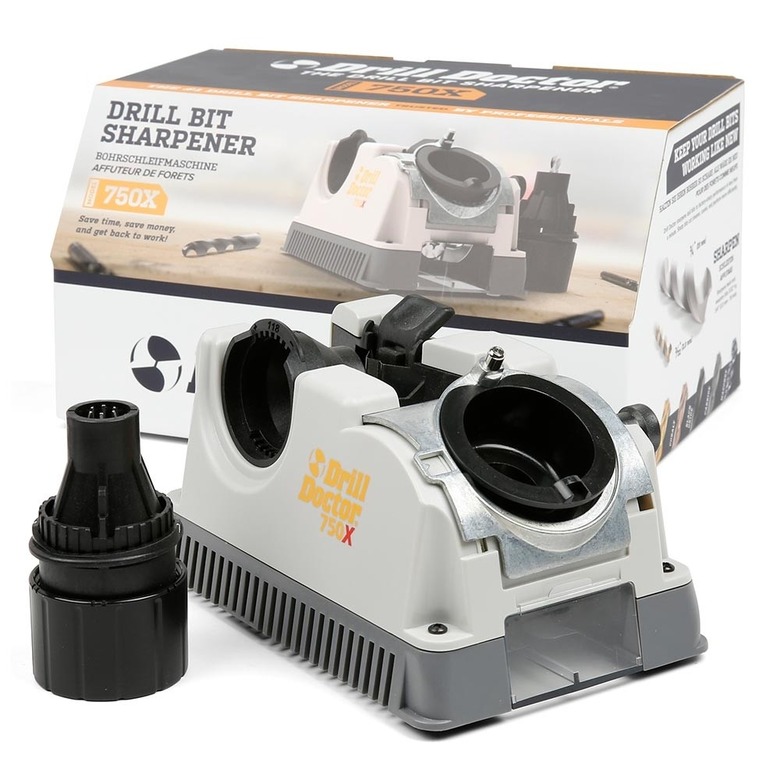
- Drill-sharpening tools: There are a host of drill sharpening tools available on the market (Drill Doctor is the best known). They cost from $50 to $150, depending on their features. Once you figure them out they are very easy to use.
