This DIY Kitchen Tool Is What You Need To Naturally Dry Herbs
We may receive a commission on purchases made from links.
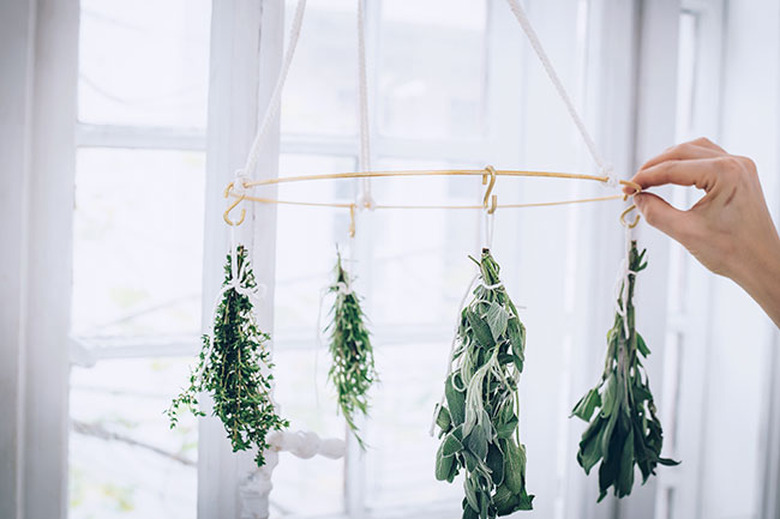
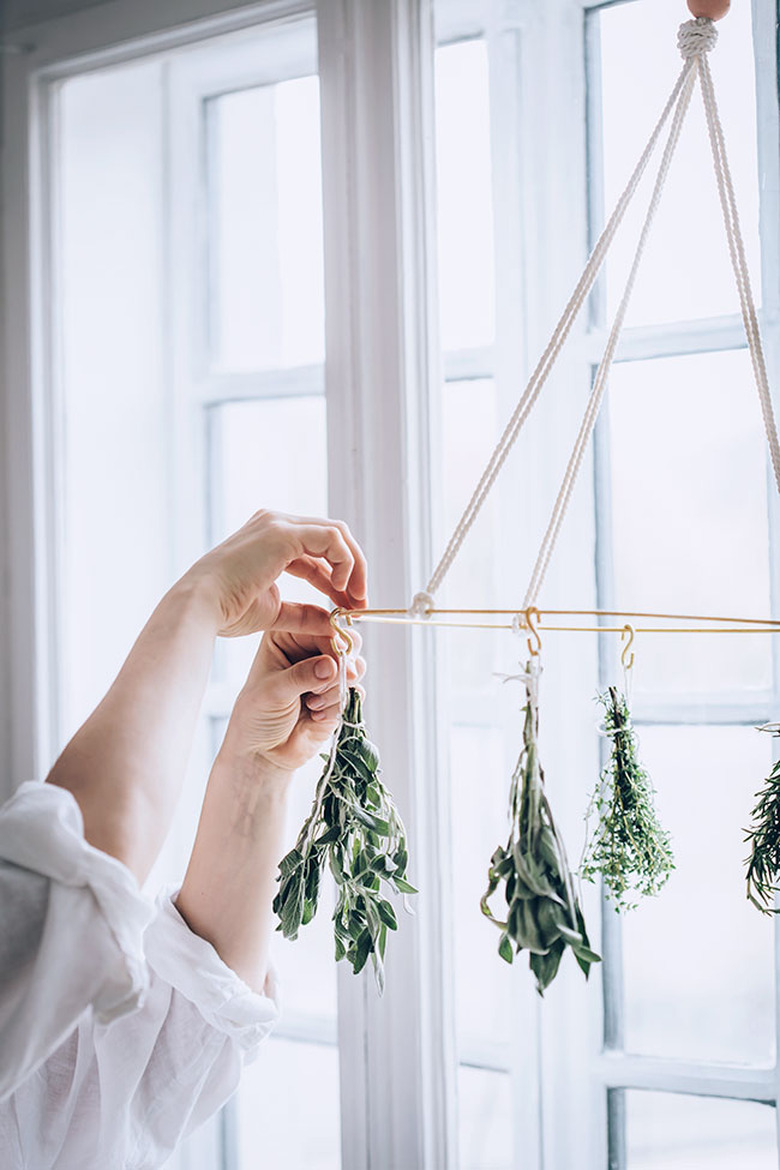
Start making your own dried herbs at home with the help of this DIY herb drying rack. This stylish yet functional kitchen tool helps to preserve herbs by hanging them upside down, allowing them to dry slowly and evenly. Not only does it prevent herbs from molding or turning brown, but it also protects their flavor and medicinal benefits.
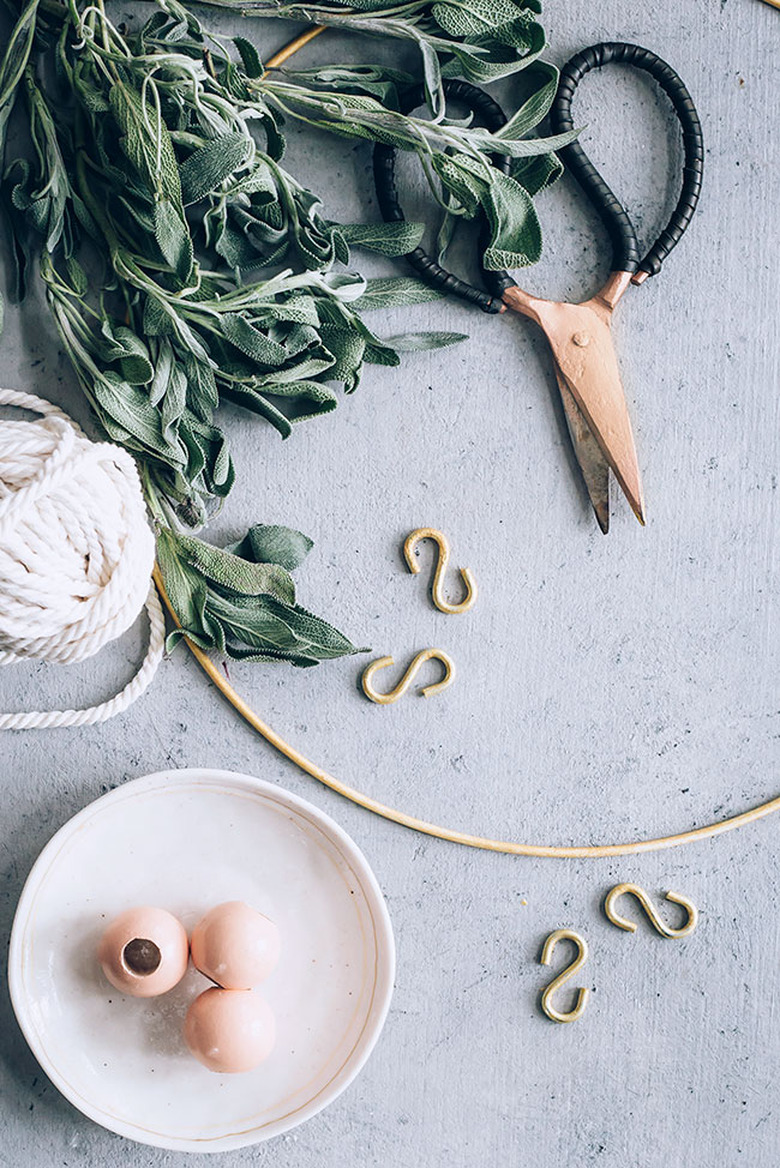
Things Needed
-
12-inch gold macramé hoop
-
Small S-hooks
-
3 millimeter macramé cord
-
Large wooden beads, ( 3 )
-
Scissors
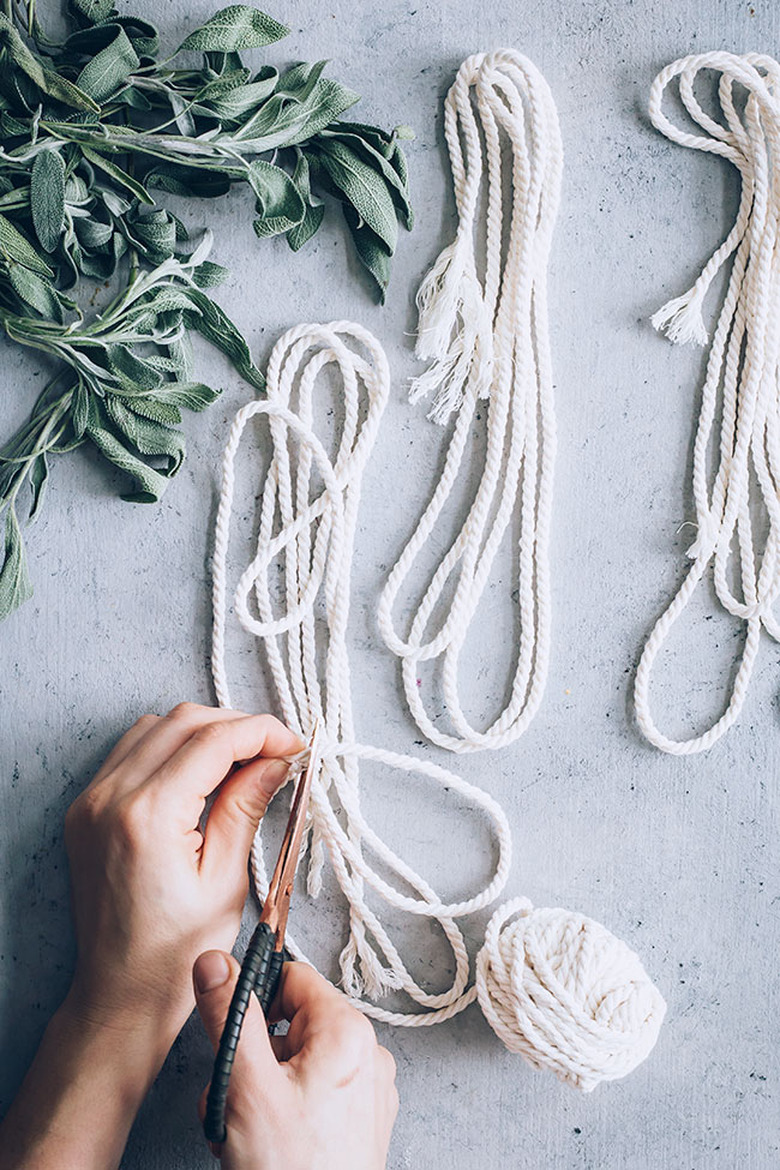
Cut your macramé cord into three 48-inch pieces.
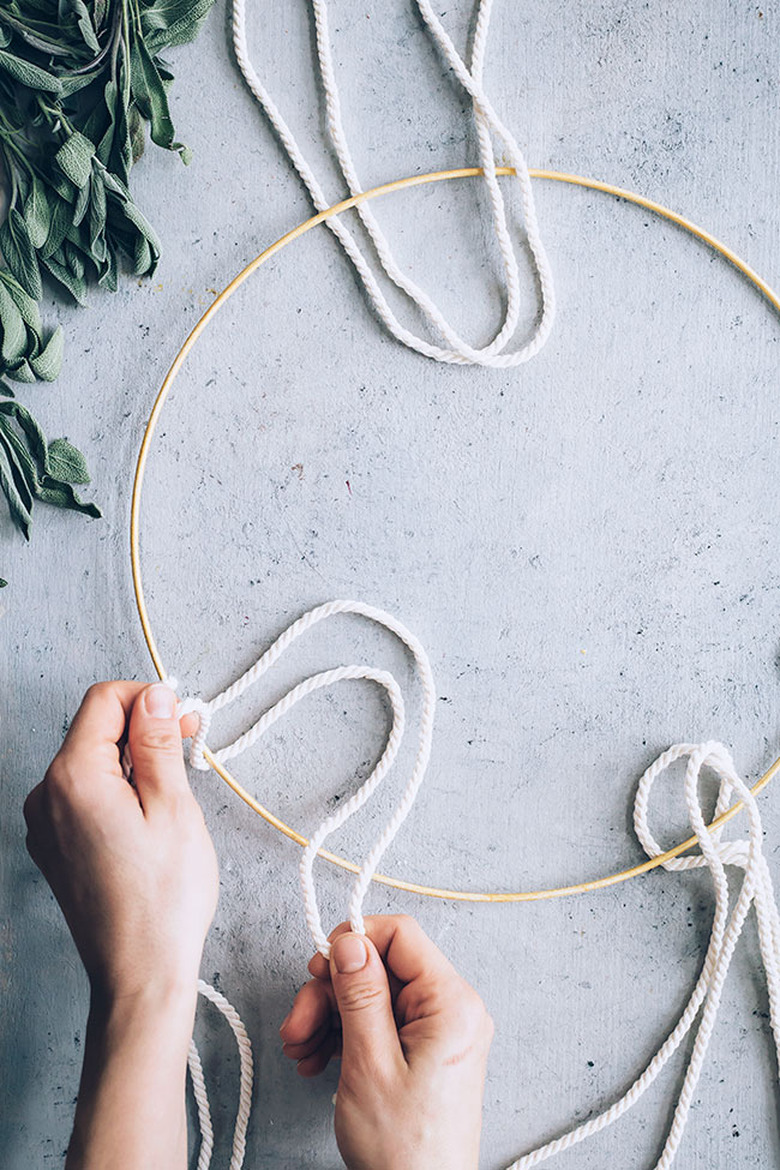
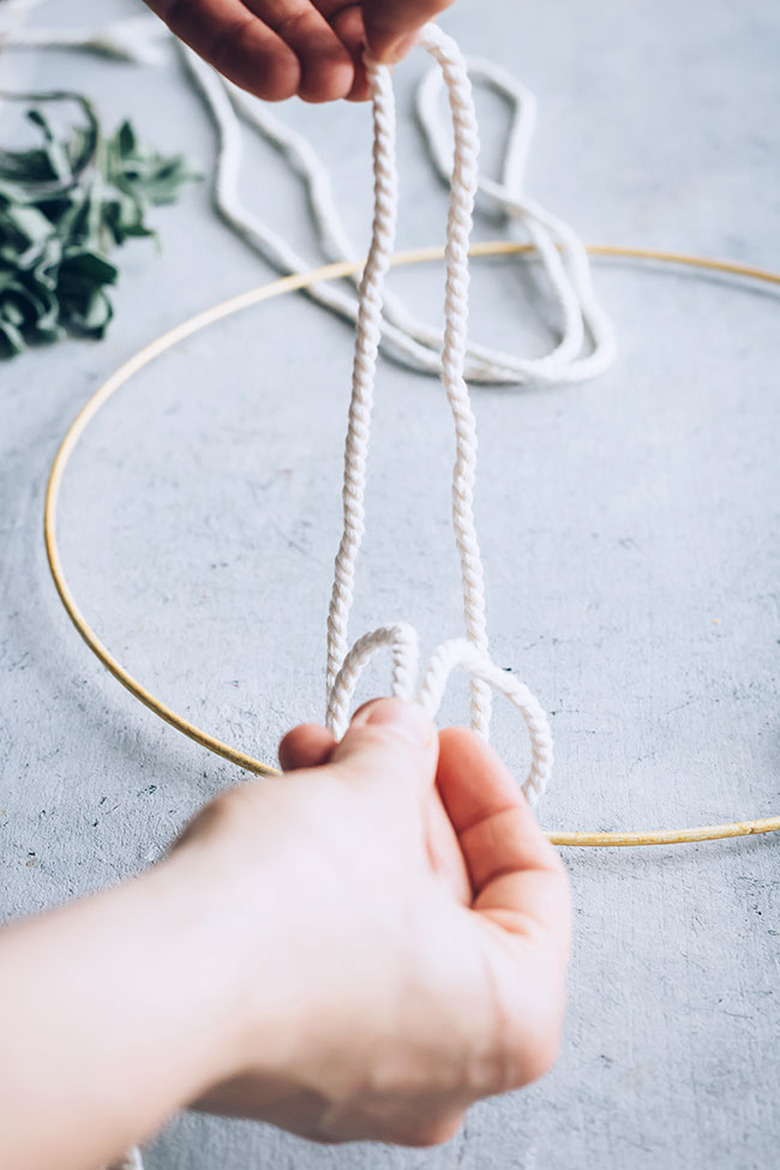
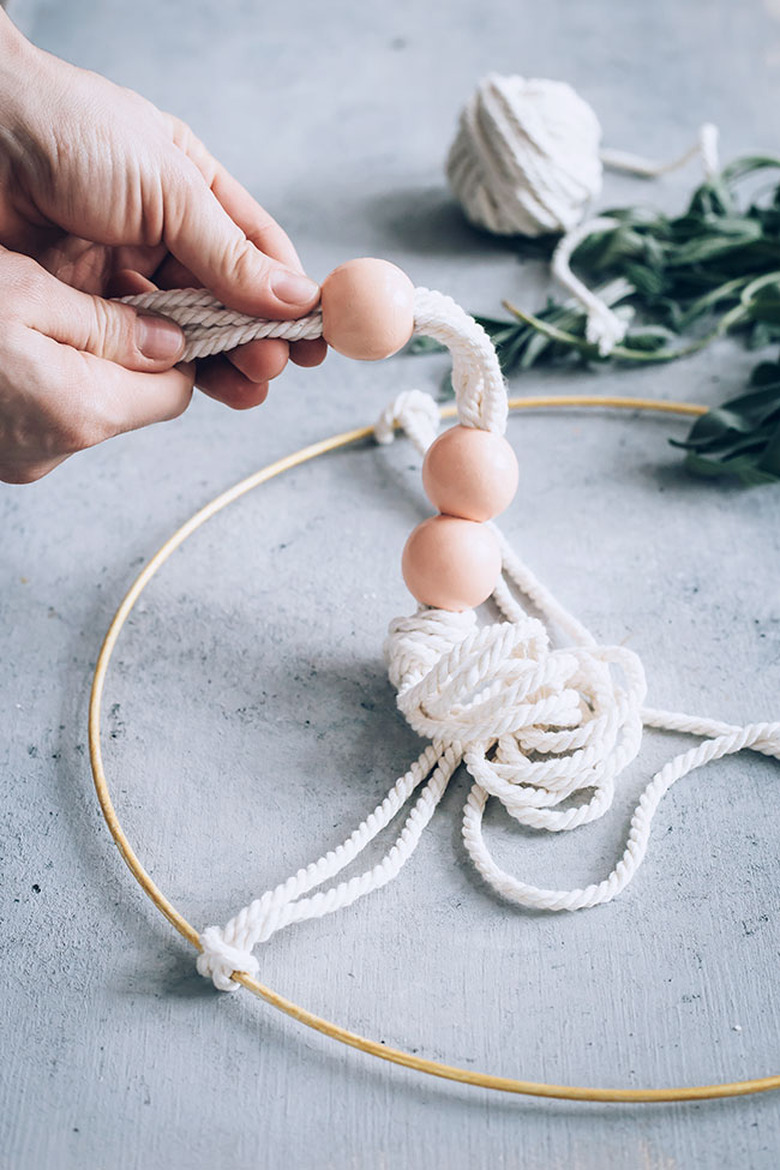
Take the three pieces of cord and fold each one in half. Put the hoop on a flat surface and place the folded strings around the hoop.
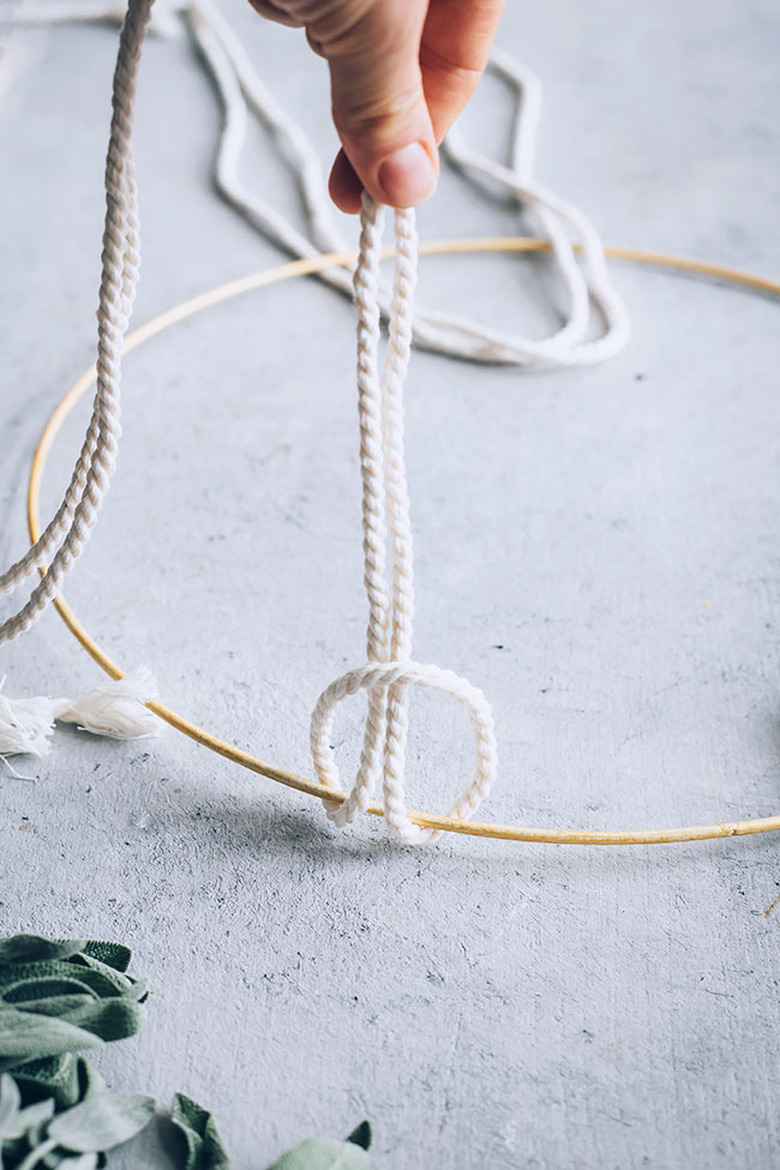
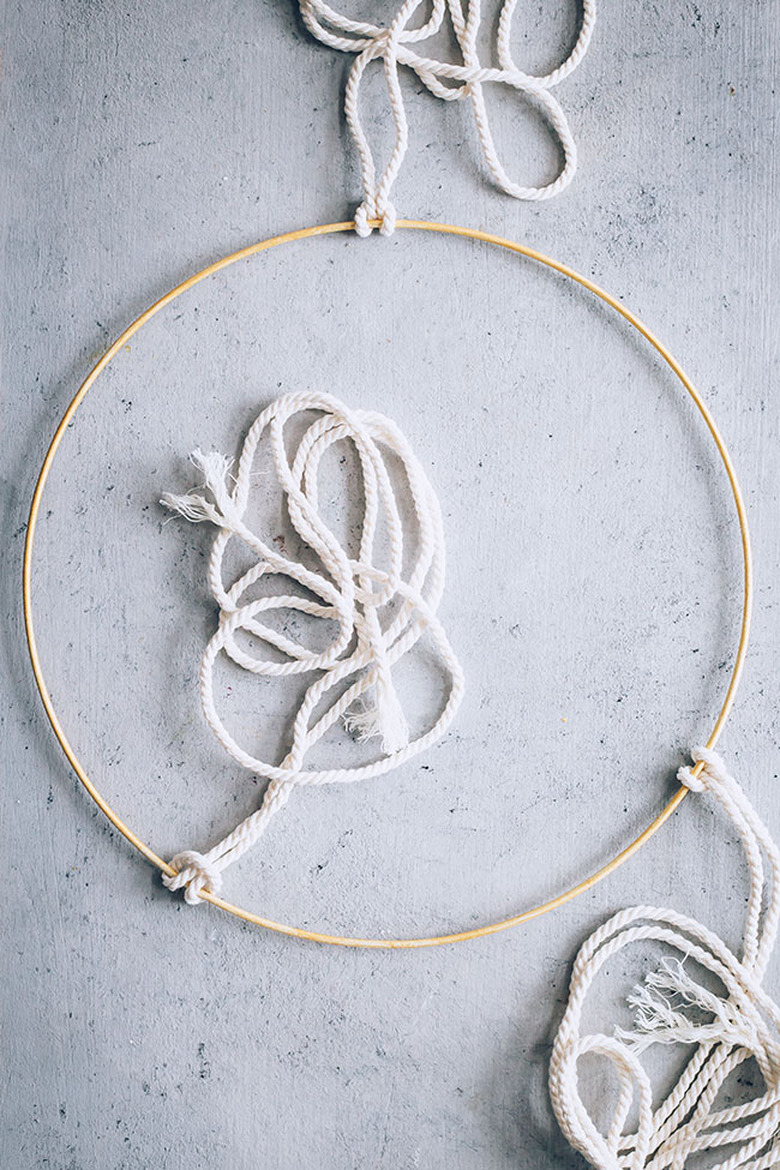
Attach the first string to the hoop by placing the folded end of the string under the hoop. Then pull the loose ends over the hoop and through the hole of the folded end. Do the same with the other two pieces of string. Slide the strings to space them out around the hoop.
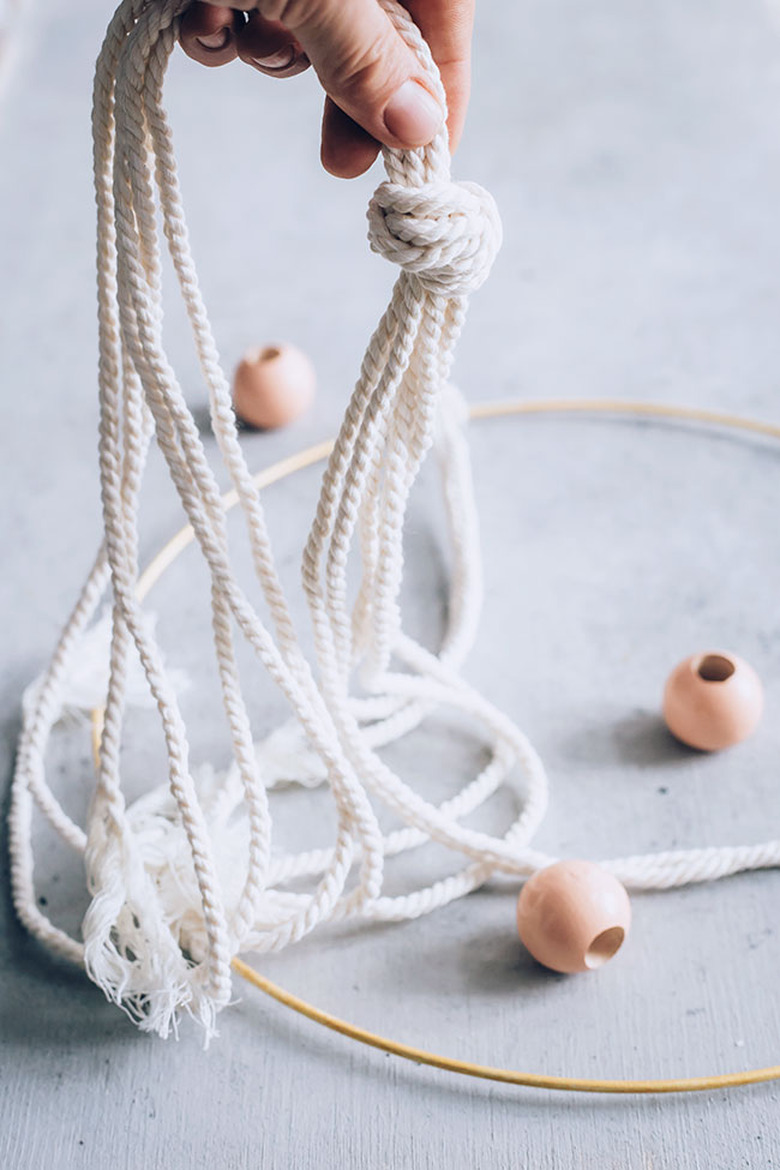
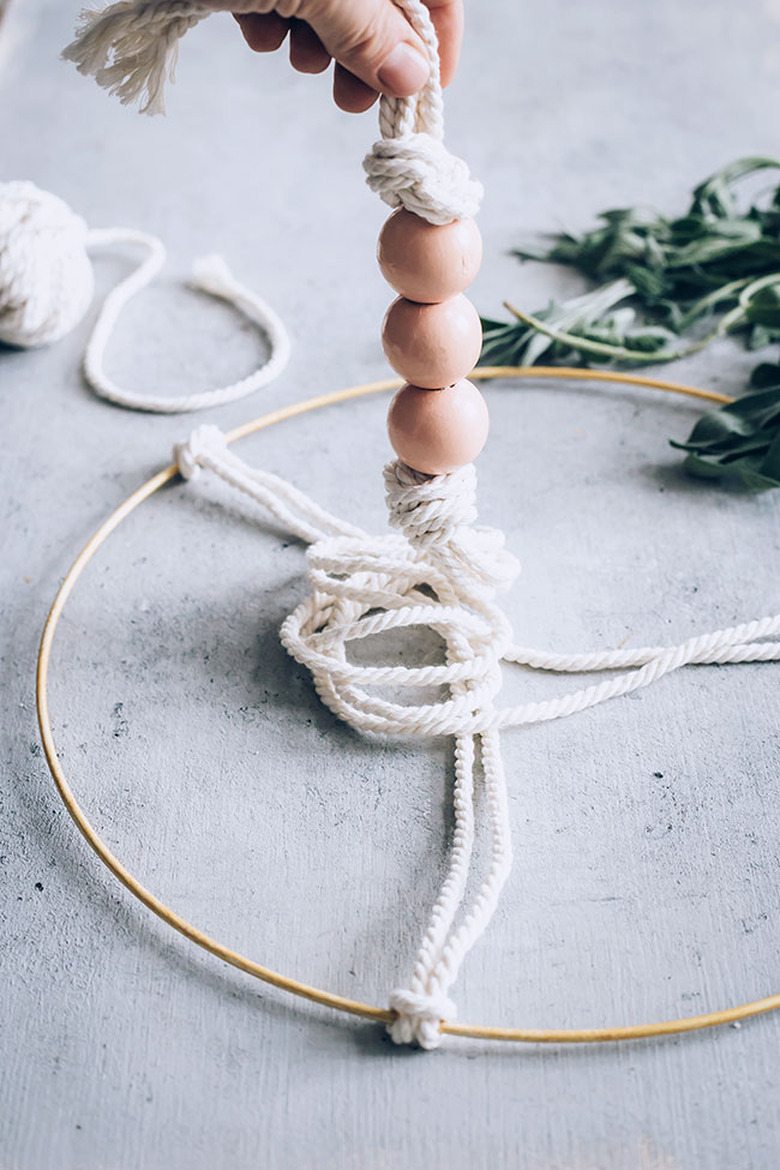
Gather the loose ends of cord together and make a knot about 10 to 12 inches above the hoop.
Add the beads to the string and make another knot on top. Add one more knot at the end, leaving an inch or so of space between the knots to create a loop for hanging the rack.
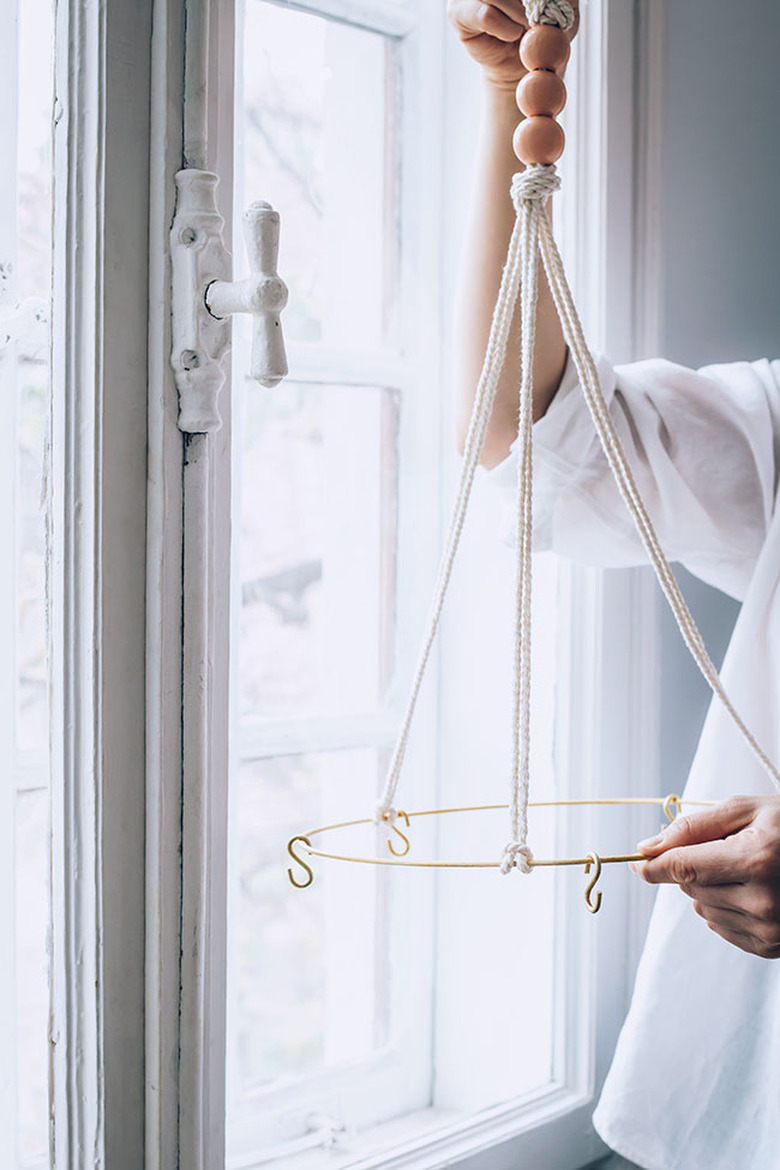
Attach the S-hooks to the hoop, leaving several inches of space between the hooks.
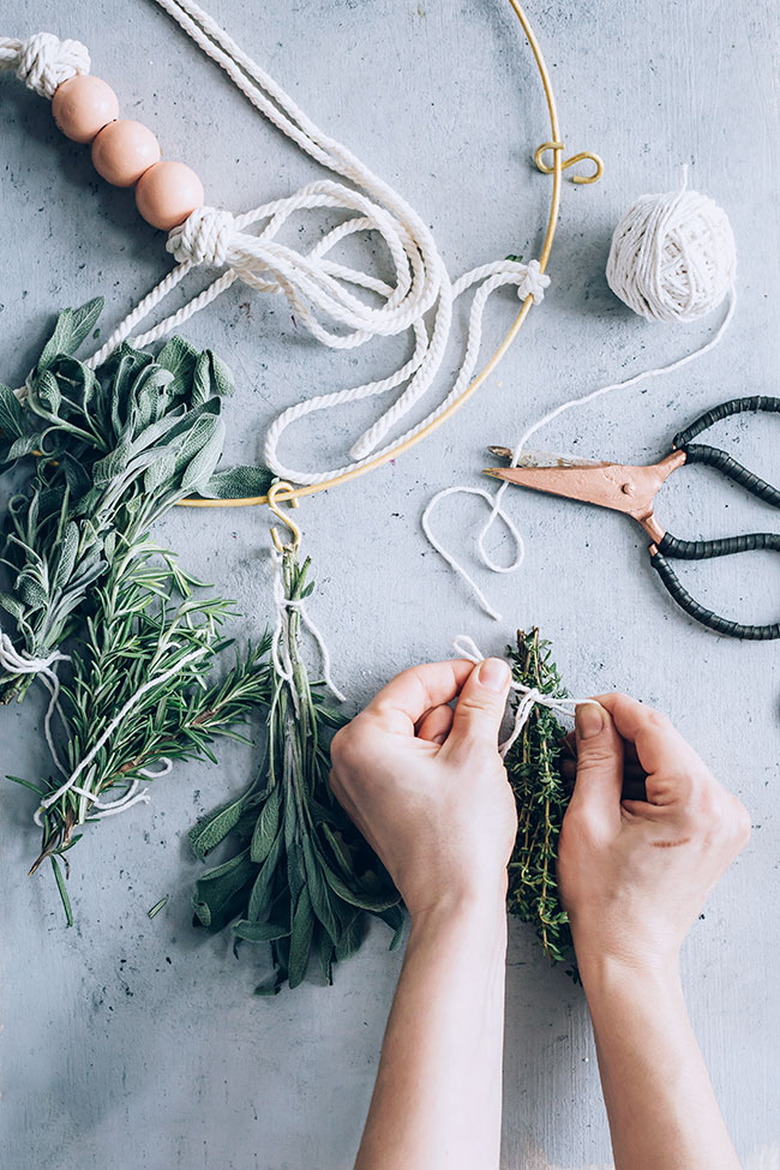
Gather your fresh herbs into small bundles and tie them together at the ends with kitchen twine. Make a bow the same way you tie a shoe with the twine.
Attach the herbs upside down on the S-hooks, via the twine loop. Hang the drying rack near a sunny window, if possible. The sun's heat will help speed up the drying process.
Remove the herbs when they are fully dried, and then transfer them to glass jars for storage.
Low-moisture herbs like dill, marjoram, rosemary, thyme, and oregano will dry with the best results. Basil and sage will dry best in environments with low humidity. Toss any herbs that develop brown spots or mold.
