There's An Art To Styling Open Kitchen Shelves: 7 Steps To Get You Started
Why, oh, why does it have to be so complex when trying to nail a Pinterest-worthy look with open shelving? Everybody knows that shelf styling takes a certain kind of finesse, but it seems like open kitchen shelves have their own particular design challenges. The good news is that once you get the formula down, you'll be styling these functional shelves with confidence. Here's how to pull off the look in just seven steps.
Things You'll Need
Things You'll Need
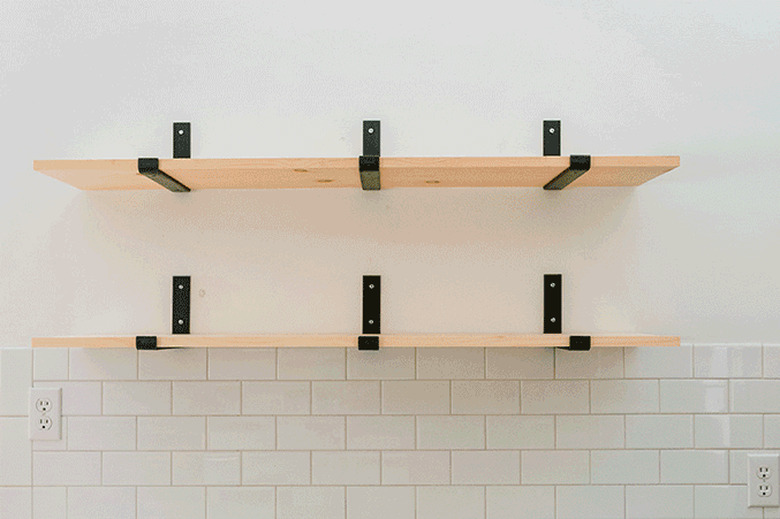
- 11.25-inch-by-6-inch hook brackets, ( 2 )
- 1-inch-by-12-inch-by-48-inch common pine wood boards, ( 2 )
- Hardware and tools for hanging shelves (click here to learn how to hang similar floating shelves)
- Greenery
- Tall decorative vases
- Kitchen keepsakes
- Large decorative bowls
- Air-tight containers
- Glasses
- Plates
- Bowls
Step 1
Step 1
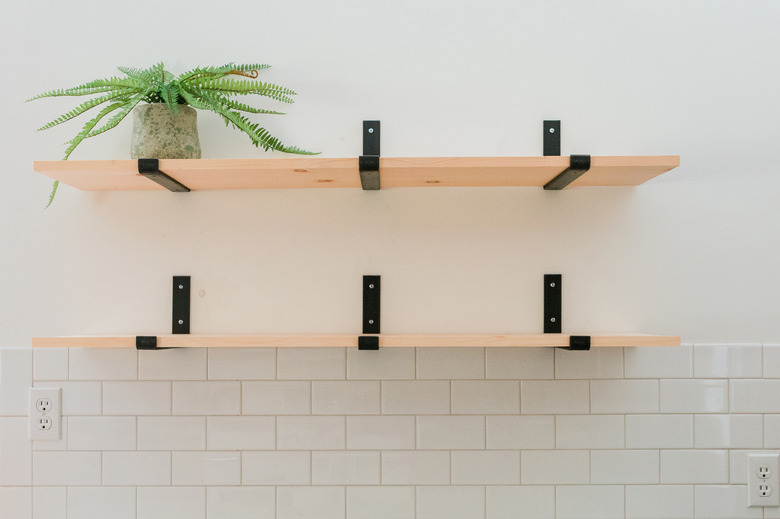
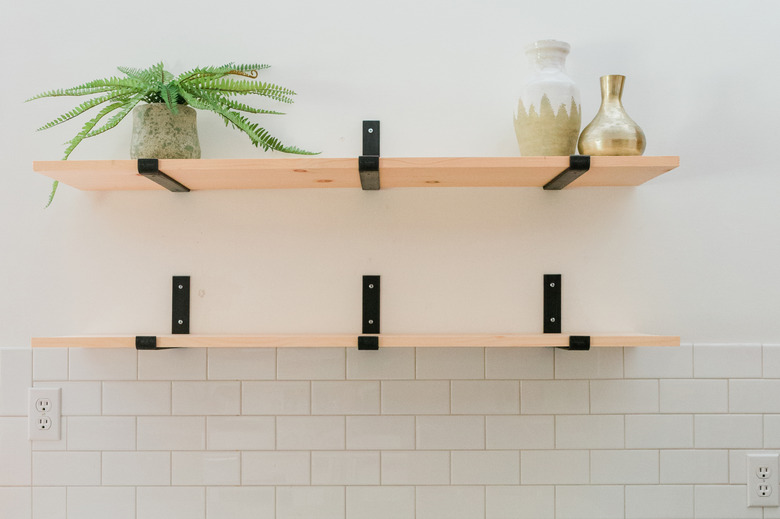
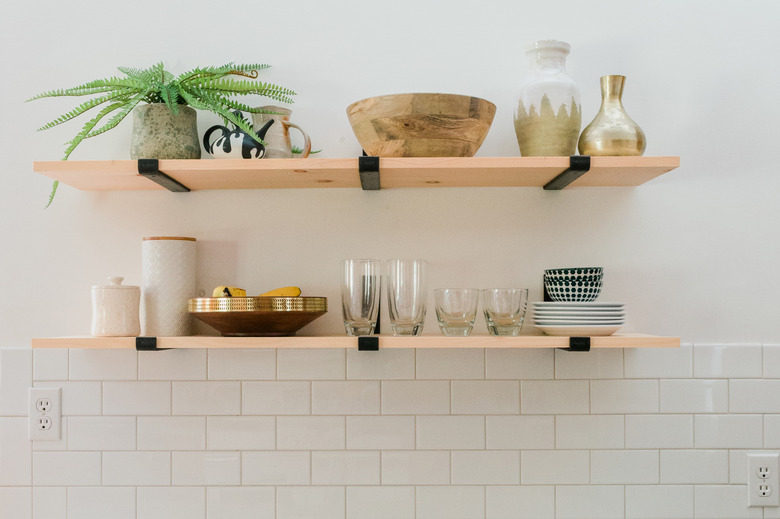
Always start by incorporating greenery. Plants instantly add sculptural interest and texture to your shelves, as well as a pop of natural color. You can use real greenery if your kitchen has good natural light, or a faux plant, like we did here. (Check out these houseplants that won't wilt in your kitchen heat.)
Step 2
Step 2
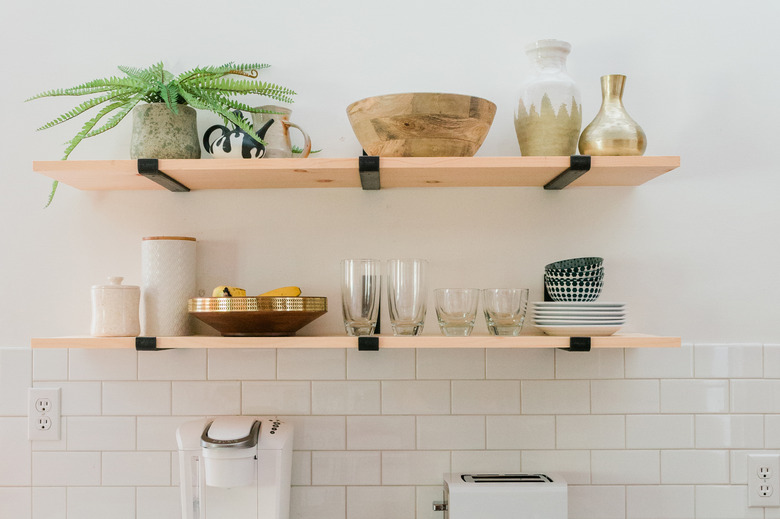
Anchor the opposite side of the top shelf with something tall and decorative, like the pair of vases you see in this photo below. If you're going for a minimalist vibe, consider using vases that feature neutral colors. Metallics are another good way to add personality without pushing the look over the top.
Step 3
Step 3
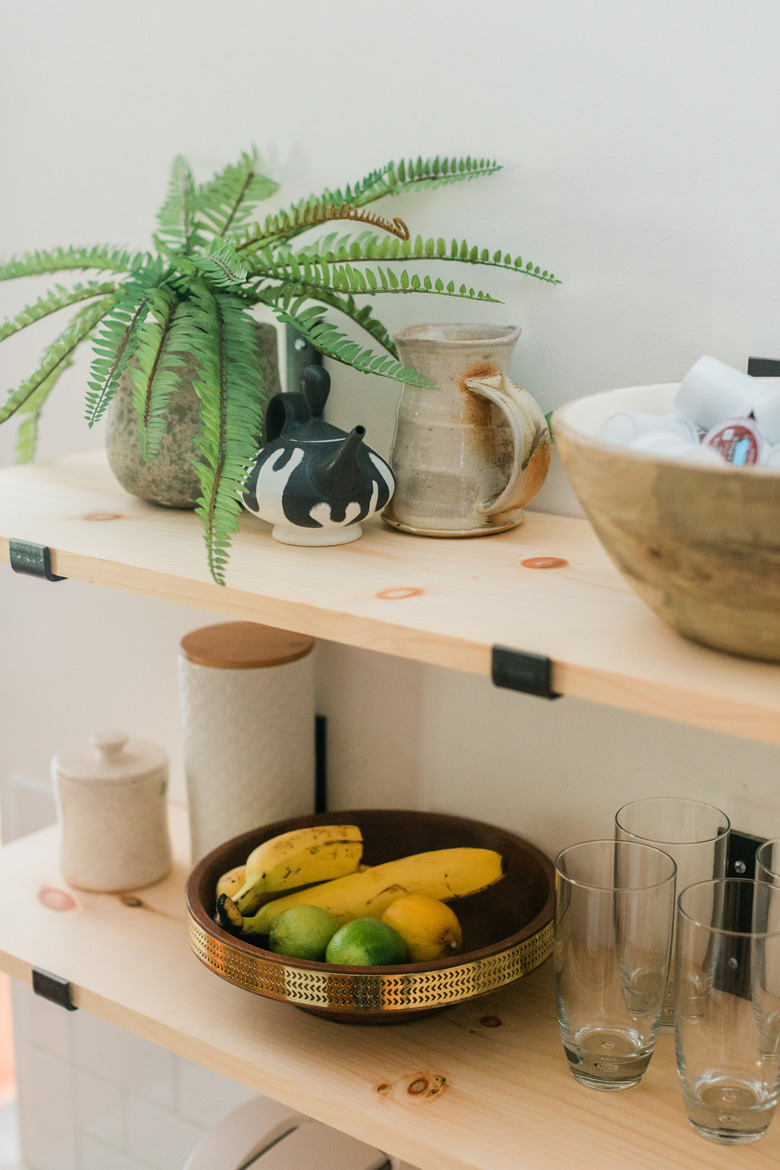
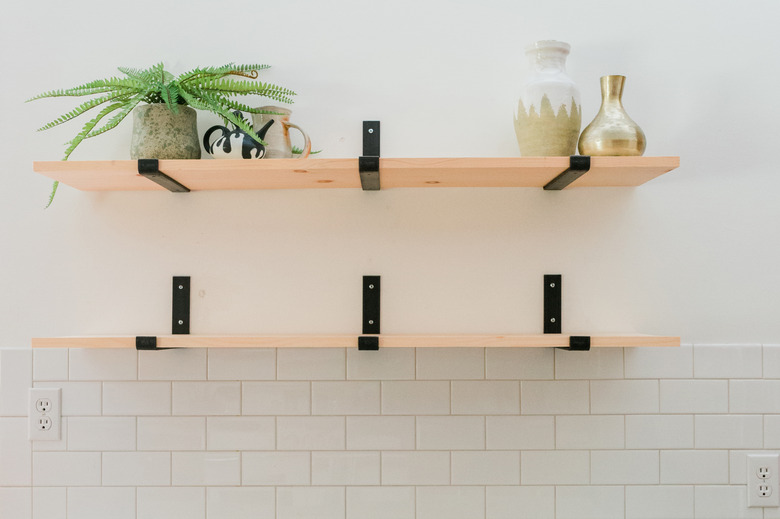
Use the upper shelf to hold kitchen keepsakes and serving dishes that aren't used every single day, such a teapot and wheel-thrown ceramic mug, both of which were purchased from a local gallery. Since these types of pieces are only used occasionally, they can be kept a little above your natural reach.
Step 4
Step 4
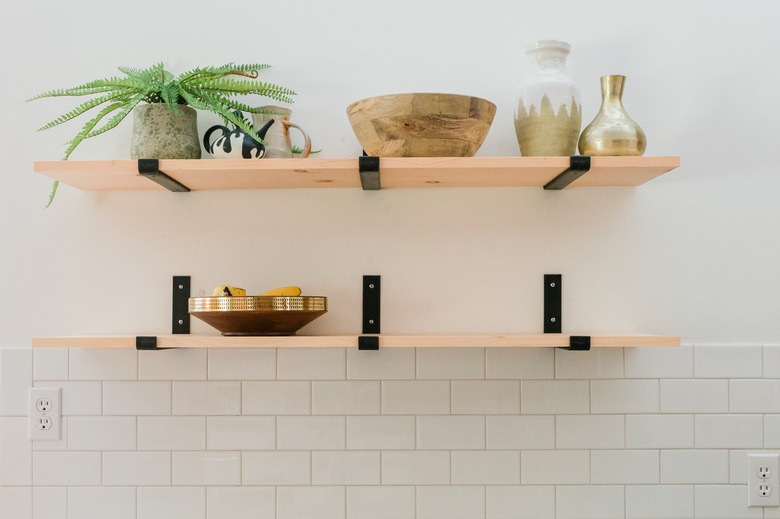
Next, incorporate oversized bowls that can be put to work in a functional capacity holding things like coffee pods and fresh fruit. Choose containers that are pretty enough to display everyday, like the two wooden options seen here in this example. The brass accent on the fruit bowl's rim is a nice complement to the gold vase on the upper shelf, and visually connects the two zones.
Step 5
Step 5
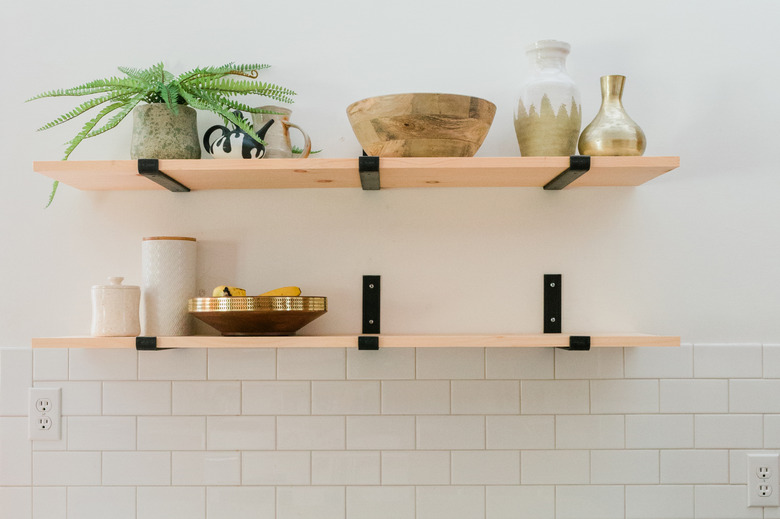
Enclosed containers can be used alongside your open bowls to hold ingredients that need an air-tight seal, such as dry pasta and sugar for your coffee. Again, pay attention to the type of container you choose for this purpose. You'll want to continue your color palette throughout, or err on the side of extra cautious and just use plain white containers that blend into the background.
Step 6
Step 6
Use the last quarter of your open shelf space to keep everyday glasses, cups, and bowls low and within reach. Before going this route, though, make sure you'll use these pieces at least every other day or so, that way you know you'll be able to keep dust at bay with consistent handling. If you're worried about a little dust collecting each day, consider flipping these items over so that the opening and interior of each cup, bowl, and plate is protected by the shelf surface.
Step 7
Step 7
The final step is to make tweaks here and there. Play around with your arrangement until it feels right. Step back periodically to make sure the two shelves look balanced. You might want to try snapping a photo of the shelves with your phone or a handheld camera because we can often spot irregularities easier in a photo than we can with the naked eye.
Just remember: even the most trained professional stylist often has to try multiple arrangements before they get it right, so don't lose heart if it doesn't look perfect on the first try. With these seven steps, you should ultimately be able to make your open kitchen shelves look great, and they'll work double—or even _triple—_duty every single day.
