How To Replace A Doorbell Transformer
Doorbell, or door chime, systems that are hard-wired to a home's electrical system include a transformer that "steps down" the household voltage for the doorbell's low-voltage wiring. Transformers don't fail very often, but when they do, they are easy to replace. However, because they're so reliable, it's a good idea to test an old transformer to confirm it has failed before replacing it. This requires a multimeter and takes just a few seconds. In fact, the hardest part of replacing a transformer may be finding it, since they're often tucked away in attics, basements or crawlspaces.
What a Doorbell Transformer Does
What a Doorbell Transformer Does
Standard household voltage is 120 volts. A doorbell system gets power from a standard household circuit but it typically operates on just 10 to 24 volts. The device that makes this possible is the transformer. Electrical transformers use two coils of wire and electromagnetic induction to raise or lower a circuit's voltage. In the case of a doorbell transformer, the 120 volts in the household circuit is reduced to 10 to 24 volts (depending on the transformer voltage rating) for powering the doorbell chime unit and button(s).
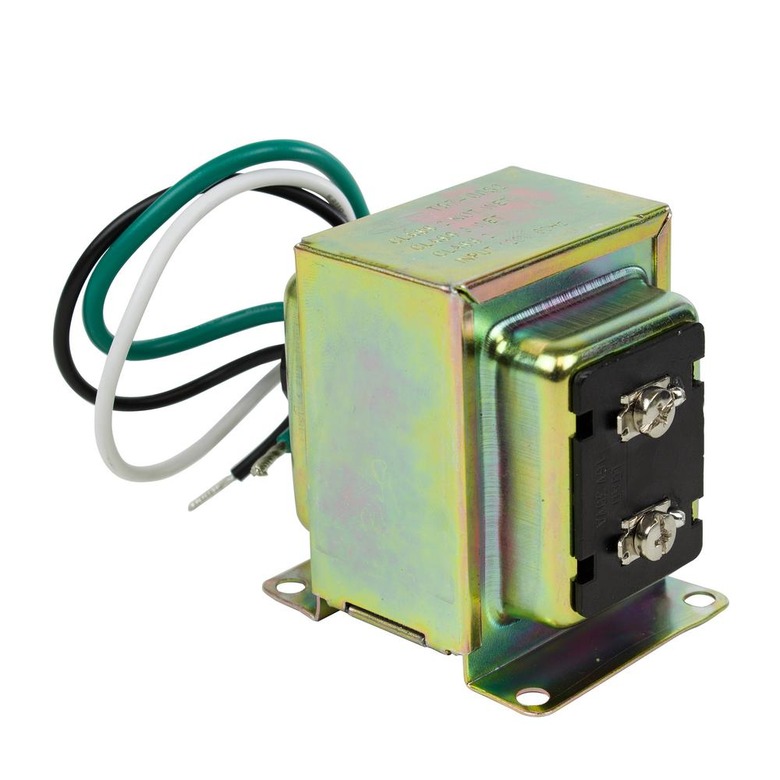
The transformer typically mounts to the outside of an electrical junction box and includes wire leads that connect to the circuit wires inside the box. These are known as the line-voltage wires, and they carry 120 volts. On the front of the transformer, there are two screw terminals for connecting the two low-voltage wires for the doorbell system. Because these terminals carry only low voltage, they can be exposed without risk of serious electrical shock.
Finding and Testing a Doorbell Transformer
Finding and Testing a Doorbell Transformer
To locate your doorbell's transformer, start at your home's electrical service panel, or breaker box. There may be a metal junction box (with transformer attached) mounted to the panel box itself or on a wall near the panel. If not, look for a transformer junction box in your garage, attic, basement or crawlspace, as applicable. In addition to the transformer box, keep your eye out for two thin low-voltage wires—if you find these wires, following them can lead you back to the transformer found at one end of the wires. Transformer junction boxes may be mounted to the sides of wall studs, ceiling or floor joists or attic rafters.
Once you find the transformer, make sure it's the right transformer—your house may have several. Most houses have a transformer for the thermostat that controls the heating and cooling (HVAC) system. An HVAC transformer usually is located on or near the furnace (or other heating equipment) or between the furnace and the thermostat; it's not likely to be in the attic, for example. Check the rating printed on the outside of the transformer: doorbell transformers typically are 24 volts or less. Anything higher indicates an HVAC transformer, although these can also be 24 volts or less. Another way to check is to look at the low-voltage wires connected to the transformer. If these don't match the wires coming into the doorbell's chime unit or the doorbell button (you have to remove the chime unit cover or the button to check), you have the wrong transformer.
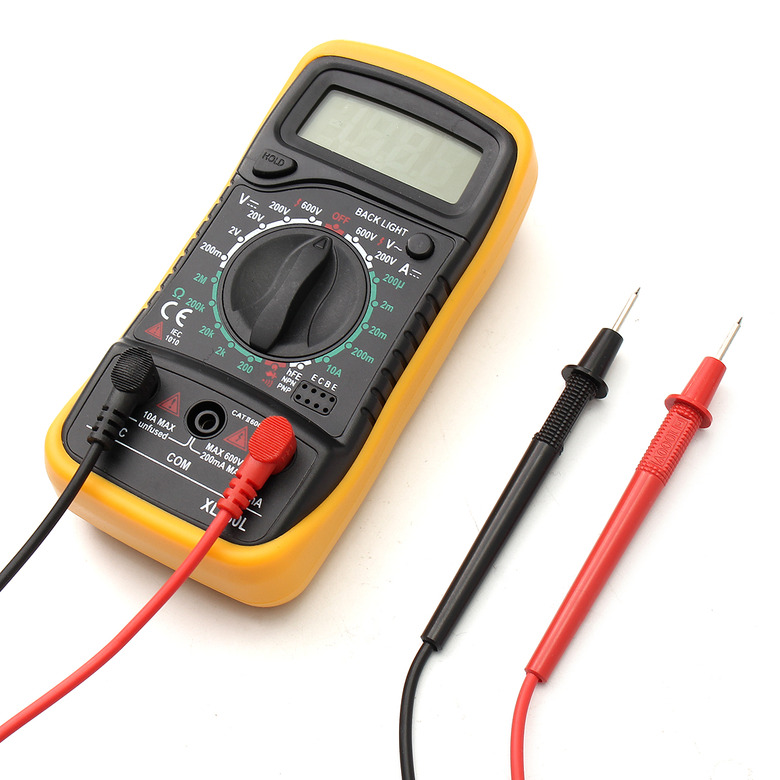
To test your doorbell transformer for failure, set a multimeter to test for AC voltage (VAC) up to at least 24 volts. Touch the tester probes to the low-voltage screw terminals on the face of the transformer, touching one probe to each terminal. If the tested voltage differs from the transformer's rated voltage by more than 2 volts, the transformer has failed. If the test voltage is within 2 volts of the rating, the doorbell has a problem somewhere else in the circuit; check the doorbell button, chime unit and low-voltage wiring.
How to Replace a Doorbell Transformer
How to Replace a Doorbell Transformer
Although the doorbell itself operates at low volatagge that is unlikely to shock you, replacing a transformer involves working with line-voltage circuit wires. Make sure you understand how to shut off power to the circuit controlling the tansformer before attempting this repair. If you are unsure of your skills, call an elecrician.
Things Needed
-
Non-contact voltage tester
-
Screwdrivers
-
Pliers
-
Replacement doorbell transformer (must have same voltage rating as original)
-
Wire strippers (as needed)
-
Wire connectors (as needed)
1. Turn Off the Power
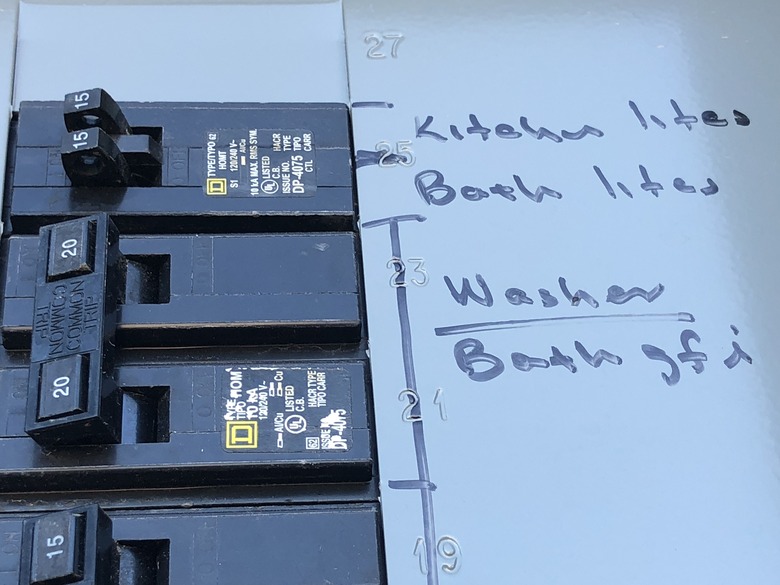
Turn off the power to the transformer circuit by switching off the doorbell's circuit breaker in the service panel. If there is no label indicating which circuit the doorbell system is on, try the 15-amp lighting circuits serving the main areas of the house.
2. Test for Power
Test for power at the transformer by touching a non-contact voltage tester to each of the low-voltage screw terminals on the front of the transformer. If you have access to the circuit cable leading to the transformer's junction box, also test the cable for voltage (non-contact testers can detect voltage through the cable jacket). If either test indicates voltage, return to the service panel and turn off the correct circuit breaker, then retest.
3. Remove the Junction Box Cover
Remove the low-voltage wires from the transformer by loosening the screw terminals and pulling off the wires. Loosen the screws on the junction box cover, and remove the cover—without touching any wires inside the box. Test each of the 120-volt circuit wires in the box with the non-contact voltage tester to confirm that the power is off.
Note: Some transformers mount to the front of the box and serve as the box cover. In this case, you have to remove the transformer to access and test the circuit wires.
4. Remove the Old Transformer
Disconnect the circuit wires from the line-voltage transformer wire leads inside the box by twisting off the wire connectors and separating each of the wire pairs.
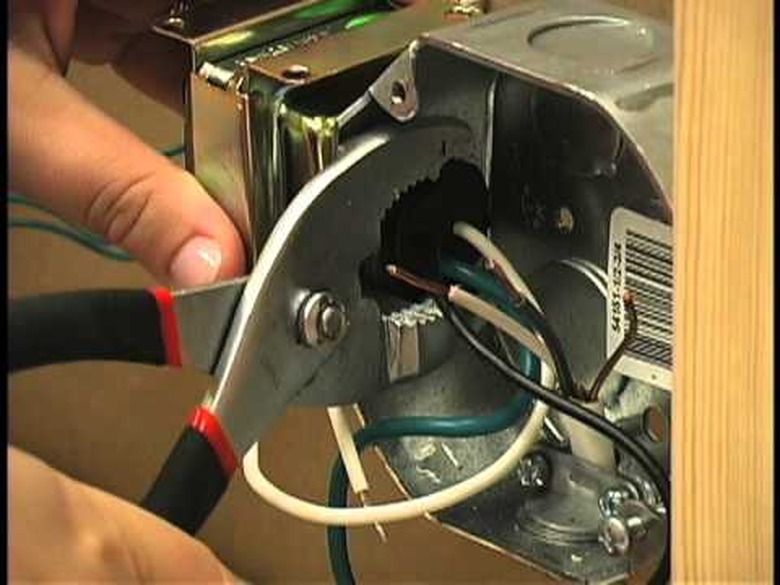
Loosen the mounting nut inside the box that secures the transformer to the box, using pliers. Unthread the nut all the way, then pull the transformer and its wire leads away from the box.
5. Mount the New Transformer
Fit the new transformer to the junction box, feeding the wire leads through the knockout hole in the box. Slide the mounting nut over the wires and tighten it onto the transformer post, using pliers.
Warning
The new transformer must have the same voltage rating as the original.
6. Connect the Line-Voltage Wires
Check the ends of the wire leads on the transformer: If the insulation is already stripped back by 1/2 inch or so, you're good to go. If the ends are not stripped (no bare metal showing), strip 1/2 inch of insulation from each wire, using wire strippers.
Connect the green ground lead of the transformer to the circuit ground wire(s), using a wire connector. You can reuse the old connectors, or replace them with new ones (either twist-on or push-in type). Connect the white transformer lead to the white (neutral) circuit wire(s), and connect the black lead to the black (hot) circuit wire(s), also using wire connectors.
7. Complete the Installation
Tuck the circuit wires and transformer lead wires into the junction box and reinstall the box cover. Connect the low-voltage wires to the transformer by wrapping the bare wire end of each wire clockwise around one of the screw terminals, then tightening the terminal. The terminals are interchangeable, so either wire can go to either terminal, but each terminal gets only one wire. However, if the original transformer had wires that were bundled and connected to one of the terminals, keep those same wires together and connect them to either one of the terminals on the new unit.
Restore power to the circuit by switching on the circuit breaker, and test the doorbell for proper operation.


