How To Splice Electrical Wires Using Wire Connectors
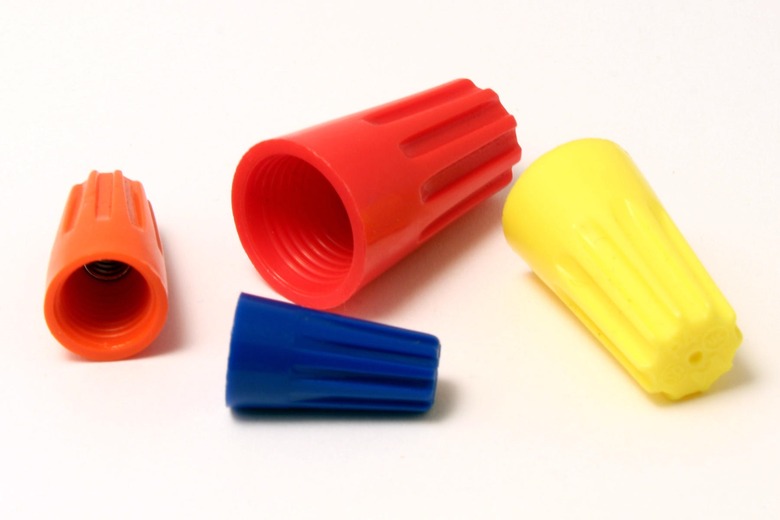
By law, wire splices—connections between two or more electrical wires—must be made with approved electrical connectors. The most common types of approved connectors are twist-on plastic caps (commonly known by the brand name Wire Nuts) and the relative newcomers, push-in connectors. Both types are equally suitable and safe for household use, provided you use them properly, following the manufacturer's instructions.
And just to be perfectly clear: Twisting wires together and wrapping them with electrical tape does not make for an approved connection under any circumstances. If you find any of these in your house (it's not uncommon), you should replace them immediately with wire connectors (and regard the rest of the wiring in the house with suspicion).
Rules for Splicing Electrical Wire
Rules for Splicing Electrical Wire
Regardless of the type or brand of connector you use, there are several basic guidelines for ensuring safe connections:
- Use the right connector for the job. Follow the manufacturer's specifications for the correct size and number of wires for each size of connector. Wire size is expressed in its gauge, or AWG (American Wire Gauge) number. For example, a large-size twist-on connector may be able to accommodate a minimum of two 14 AWG wires and a maximum of four 12 AWG wires. Also, note that standard wire connectors are for use with solid and stranded copper wire only; never use them with aluminum wire.
- Use only "UL Listed" connectors. UL, or Underwriters Laboratories, is the leading testing authority of electrical equipment in the U.S. Any electrical product worth its salt is UL tested and approved, and UL listing (indicating approval) is required by law for most electrical installations. If a connector does not show the UL symbol on its packaging, don't even consider using it.
- Cover bare wire ends completely with the connector. If you can't cover the bare ends, you've stripped too much insulation or you haven't installed the connector properly. Never try to correct the problem by wrapping the bare wires with electrical tape. Electrical tape does not take the place of wire insulation.
- Ensure that wire ends are clean and undamaged. When you're working with previously connected wires, cut off nicked, scored, blackened or badly bent wire ends and re-strip the insulation before inserting the wires into connectors.
- Confirm that connectors are secure. After installing the connector, tug on each wire to make sure is it held securely inside the connector. Loose wires are common causes of household electrical fires.
Stripping Electrical Wires for Splicing
Stripping Electrical Wires for Splicing
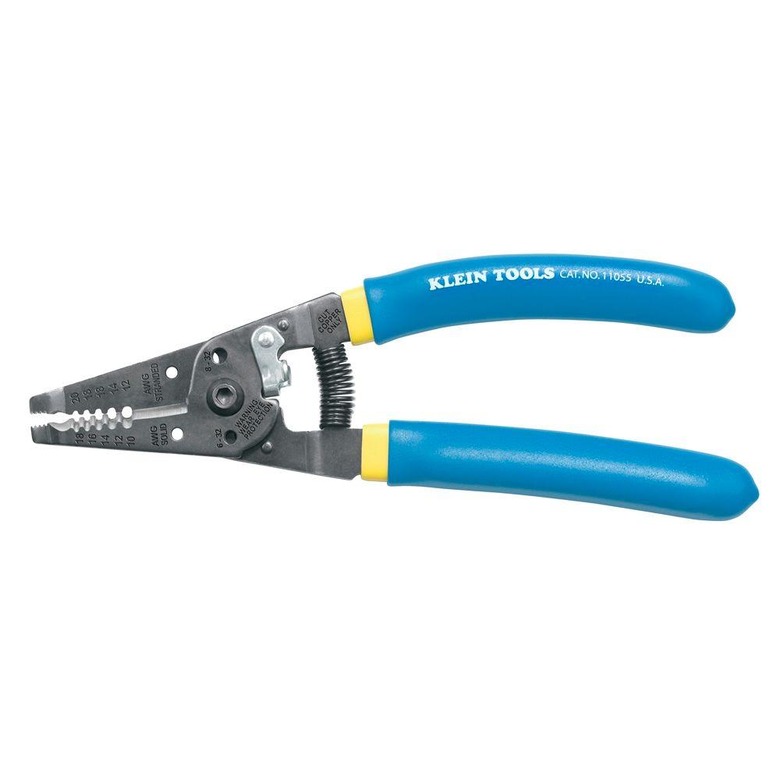
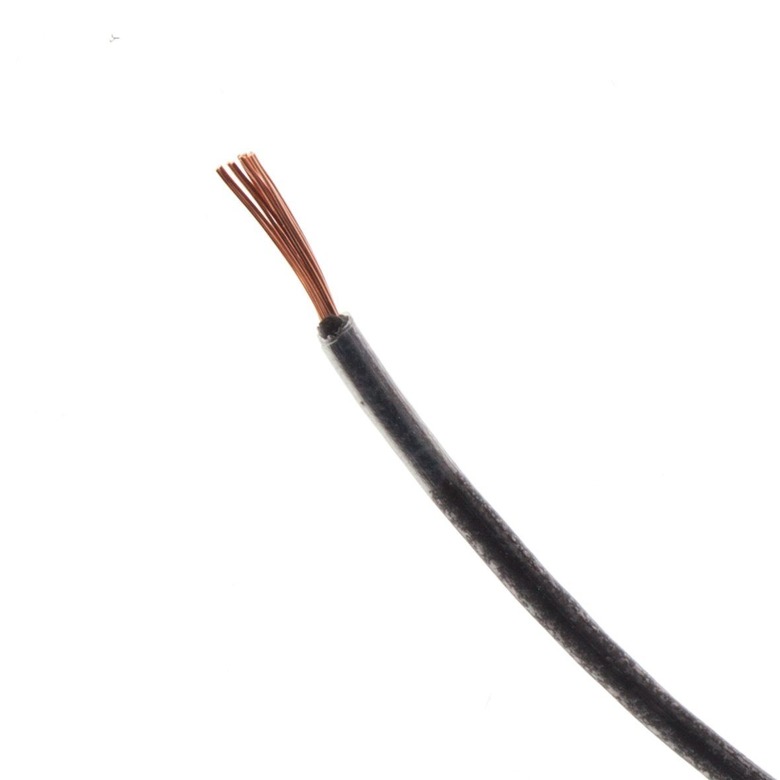
Wiring splices are made by joining the bare-metal ends of wires together. When splicing insulated wire, you have to strip the insulation from the end of the wire to expose the metal core, which may be solid or stranded copper. The best way to strip wires is to use a pair of basic wire strippers.
How much insulation you strip from each wire is a critical consideration. Again, you should follow the manufacturer's instructions because different connectors have different requirements. For twist-on connectors, the standard recommendation is to strip 1/2 to 5/8 inch of insulation, but this varies. For push-in connectors, 1/2 inch is typical.
You may have seen recommendations to strip 3/4 inch or even 1 inch of insulation. This is often the case because some people, including a lot of electricians, like to twist the wires before adding twist-on wire connectors. Twisting the wires effectively shortens them, leaving you with about 1/2 inch of bare wire exposed before adding the connector. Some people also like to trim off the wire ends after twisting.
When you're using a twist-on connector to splice a stranded wire with a solid wire, it's a good idea to strip an extra 1/8 inch of insulation from the stranded wire, and to hold the wires together so the stranded wire extends 1/8 inch past the solid. This helps the wire connector get a good grip on the stranded wire for a secure connection.
How to Splice Wires With Twist-On Wire Connectors
How to Splice Wires With Twist-On Wire Connectors
Twist-on wire connectors are plastic cones with threaded metal inserts that grab onto the wires as you twist on the connector. While some experts recommend twisting the wires before adding the connector (see below), most manufacturers instruct you to keep the wire ends straight, which is easier for beginners. If desired, you can give the connector a couple of extra twists after it's tight to coil the wires together below the connector.
To install a twist-on wire connector:
- Strip the wires to the length recommended by the connector manufacturer, using wire strippers.
- Make sure the wire ends are clean and straight.
- Hold the wires so they are parallel and making even contact. The ends of the wires and insulation (as applicable) should be even (unless you're joining stranded and solid copper).
- Fit the connector over the wire ends and push firmly while twisting the connector in a clockwise motion. Keep turning until the connector is very tight and the bare wire ends are complete covered.
- Tug on each of the wires to confirm that they are secure. If any wire feels loose or pulls out of the connection, remove the connector and start over.
Should You Twist the Wires for Splicing?
Should You Twist the Wires for Splicing?
Many electricians like to twist wires together before or after installing twist-on connectors. They do this by grabbing the ends of the wires or the connector with linesman's pliers and twist clockwise several times. The idea is to provide an extra layer of protection to prevent wires from coming apart and possibly pulling out of the connector.
Should you do this just because the pros do it? Not necessarily. For one thing, twisting the wires or wire ends is not what most wire connector manufacturers recommend. Also, getting the twist just right is not as easy as it looks, and it can cause problems if the wires are already fairly short—twisting makes them even shorter—which might make it hard to pull the switch or outlet out of the electrical box.
In any case, keep in mind that twisting applies to twist-on connectors only; it's not normally done with push-in connectors.
How to Splice Wires With Push-In Connectors
How to Splice Wires With Push-In Connectors
Push-in connectors are made of polycarbonate plastic and have stainless steel teeth that hold onto the wires. There is a port for each wire—only one wire goes in each port—and connectors can have from two to eight ports. You don't have to use all of the ports. Most push-in connectors have a clear portion that lets you confirm that the wire ends are fully inserted. The connectors accept both solid and stranded copper wire.
To use a push-in wire connector:
- Strip insulated wire to 1/2 inch (or as directed by the manufacturer), making sure the bare end is clean and straight. If the wire is stranded, twist the strands so there are no stray wires.
- Push each wire into one of the open ports, pushing as far as it will go. The bare copper wire must be completely inserted into the connector.
- Look through the clear end or window of the connector to confirm the wire is fully inserted.
- Tug on the wire to confirm that it is securely held by the connector.
You can remove wires from push-in connectors simply by pulling and twisting the wire. You can also reuse the connectors if you follow a few rules:
- Use solid wire only; don't reuse connectors that have held stranded wire.
- Use the same gauge or larger wire that was previously held by the connector. For example, if a connector was used for 14 AWG wire, you can reuse it with 14 AWG or 12 AWG wire, but you cannot use it with 16 AWG or smaller wire because the connector may not hold.
- Cut and re-strip wires that were previously held by a push-in connector. These connectors bite into the copper and leave marks or can break strands when they are removed. Always use freshly trimmed and stripped wire ends.


