What Is A Sewer Cleanout?
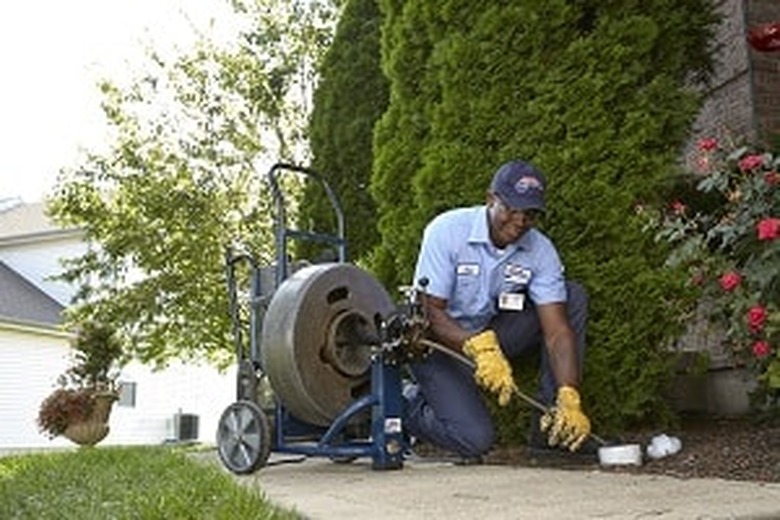
A clog in the sewer lines on your property can be a serious matter. It can put all the plumbing fixtures in your house out of commission until you remove it, which is something you can do using a water jet or a sewer auger or "snake." Either way, you need a way to get the water or the snake into the sewer pipe. That's why you need sewer cleanouts.
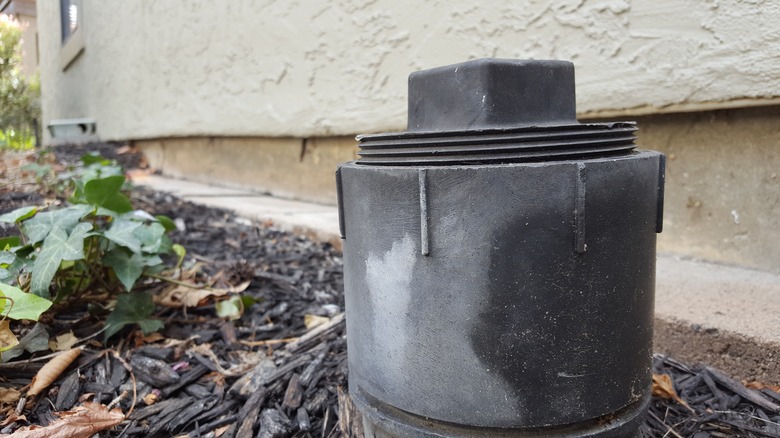
A sewer cleanout is a threaded plug or cap that fits onto a wye (Y) fitting or sweep fitting in a main sewer line to provide an access point for servicing the sewer line. Branch drains often have similar fittings that allow you to snake out clogs when they occur in smaller drain lines, but the main sewer cleanout is used when it's the main sewer line out to the municipal sewer line or septic system that develops a clog.
The sewer cleanout fitting provides a point of insertion perpendicular to the direction of flow in the main pipe, but it is angled in such a way that anything you insert into the fitting (such as a drain snake) cannot go against the flow of waste water.
The Reason You Need Cleanouts
The Reason You Need Cleanouts
When a blockage occurs in a sewer line, it's often formed by compacted waste matter, although tree roots, poor venting and issues with the septic system can also be responsible. A sewer auger, which is usually a motorized tool, can handle most compacted debris, but unlike a toilet or auger, you can't insert it into the sewer line through a toilet or fixture drain. It's too big and could crack the porcelain or pipe. That's why you need sewer cleanouts.
The lateral waste line in a typical house, which is the pipe that connects the house plumbing to the municipal sewer or the septic tank, typically has more than one cleanout. One or two are often buried in the ground along the path of the pipe, and another is typically just outside the house. In colder climates, you may find at least one cleanout in the basement or crawl space, where it's protected from freezing; where sewer lines are buried below the frost line, there is rarely a cleanout located in the yard.
Cleanouts are strategically placed to allow access to all sections of the sewer line. The sweep of the fitting makes it easy to insert an auger and reach a blockage located downstream from the cleanout. When it turns out a blockage is upstream of a particular cleanout, you have to access it from another cleanout, because the auger can't go upstream. This is why the waste system usually has more than one cleanout fitting.
Tip
If a blockage has caused a backup, you can pinpoint its general location by opening a cleanout and noting whether water spills out. If it does, the blockage is downstream from that cleanout. If no water emerges, the blockage must be upstream.
How to Find and Open a Cleanout
How to Find and Open a Cleanout
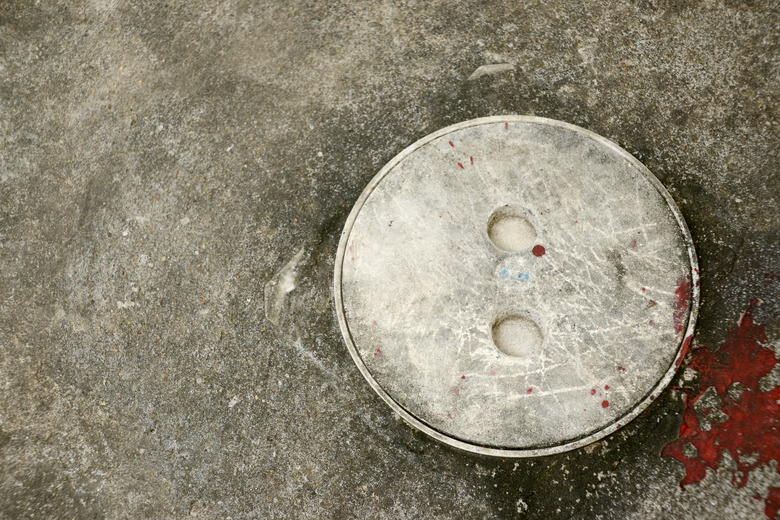
A cleanout has the same diameter as the pipe to which it's attached, which is usually 3 or 4 inches. Most have a threaded end that accepts a screw cap, but some are covered with a slip fitting. The cap usually has a large square nut on the end, which is perfect for gripping with a pipe wrench. You'll need that pipe wrench, because after sitting undisturbed for several years, the cap is usually fused to the threads and can be difficult to turn.
You might find a cleanout buried in the ground or attached to a pipe exiting the side of the house or one in the basement or slab floor. If you have a copy of the plumbing blueprints for the house, they provide the most reliable way of locating the cleanouts. Lacking this, follow the path of the lateral waste line from the side of the house to the street or to the septic tank. You'll probably see the cleanout caps popping up from the ground.
To open the cap, grip it with the pipe wrench and turn it counterclockwise. That can be easier said than done, though, so you may need to use one or more of these tricks to get the cap to turn:
- Extend the wrench handle with a length of 1-inch steel pipe. The longer the pipe you use, the more leverage you'll get.
- Tap the cap with a hammer to loosen the threads.
- Douse the cap with penetrating lubricant. Wait for 5 minutes to allow the lubricant to seep into the threads, then try turning. Add more lubricant as needed.
- Apply heat. If the cap is cast iron, heat it with a propane torch, but if it's plastic, don't use anything hotter than a hair dryer on its highest setting.
Warning
Don't apply heat if you've already used lubricant. Spray lubricant is flammable and can ignite.


