How To Prevent Dryer Vent Fires
We may receive a commission on purchases made from links.
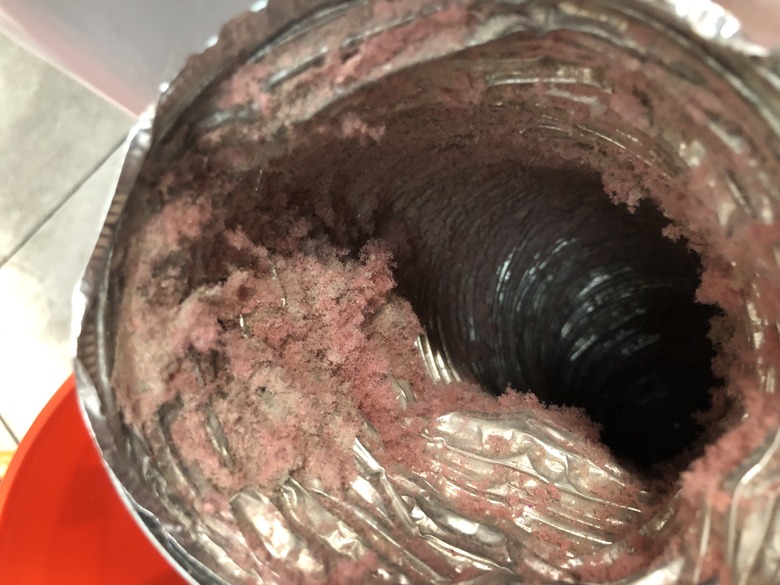
Dryer fires aren't rare. In an average year, dryers are behind 2,900 home fires that cause 5 deaths, 100 injuries and about $35 million in property damage, according to the U.S. Fire Administration. Lint accumulation in the dryer vent is responsible for one-third of these fires, so regularly cleaning the vent is an important safety measure.
It's just as important to ensure that your vent ductwork is installed according to code. Following code requirements ensures that highly flammable lint gets deposited outside the house rather than getting stuck in the pipes. Keeping lint moving through the vent prevents fires, and it also improves the performance of the dryer, which saves you money in the long run. The code requirements are there also to ensure that moist air doesn't get released anywhere inside the house, where it can promote mold and wood rot.
A vent system constructed faithfully to code still needs regular cleaning, and this is a job that most homeowners can do themselves. Depending on the length of the vent, you can clean it with a vacuum cleaner, a leaf blower or a special dryer vent brush. You should do this once a year or whenever you see evidence of lint accumulation, such as poor dryer performance or reduced air flow through the outdoor vent opening.
Code Requirements for Dryer Vents and Ductwork
Code Requirements for Dryer Vents and Ductwork
The International Residential Code specifies a number of requirements for dryer vents, and conforming to these specifications is the best way to minimize the risk of a vent fire. The specifications govern, among other things, the type of duct you use and its diameter, the overall length of the system and the maximum number of bends and elbows.
- Duct construction: The IRC specifies 0.016-inch (0.4 mm) rigid duct with a minimum diameter of 4 inches. Sections must be assembled with the joints running in the direction of air flow, and they must be joined without sheet metal screws, because screws that protrude inside the ducts trap lint.
- Avoid flexible pipes: Current codes preclude the use of flexible, corrugated pipes in the main vent system, although pipes made of non-flammable materials are permitted to connect the dryer to the vent. It's best to use rigid pipe to make this connection, but if you opt for corrugated pipe, use short lengths, because corrugated pipe collects lint.
- System length: The maximum vent length allowed by code is 35 feet from the back of the dryer to the vent outlet, which must be outdoors. Subtract 5 feet for every 90-degree bend and 2.5 feet for every 45-degree bend. The code allows an exception to this rule if the dryer manufacturer specifies a longer vent.
- Support: The ducts for dryer vents must be supported at 12-foot intervals, usually by straps attached to overhead joists. Avoid sags, because that's where lint is most likely to accumulate.
How to Clean a Dryer Vent
How to Clean a Dryer Vent
A good way to tell whether the dryer vent needs cleaning is to note the amount of air low from the vent outlet when the dryer is running. If the outlet has a hinged cap, the air flow should be strong enough to hold it (or a sheet of loosely held paper) at a 45-degree angle. You can clean the vent with a vacuum cleaner or a leaf blower, but the best way is to use a vent-cleaning brush, which comes with handle attachments to increase its reach to 12 feet.
Things Needed
-
Screwdriver
-
Vent brush
-
Vacuum cleaner
- Unplug the dryer, move it away from the wall and disconnect the vent from the dryer outlet. Vacuum lint from the back of the vent opening and the dryer outlet. If the dryer is connected with flexible pipe, disconnect both ends of the pipe so you can thoroughly vacuum it out. This is a good time to replace this pipe with a rigid one.
- Remove the vent cover from the vent outlet on the side of the house, using a screwdriver, then clean away any lint that has accumulated on the cover and around the edge of the vent opening.
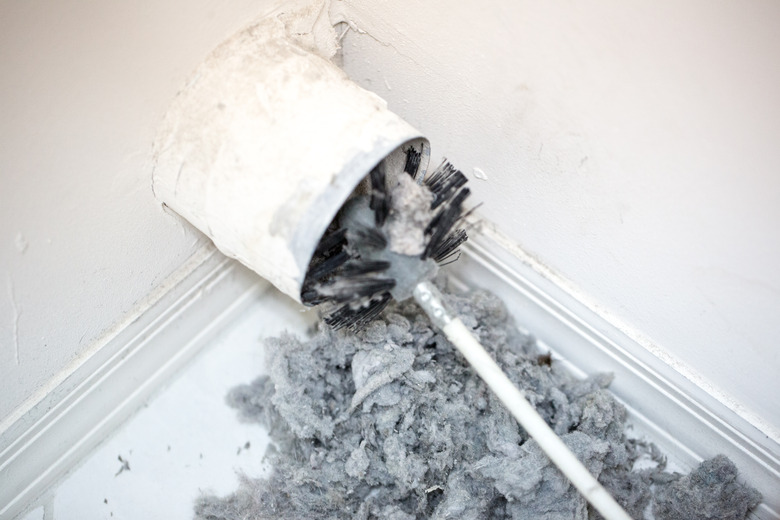
- Insert a vent brush into the outdoor vent opening and push it in as far as it will go, using handle extensions to increase its reach, if necessary. Twist the brush slowly as you go. The brush will push lint in front of it, and some may fall on floor in the laundry room, where it is easy to vacuum up.
- Insert a vacuum hose into the duct from inside the house to suck up any lint that didn't fall onto the floor.
Tip
If you don't notice improved air flow after cleaning the vents, it's time to get the dryer serviced.
Ways to Reduce Lint Accumulation
Ways to Reduce Lint Accumulation
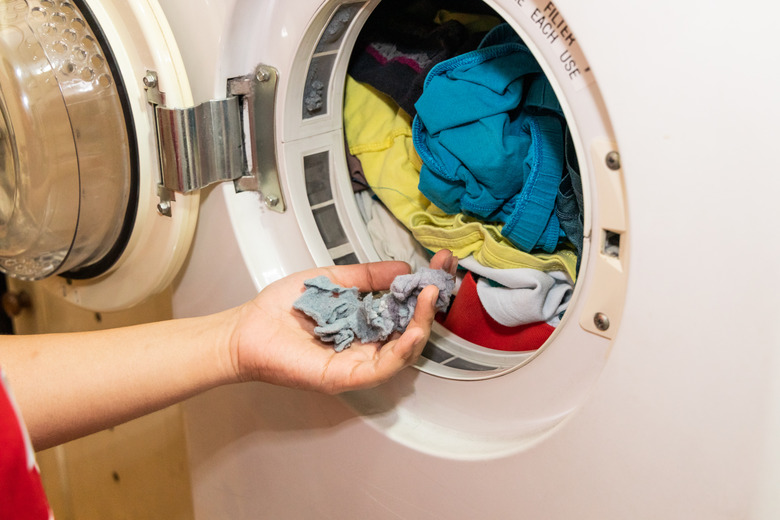
Every dryer has a lint filter, and it's important to clean it every time you use the dryer. On most dryers, this filter is either on top of the cabinet or just inside the door. It catches much of the lint produced by the dryer, but not all of it. All fabrics produce lint to some degree, but there are ways to minimize it.
- Reduce the drying time: The peak period for lint production is when the clothes are dry enough to be fluffy. Set the timer to go off 10 minutes earlier than you normally would and check the clothes. If they are dry, you just avoided 10 minutes of lint accumulation.
- Remove excess lint before washing: Use a lint brush or a dryer sheet to pick up loose lint and pet hair from your clothes before you wash them. After the clothes are dry, spray them with anti-static spray to prevent them from picking up more loose lint.
- Deep clean the lint filter: Every so often, remove the lint filter from the dryer and wash it with soap and water. While you're at it, clean the lint filter in the washing machine too.
- Use dryer sheets in the dryer: Dryer sheets won't reduce the amount of lint picked up by the lint filter, but by reducing static electricity in your clothes, they will prevent the clothes from collecting more lint and hair that can clog your dryer vent.


