DIY Scandi-Inspired Hanging Planter Using Embroidery Hoops
We may receive a commission on purchases made from links.
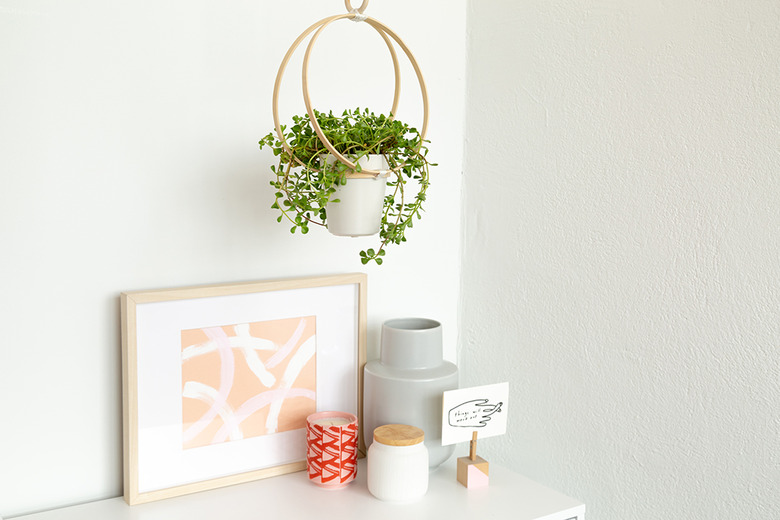
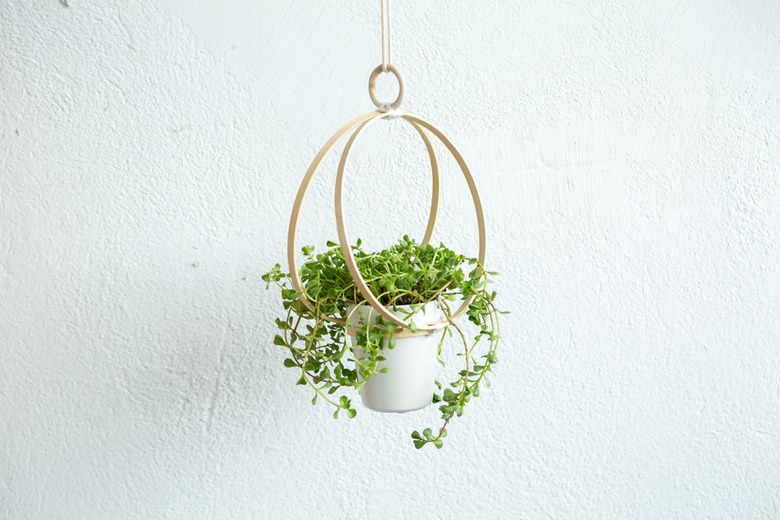
Lately, it seems as though we're seeing hanging planters in every boutique and online shop. Houseplants are in and here to stay! Today, we're showing you how to make a very simple and Scandi-inspired hanging planter using embroidery hoops.
You can use varying sizes of embroidery hoops for this hanging planter. You just want to make sure that the hoop on the bottom will fit your pot. And for your plant, we recommend a hanging succulent like a Burro's Tail or String of Pearls.
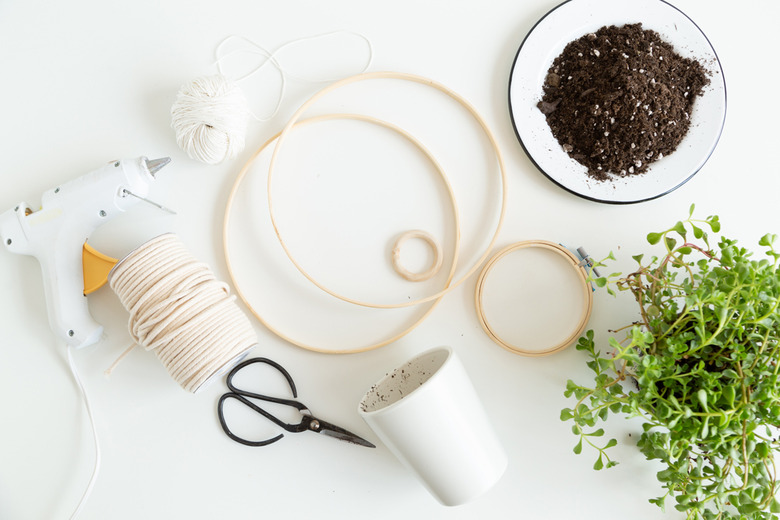
Things Needed
Step 1
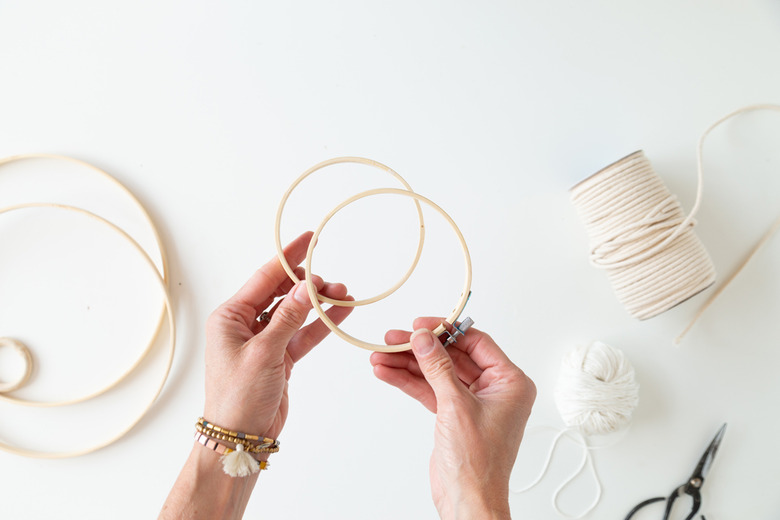
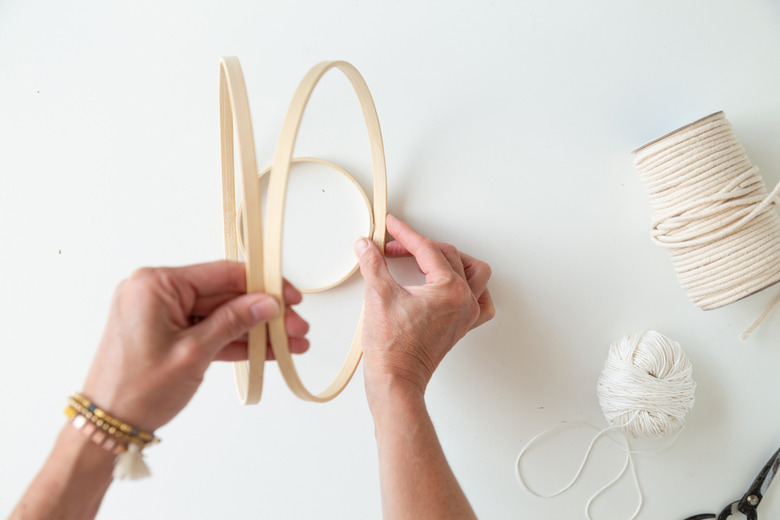
Start by separating the embroidery hoops. You will only be using the inside hoop of each set.
Step 2
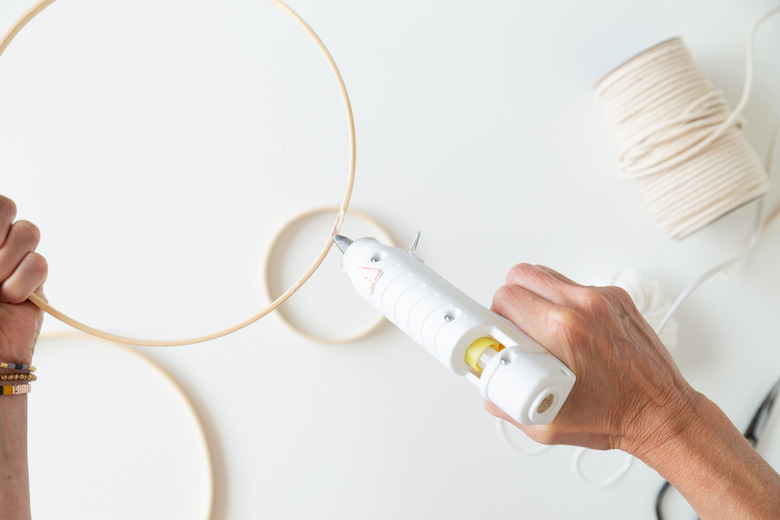
Next, you'll need to adhere the smaller hoop to the bottom of two larger hoops. Use a hot glue gun for a quick hold. Add glue to the inside bottom area of the hoop and secure the smaller hoop. Do this for both hoops.
Step 3
Secure the smaller hoop to the insides of the larger hoops.
Step 4
Use hot glue gun to adhere the tops of the larger hoops together. Allow to dry.
Step 5
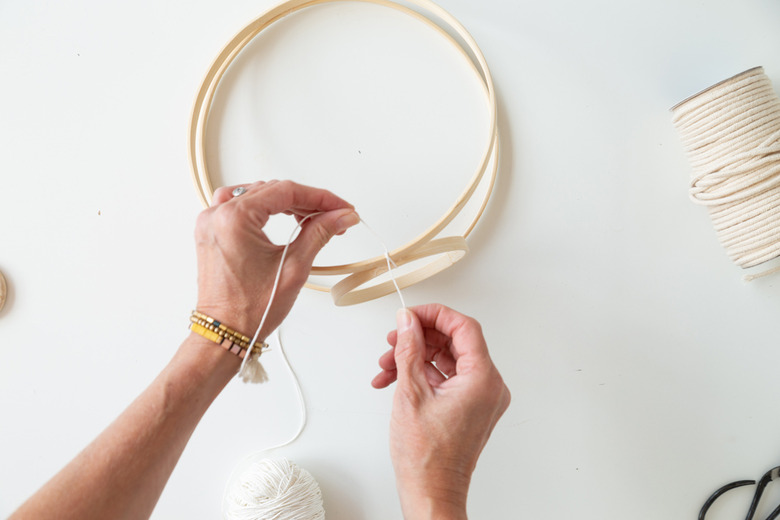
Tie white string around the top and bottom glued areas. This will secure the hoops together, giving more stability over the glued spots.
Step 6
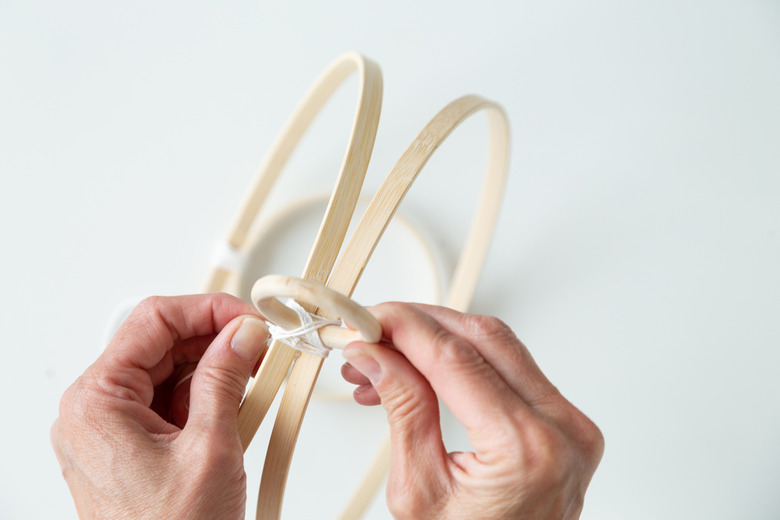
Next, glue the wood ring on top of the wrapped area of larger hoops. Then, wrap string around the wood pieces in an "X" formation.
Step 7
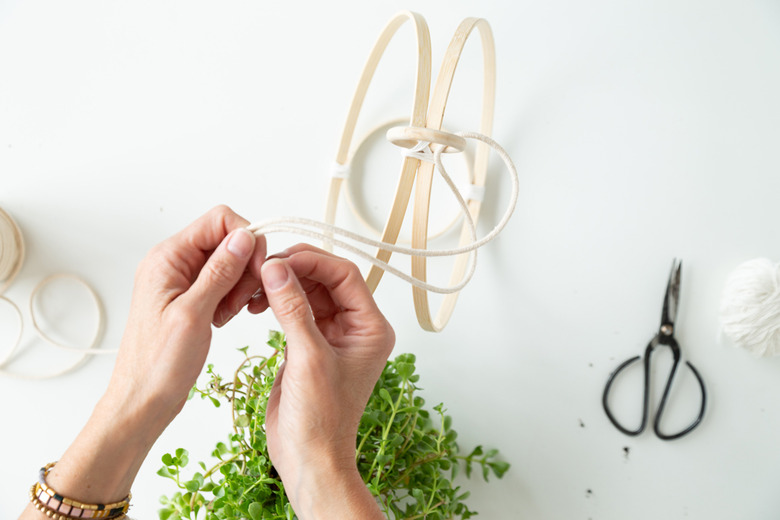
Loop a cotton rope piece through the wood ring. Make the rope as long as you need for hanging.
Step 8
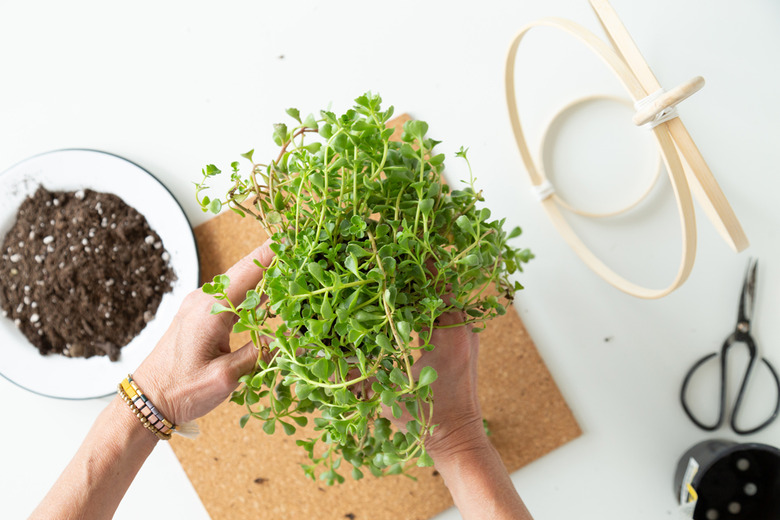
Pot your plant in the 4-inch planter pot, and then place it in the hanging planter!
Step 9
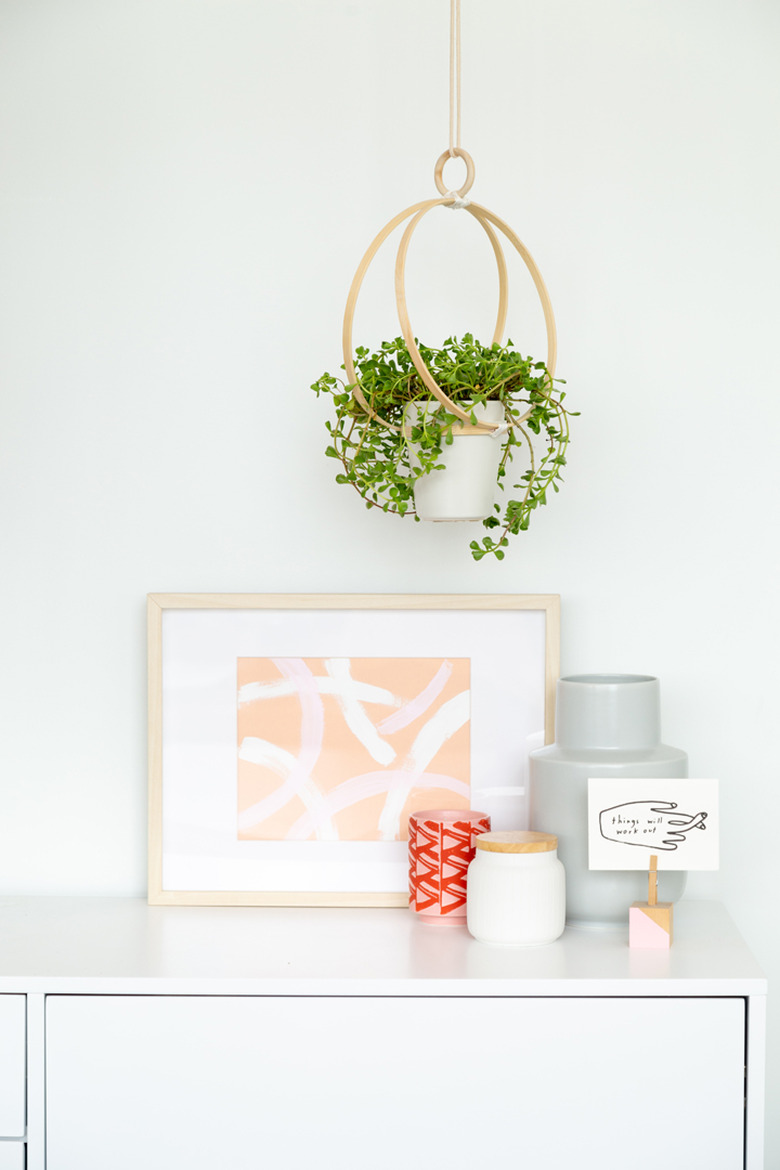
Hang and enjoy!
