These Paper Christmas Tree Ornaments Are Easier To Make Than You'd Think
We love getting crafty during the holidays, especially when it comes to decorations. Give your Christmas tree a personal touch with these fun DIY ornaments. They may look like fancy origami handiwork but they're actually so easy to make. We've opted for a Scandi palette with our monochrome color scheme, but you can make these using any kind of patterned paper. (They're a great way to use up any leftover gift wrap!)
Things Needed
-
Paper
-
Glue stick
-
Scissors
-
Cardboard
-
String
Step 1
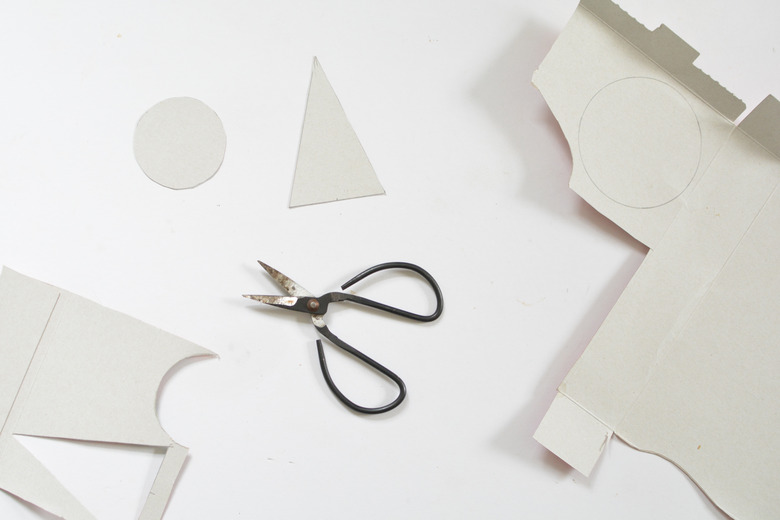
Take a piece of cardboard (we just used an old cereal box) and draw out some basic shapes to use as templates. We picked simple shapes such as triangles for Christmas trees and circles. Cut the templates out using scissors.
Step 2
For each ornament you'll need 12 of each shape. We're using a triangle shape for this tutorial. Use your template to draw 12 identical shapes onto the paper you've picked.
Step 3
Cut out the 12 triangles, and then fold each one in half widthwise.
Score along the fold line so there's a nice crisp fold.
Step 4
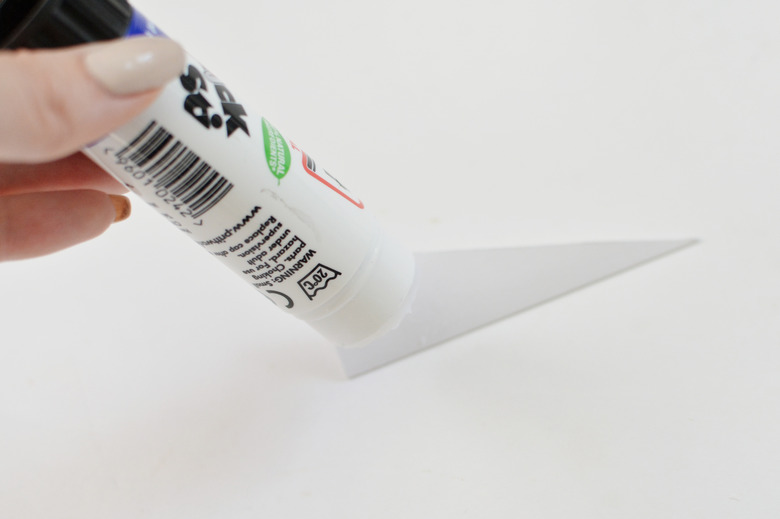
Using a glue stick, glue along one outer half of the folded triangle shape.
Step 5
Take a second triangle and press one half to the glue-coated half of the first triangle.
Repeat the above step, gluing on a new triangle each time until you've used all 12.
Step 6
Cut a length of string approximately 6 inches in length, fold it in half, and then glue it into the middle.
Step 7
Glue together the first and last folds in order to close up the ornament and sandwich the string in place.
Once dry, the ornaments are ready to hang.
We've hung ours on a minimal branch arrangement, but these ornaments look great on a traditional Christmas tree too!


