Can You Install Vinyl Flooring Over Ceramic Tile?
Remodeling often calls for new flooring to fit with design changes, and if the existing flooring is ceramic tile, it's far easier to lay the new flooring directly over it than to remove it and start on a bare subfloor. Vinyl flooring is an ideal choice because it's thin, doesn't require an underlayment and comes in glue-down and floating-floor options.
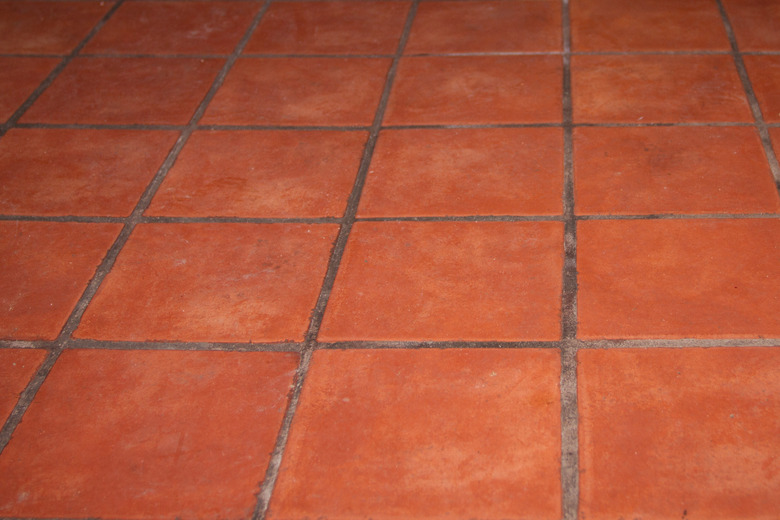
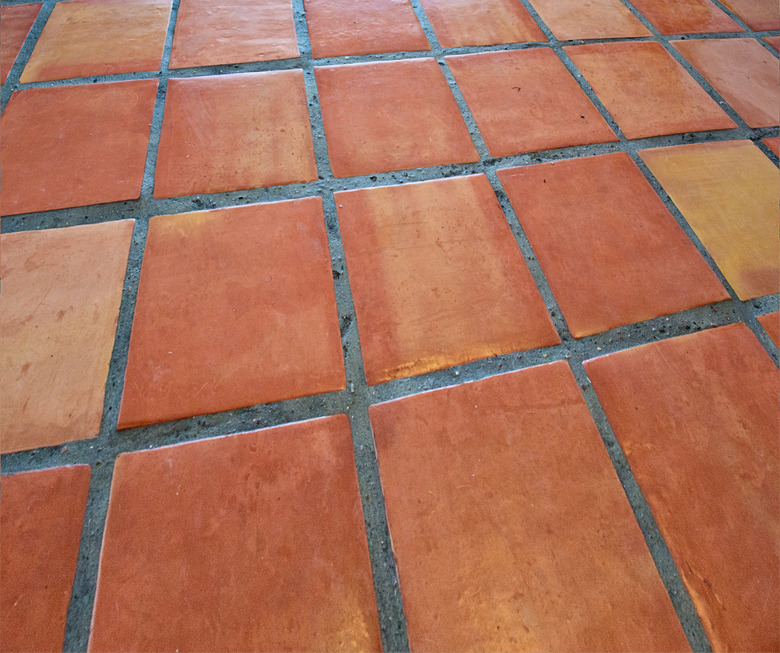
The main caveat is that all vinyl formats call for a smooth subfloor, including sheet vinyl, vinyl tile and luxury vinyl planks and tiles. If the grout lines in the ceramic tile are deep, you'll see and feel them under sheet flooring, and if you choose to install preglued vinyl tiles, they won't stick. One strategy is to fill the grout lines with leveling compound, and another is to lay a new subfloor over the tiles.
Tip
You can definitely install vinyl flooring over ceramic tile, but you may have to spread leveling compound or lay plywood or hardboard to flatten the floor first.
Vinyl Flooring Is a Great Idea
Vinyl Flooring Is a Great Idea
One of the main problems you encounter when installing new flooring over old flooring is the increase in the height of the floor surface, but this is less of a problem if you choose vinyl. Even laminate flooring, which is typically about 3/8 inch thick, can necessitate cutting doors shorter, undercutting door jambs and other troublesome procedures, not to mention the need for specialty transition strips at borders with other floors. You might encounter this problem if you install vinyl plank flooring but not sheet vinyl flooring or vinyl tile, which raise the floor level by a negligible amount.
Many tile floors have radiant heating, and if yours does, that limits your options. Glue-down vinyl tile and sheet flooring are not recommended for floors with radiant heat because the adhesive doesn't stand up well to high temperatures. Leading vinyl flooring manufacturer Armstrong Flooring recommends using floating vinyl planks on floors with radiant heat, provided the temperature of the floor stays below 85 degrees Fahrenheit (29 degrees Celsius).
Vinyl Flooring Options
Vinyl Flooring Options
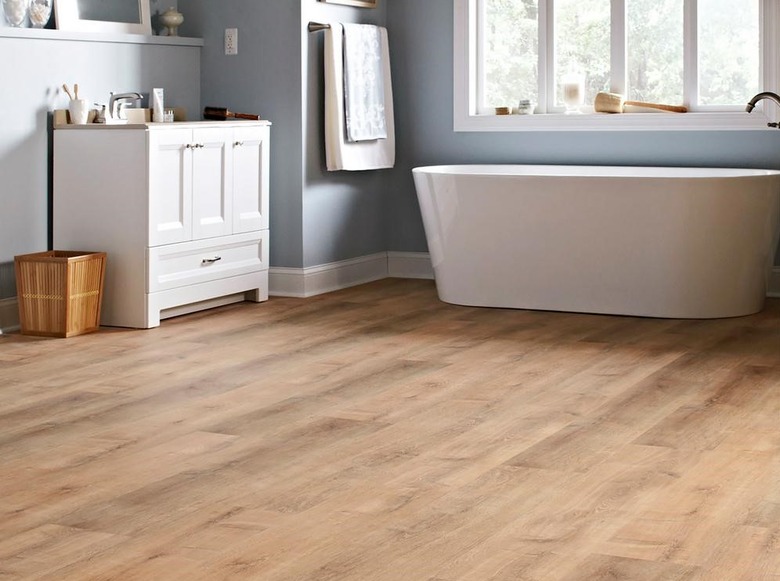
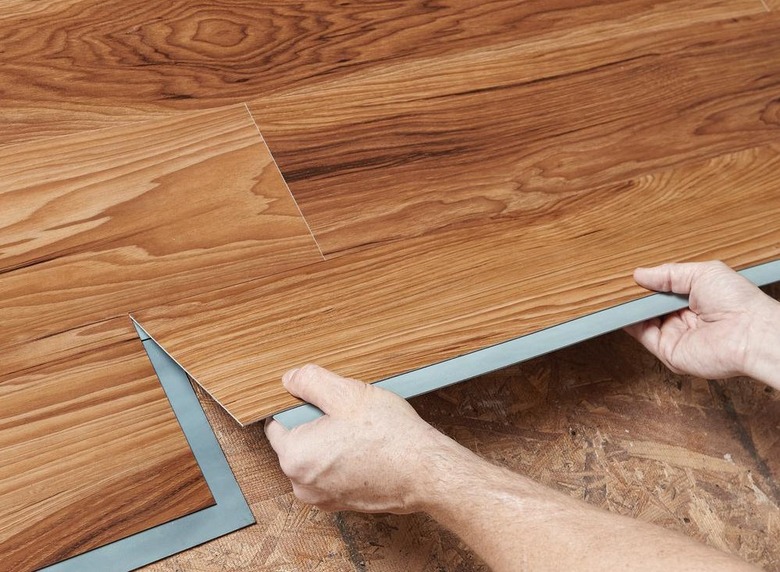
Vinyl planks represent perhaps the best option for installation over ceramic tile. They come in thicknesses ranging from 2 millimeters (about 1/16 inch) to 8.5 millimeters (about 3/8 inch) and typically float over the subfloor. Available styles include:
- Glue-strip planks: The least expensive vinyl plank option, these planks are held together by peel-and-stick strips. One of the best-known brands is TrafficMaster Allure.
- Luxury vinyl tiles: Constructed in layers, luxury vinyl tiles snap together like laminate planks and feature wood, stone and geometric patterns.
- Waterproof vinyl planks: Similar to luxury vinyl tiles, these planks have a waterproof core and are the best choice for bathrooms, laundry rooms and other wet locations.
- Rigid-core vinyl planks: These waterproof planks have a rigid core that makes them extra durable and suitable for high-traffic and commercial locations.
Vinyl sheet flooring is one of the least-expensive vinyl options. It's completely waterproof, and though you usually glue it to the subfloor, you can let it float if you prefer to use it as a temporary floor covering, like a carpet. The thickness of sheet flooring is typically less than 3 millimeters (about 1/8 inch).
Vinyl tiles must be glued down. You can buy the adhesive separately and apply it with a trowel, or you can buy peel-and-stick tiles that have their own adhesive. Choose peel-and-stick tiles only if the subfloor is flawlessly flat and level, or they won't stick. They also may not stick if you use a chemical product to remove any existing adhesive, according to Armstrong. Thicknesses range from 3 millimeters (1/8 inch) to 6 millimeters (about 1/4 inch).
Read more: Vinyl Flooring: What You Need to Know
How to Prepare Ceramic Tile for Vinyl Flooring
How to Prepare Ceramic Tile for Vinyl Flooring
The amount of subfloor preparation you need depends on the depth of the grout lines and the type of vinyl flooring you want to install. Sheet vinyl and vinyl tile are so thin and flexible that any defect in the subfloor is noticeable. Snap-together vinyl planks come with a rigid or semirigid backing, so defects in the subfloor aren't as apparent, but large, deep grout lines can cause the joints to separate.
The half-inch tiles that you find on bathroom floors have small grout lines that are usually filled almost flush to the tile surface, and they probably need no preparation prior to laying vinyl plank. You should fill the grout lines if you plan to glue down vinyl tile or sheet vinyl, however. Larger tiles with deep grout lines, such as the terra cotta tiles commonly used on patios, almost always need to be filled or covered prior to laying any type of vinyl flooring.
Consider this sample procedure for leveling a ceramic tile floor prior to installing glue-down or floating vinyl:
- Chip out any loose grout and then vacuum the floor.
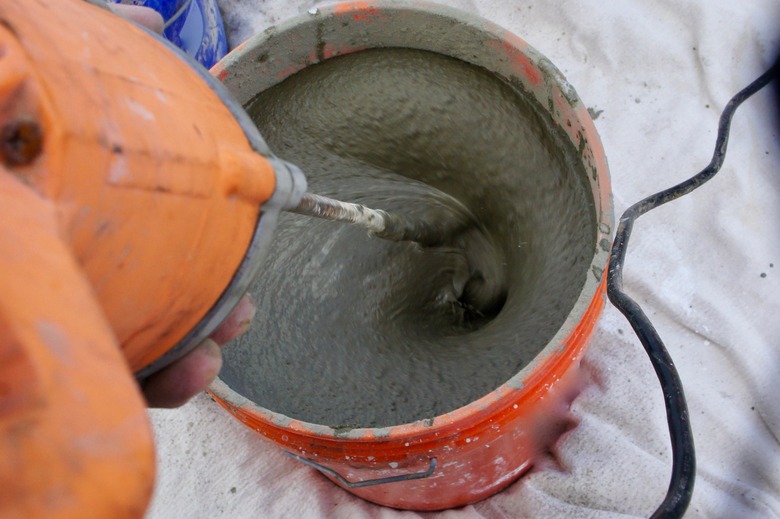
- Mix a cementitious floor-leveling compound, such as Henry 555 Level Pro or LevelQuik Self-Leveling Underlayment, with water in a bucket until the mixture is pourable.
- Pour the mixture onto the floor and distribute it with a trowel or float until the entire floor has more or less the same amount of material and is flush with the tops of the tiles.
- Screed the floor with a long, straight 2x4 to level it. Make sure you do this before the mixture starts to harden, which can occur within 30 minutes of mixing depending on the product.
- Let the leveling compound dry thoroughly before installing the tiles. This could take 24 to 48 hours depending on the temperature and humidity.
If you prefer, you can simply cover the tiles by gluing down a layer of plywood. This is the best approach if you think you may want to uncover the tiles in the future. Use tempered hardboard or plywood with a smooth face, such as luan or birch, and with a minimum thickness of 1/4 inch.
Tips for Installing Plank Flooring
Tips for Installing Plank Flooring
With the exception of TrafficMaster products, vinyl plank flooring typically snaps together like laminate flooring, and the installation methods are similar. You join planks by matching the tongue edge of one plank to the groove edge of another, lifting one side of the plank you're installing to angle it and then pushing the edges together. When you lower the plank onto the floor, the planks snap together.
That's how it's supposed to work, anyway, but in practice, you sometimes have to tap the planks to get them to lock. Use a tapping block and a hammer but never a hammer by itself, as this will ruin the locking mechanism. You also need to use the tapping block to move the planks lengthwise to get them to join end to end.
You can cut plank flooring with a sharp utility knife. To make a crosscut, score a deep line, using the knife and a straightedge, and bend the tile backward along the line until it snaps in two. You can use the same technique to make a rip cut, but you may prefer to run the plank through a table saw instead.
Read more: How to Cut Vinyl Plank Flooring
Vinyl Tile Installation Pointers
Vinyl Tile Installation Pointers
It's common to begin installing vinyl tiles in the middle of the floor, but you may prefer to move the starting point to align with a large feature, such as a picture window. You locate the starting point by making appropriate measurements along a pair of opposing walls, snapping a chalk line between these points and then repeating the procedure in the perpendicular direction. The corners of the first four tiles meet at the point where the lines cross, and installation continues from there to the perimeter of the room.
If you aren't using peel-and-stick tiles, you'll have to spread mastic on the subfloor using a notched trowel. Don't overdo it because the excess oozes from the tile joints, requiring you to stop frequently and wipe it off with a damp cloth. The tiles can also slide if the mastic is too thick. A good way to prevent sliding is to lay a piece of plywood on the tiles and kneel on that to distribute your weight rather than kneeling directly on the tiles.
Most people opt for peel-and-stick tiles because they are easier to handle and less messy than glue-down tiles. Be sure to vacuum and tack the subfloor thoroughly before laying these because any dust or residue will prevent the glue from sticking. When you need to cut tiles, do it before you remove the backing paper.
Installing Sheet Vinyl
Installing Sheet Vinyl
In some ways, sheet vinyl is the easiest vinyl flooring to install because one sheet covers a large area, but in some ways, it's the most difficult because one cutting mistake can ruin an entire sheet. Professional installers avoid such mistakes by making a template using sheets of kraft paper taped together. They lay the paper over the floor, cut the edges accurately with a knife and then transfer the shape to the vinyl, which should be unrolled a hour or two beforehand so it has time to flatten.
Remove the baseboards before making the template and leave an expansion gap on the edges of 1/8 to 1/4 inch. Vinyl flooring can expand when the temperature and humidity is high, and if it pushes against the walls, bubbles may form in the middle of the floor. The baseboards will cover this gap when you reinstall them.
To lay the flooring, spread adhesive along one wall for a distance of about 2 feet into the floor, roll up the sheet, align it with the wall and press it into the adhesive. Spread adhesive on the rest of the floor, unroll the sheet and finish with a floor roller to remove bubbles and seat the flooring into the adhesive. If you work carefully and have good luck, there will be few to no bubbles to worry about.
Read more: How to Install Vinyl Flooring
