How To Cut Laminate Flooring
As a DIY project, laminate flooring is one of the easiest types of flooring to install, but it's not the easiest material to cut. You can, of course, cut laminate flooring with a table saw, circular saw or jigsaw, just as you do solid wood flooring, but the results can be disastrous if you don't take the time to do it right.
The problem is the layered nature of the material. The bulk of a laminate plank is made up of a high-density fiberboard core (and some planks have an attached insulating underlayment), but the most visible layers are basically made of plastic and paper, and chipping is fairly common. It may not matter if the chipped-out edges are hidden under the baseboards, but when edges are exposed, chipping is a big concern. It's fairly easy to prevent chipping if you use the right tools and the right cutting technique.
Consider a Laminate Flooring Cutter
Consider a Laminate Flooring Cutter
The best way to avoid chip-out from a spinning saw blade is to not use a saw at all, and if you're starting a big project, you might want to consider investing in a laminate flooring cutter. Home Flooring Pros recommends two different models: one by EAB and one by Bullet Tools, and since the latter is also recommended for cutting vinyl siding, you might be able to put it to use outside when the flooring project is over.
A laminate flooring cutter looks and works like a paper cutter, and it's designed only for crosscutting—cutting across the width of the plank. To make a cut, you feed the plank lengthwise through the blade, line up the cut line with the blade and push down on the handle. The blade descends and slices the plank in two, producing a clean, perfectly straight cut on material up to 5/8 inch thick, with no chipping.
Laminate flooring cutters are commonly available for purchase or as rental tools. Professional-grade versions cost hundreds of dollars to buy but are not expensive to rent. Basic home-grade versions range from $60 to $100. The biggest drawback of a laminate cutter is that it doesn't do rip cuts (cuts parallel to the length of the plank) or curved cuts, so you still have to know how to cut laminate boards with a saw.
Use the Right Saw
Use the Right Saw
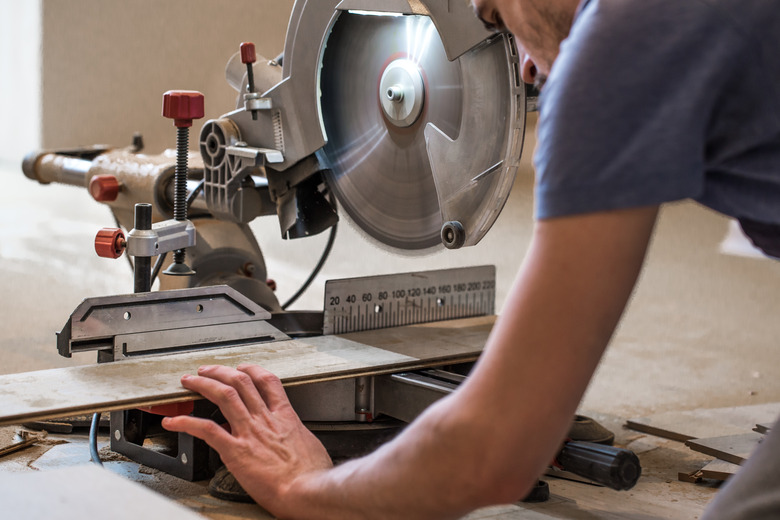
After a laminate flooring cutter, the next-best crosscutting tool for laminate flooring is a sliding miter saw capable of making 12-inch crosscuts. Most laminate boards are wider than 5 inches, so a standard miter saw won't work; you need the sliding action of a sliding miter saw to cut the full width of the plank.
The next-best tool is a circular saw, which is the tool for which most DIY laminate installers will reach. If you have the budget for it, consider purchasing a circular saw with a 3-inch blade, such as a Dremel Saw Max, which can make cuts in tighter spaces and is easier to use than a full-size circular saw.
A table saw is great for making long, straight rip cuts on laminate planks. But it won't make angled cuts (at least not safely), and it's inconvenient for most crosscuts. If you own a table saw or know someone who does, you might use it to rip the planks for the first and last rows of the installation, provided they are straight cuts, not angled.
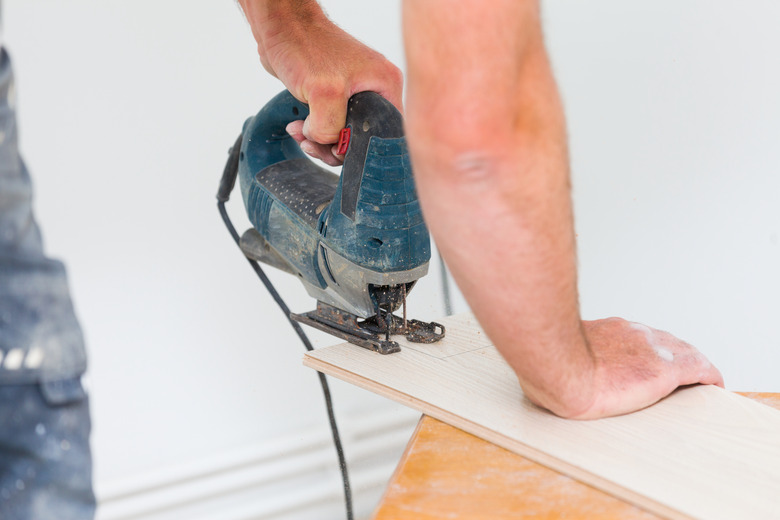
The one power saw that will make all cuts on laminate is a jigsaw. Jigsaws aren't ideal for long, straight cuts, but they'll get the job done. What they are ideal for is curves, notches and other detailed cuts. They're fine for crosscuts, too, if not as quick and clean as a miter saw.
Handsaws also work for rip cuts and crosscuts; they just take a little practice to cut cleanly and accurately. For extremely delicate cuts, such as a thin notch on the edge of a plank, you can use a specialty handsaw, such as a coping saw or a pull saw.
Use the Right Blade
Use the Right Blade
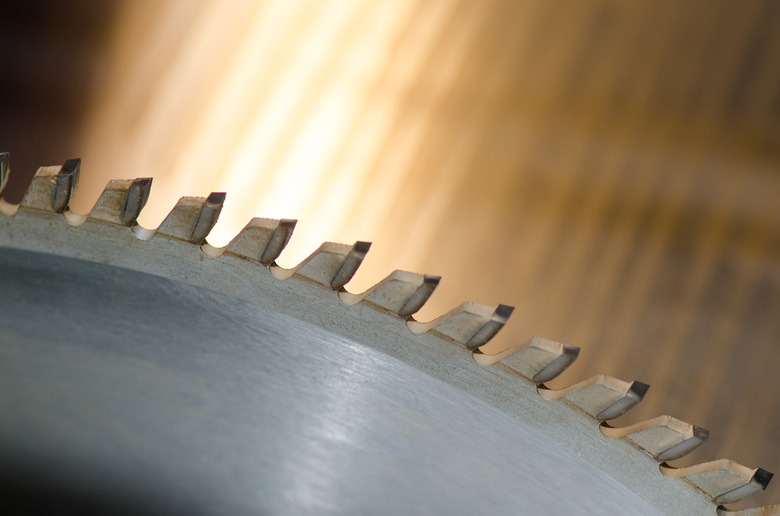
Laminate manufacturer Swiss Krono recommends a saw blade with a high tooth count for your power saw because the more teeth your saw blade has, the cleaner the cut. A good tooth count for a standard circular saw blade is about 60 teeth per inch (tpi); for a miter saw, 80 tpi to 100 tpi is recommended, depending on the blade size.
Similarly, you'll get cleaner, more chip-free cuts with your jigsaw if you use a metal-cutting blade with a minimum tooth count of 14 tpi. Don't get too fine a blade, though. A 30 tpi blade cuts very slowly and won't last long.
How to Cut Laminate Flooring Cleanly
How to Cut Laminate Flooring Cleanly
A typical floor installation involves crosscuts, rip cuts and curved cuts. Learn how to make them cleanly.
Things Needed
-
Tape measure
-
Pencil
-
Straightedge
-
Masking tape
-
Utility knife
1. Cut From the Back
Measure the length of a crosscut with a tape measure and draw a line on the back of the board, using a pencil and straightedge. Cut along this line to minimize chipping on the front of the board. If you're making a crosscut or rip cut on a table saw, the board should be facing up.
2. Cut Tongues With a Utility Knife
Use a sharp utility knife to trim off the tongue from the planks in the first row. This allows the finish surface of the planks to get closer to the wall while still maintaining the required expansion gap. This cut would be a really tricky with a saw, and utility knife easily cuts through the fiberboard tongue material.
3. Rip Angles With a Circular Saw or Jigsaw
To make an angled rip cut for the first or last row of flooring, mark the cutting line on the backside of the plank, using a straightedge or chalk line to ensure a straight line. Clamp the plank to your work surface so the cutting line is overhanging beyond the edge of the surface. If desired, you can also clamp a long straightedge (such as a level or a straight board) to serve as a guide for the saw's base. Make the cut with a circular saw or jigsaw.
Cutting Laminate Boards in Place
Cutting Laminate Boards in Place
Sometimes, you need to cut a damaged laminate board to remove it from the floor. You can do this with a standard circular saw, but the best tool is a 3-inch mini saw. Set the depth of the saw to the flooring thickness so that it just penetrates the plank and bites into the underlayment as little as possible.
To remove a laminate board, you typically make two parallel cuts along its length about 2 inches apart, stopping short of the adjacent boards. Finish the cuts with a chisel, remove the 2-inch strip and then make four diagonal cuts toward the corners, again using a chisel to finish them. Remove the triangular pieces, back the two remaining sides of the board out and remove them.


