Sweet Boho Holiday Garland Tutorial (Just For You)
We may receive a commission on purchases made from links.
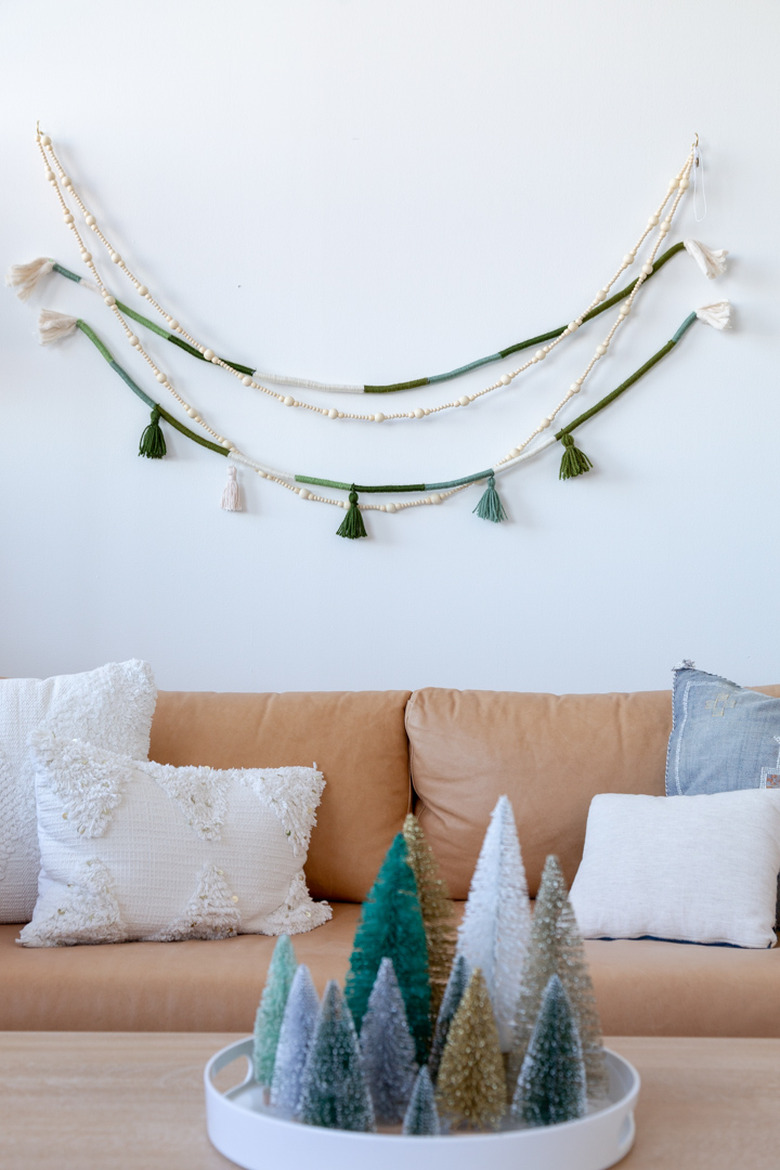
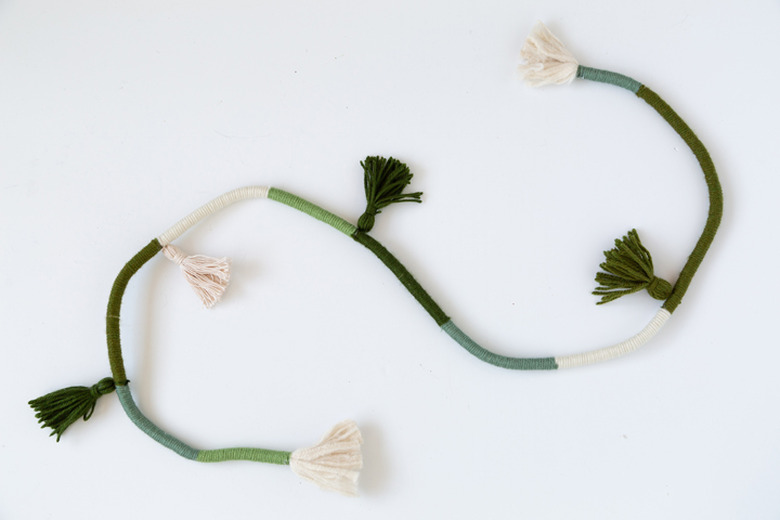
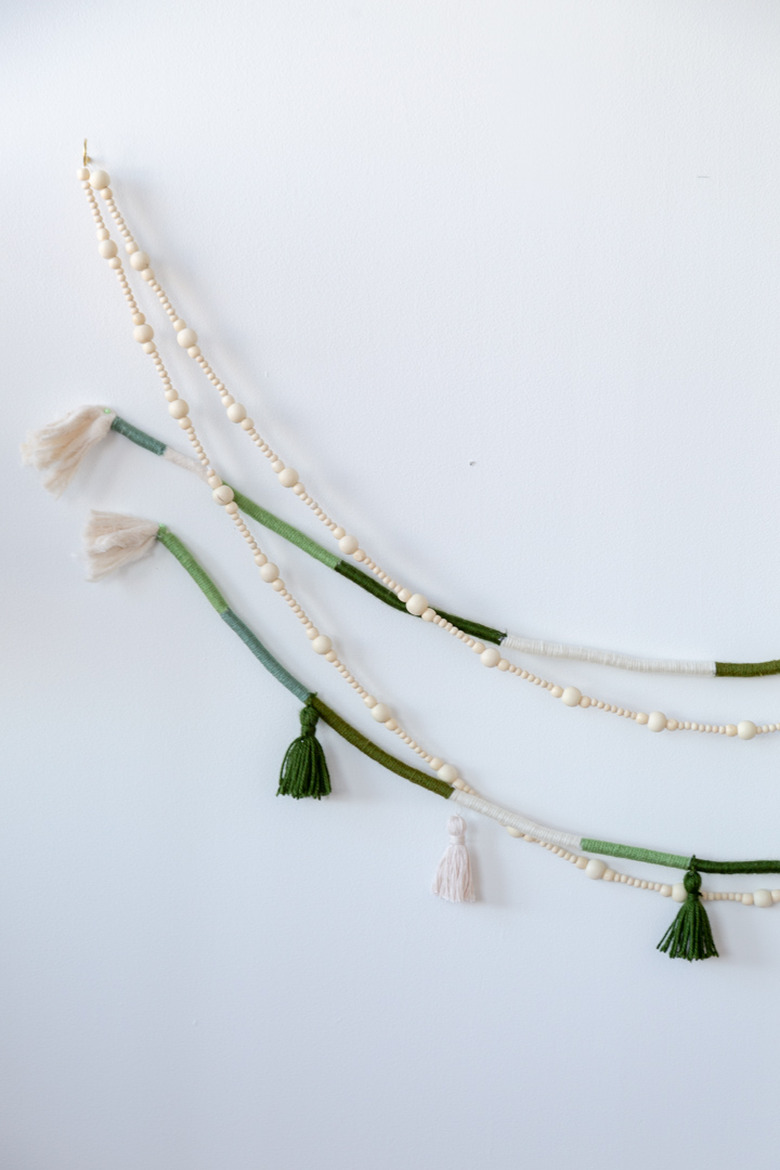
If you're looking for a totally doable holiday decor DIY project, this is the perfect one for you. Here's how to create boho-inspired garland using different shades of green yarn, finished off with some handmade tassels for a little flair. It'll look beautiful draping across a mantel or shelf above some bohemian stockings, don't you think? We also love how the garland looks paired with natural wood bead garlands.
Step 1
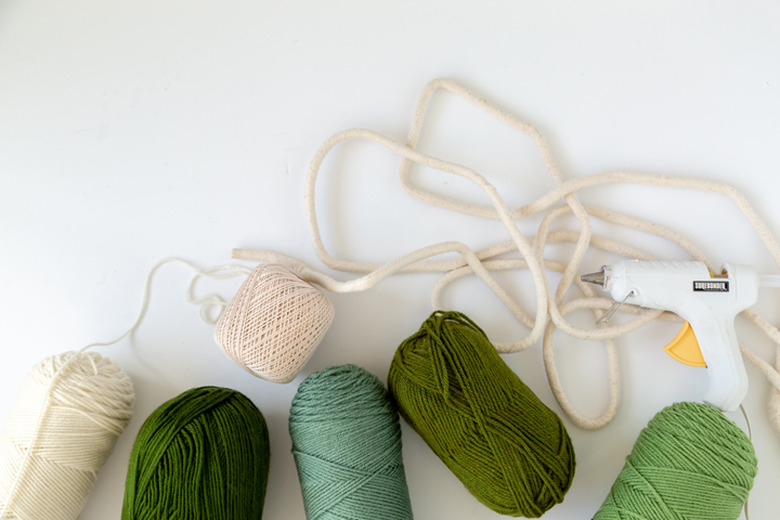
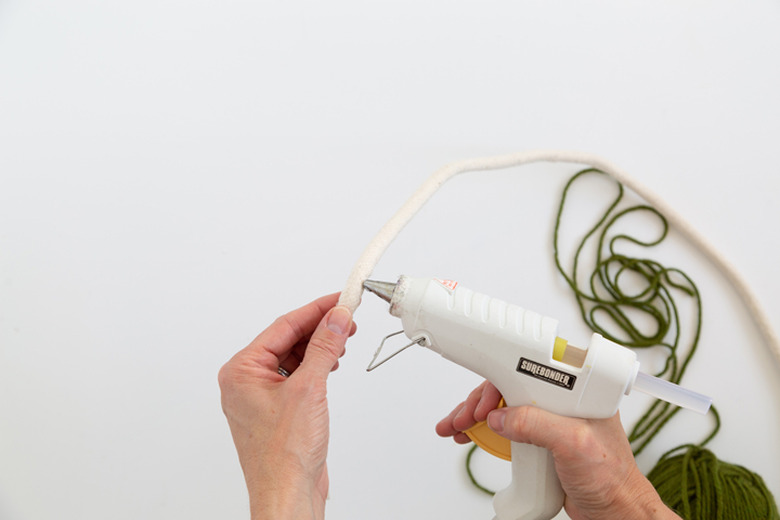
Start by wrapping yarn around the rope. Add some hot glue to a portion of the rope — you do not need very much. You could also use quick drying craft glue as well.
Step 2
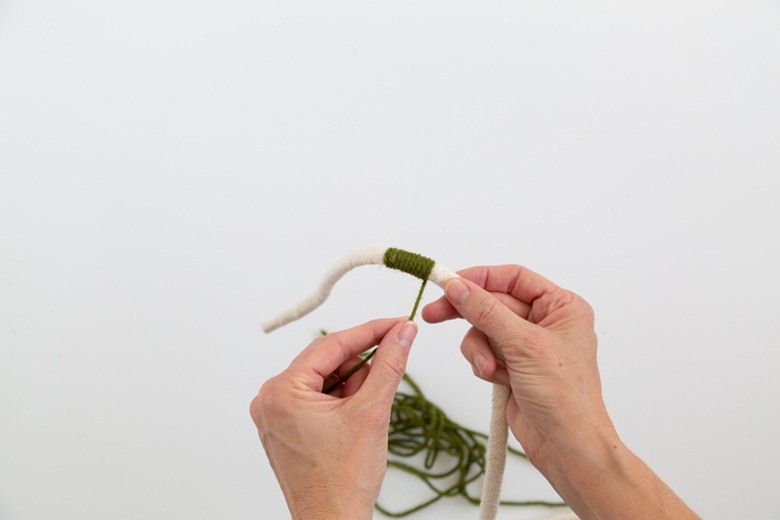
Attach the yarn to the glue and wrap around the rope or cording. Continue wrapping, not pulling too tight. Once you have wrapped the amount of yarn you want, add glue to secure the end. Start wrapping the next color directly where you ended the last color of yarn. We recommend alternating colors, and you don't have to measure exactly the width of each color. It feels very boho if there is a natural, organic quality to this garland.
Step 3
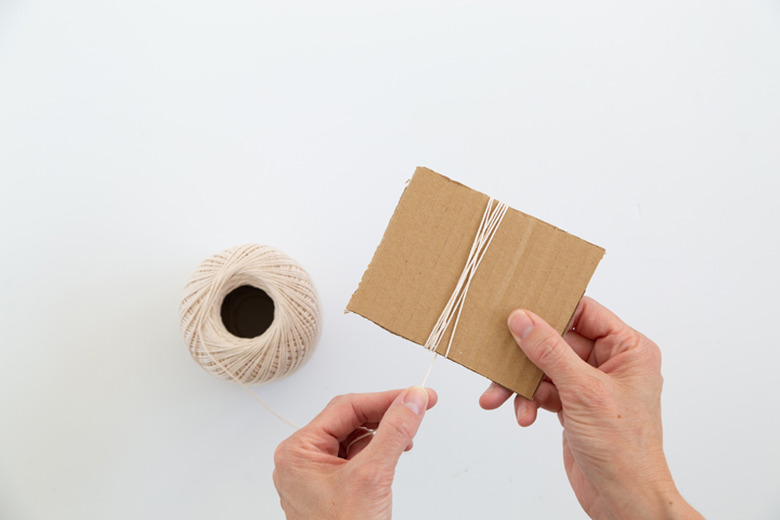
Once you've added all the colors to the cord, it's time to make the tassels. Cut a piece of cardboard about 4 inches by 4 inches. Then start wrapping some yarn around the cardboard square, around 20 times.
Step 4
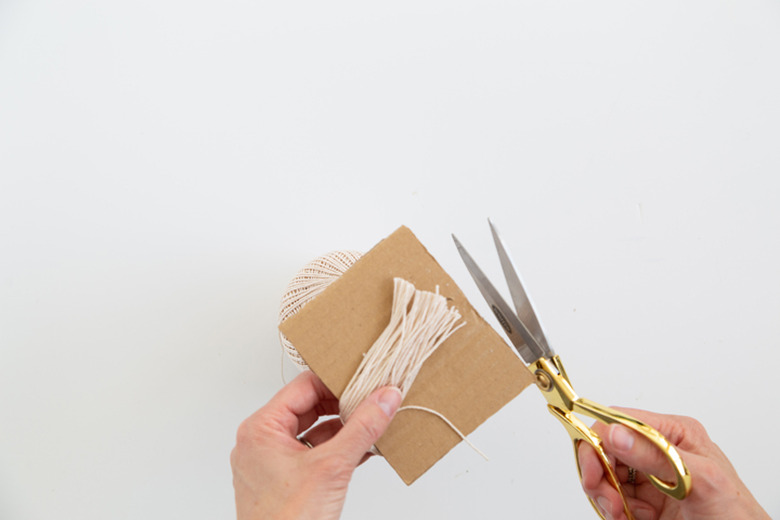
Take a 6-inch piece of yarn, slide under the looped yarn, and tie it tightly around the top loop. This will be what you hang tassel from. Then, cut alongside one end to create the tassel bottom. Remove the cardboard.
Step 5
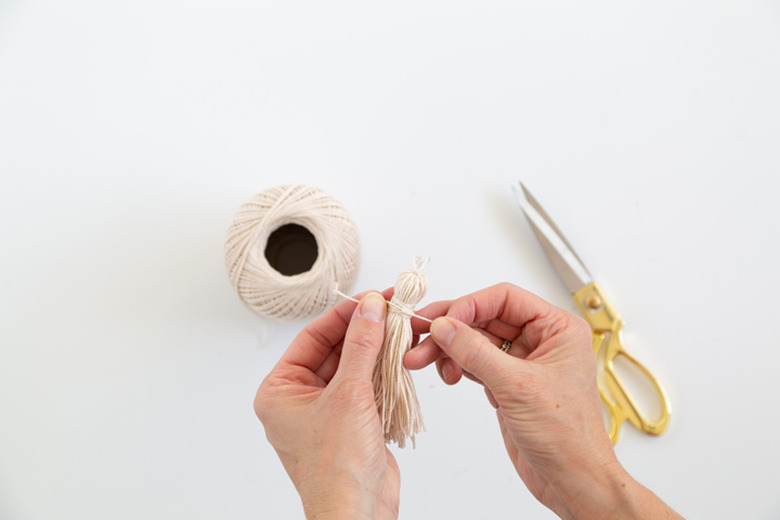
Wrap a piece of yarn just under the top loop of yarn, securing the tassel. Tie in a double knot to secure.
Step 6
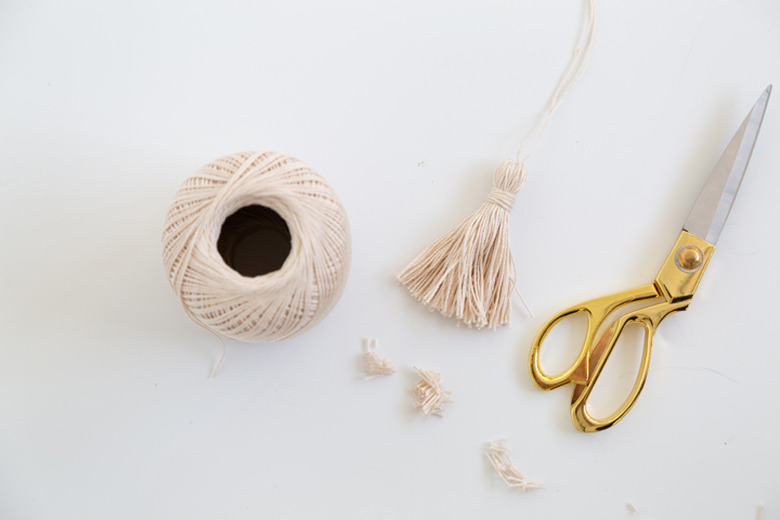
Using sharp scissors, trim the ends of the tassel. For this project, we made tassels in different shades of green yarn and a cream colored yarn tassel.
Step 7
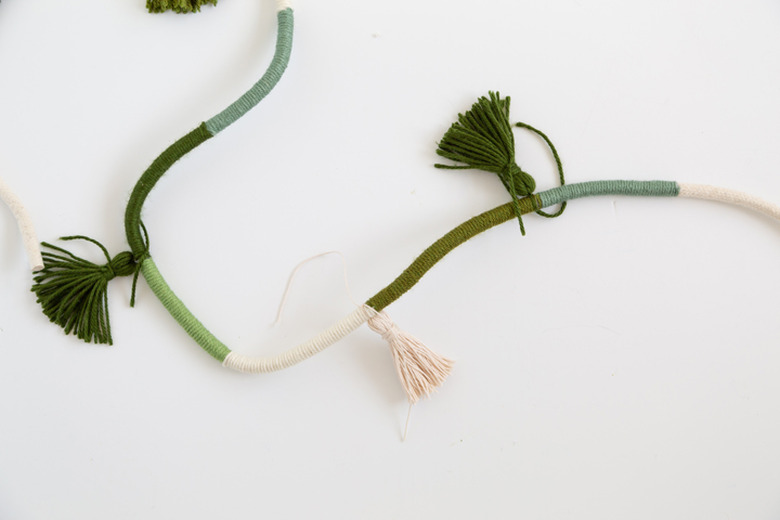
Tie the tassels to the rope garland and secure with a little bit of glue. Trim all loose threads for a clean look.
Step 8
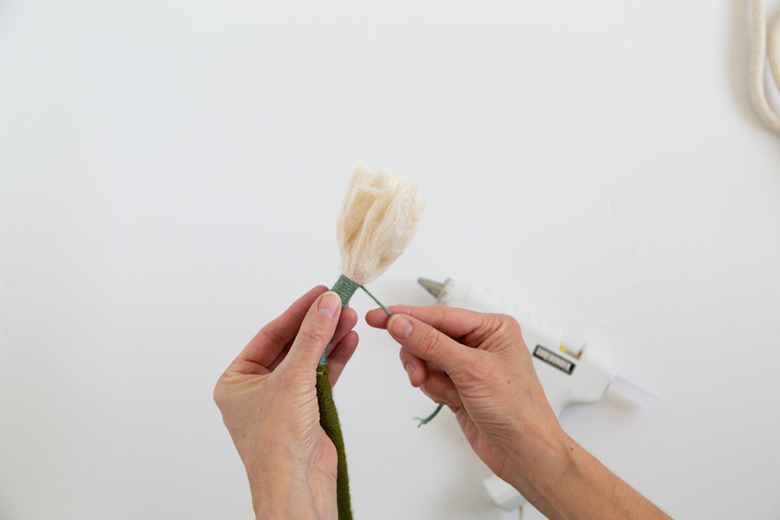
Clip the ends of the rope or cord, and pull apart to make a tassel look. Wrap some yarn around the edge of the tassel and secure with glue.
All done!
Time to hang your garland.
