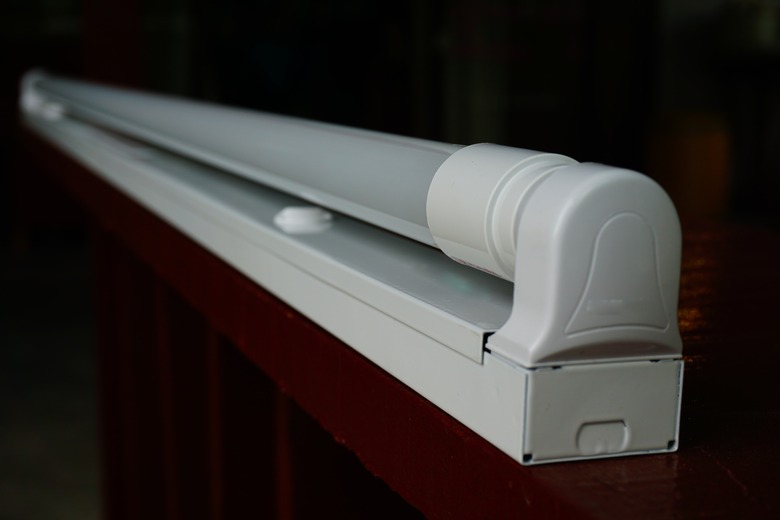
How To Replace Fluorescent Kitchen Lights
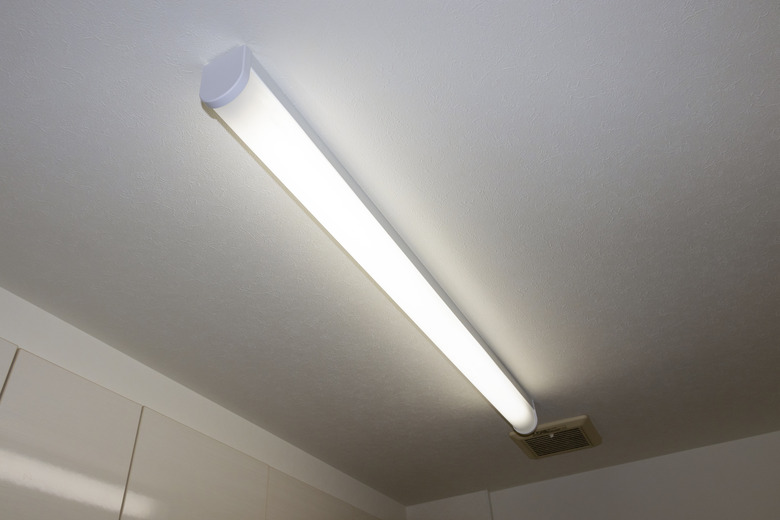
With so many lighting options available, there's no need to stick with a fluorescent kitchen fixture. Replace that kitchen light with a new hanging light, a flush-mount light or a semiflush-mount light. In most cases, you can do the work yourself unless you discover faulty or damaged wiring in the ceiling, in which case you should call an electrician to make repairs before reconnecting any light source to those wires.
How to Remove a Fluorescent Light Fixture
How to Remove a Fluorescent Light Fixture
Removing an old fixture may take a bit more trial and error than installing the new kitchen light if you don't have the original instructions from the existing fixture, primarily because one fluorescent light box is assembled differently than the next. Before you figure things out, turn the light on and then cut power to the light at the breaker. When the light goes out, you've found the right breaker.
- Position a ladder beneath the light fixture. The ladder should be tall enough for you to comfortably and safely access the light fixture.
- Wear eye protection to keep dust out of your eyes and then climb the ladder.
- Inspect each end of the fixture, looking for clips or tabs that can be pressed outward to pop off the diffusing light cover panel. If they're hard to press, use a flat-head screwdriver.
- Remove the light cover, hand it to a helper and then twist the fluorescent bulbs out of their clips. Hand those to your helper as well.
- Remove the metal panel covering the light fixture and circuit wires.
- Inspect the wire connectors that join the fixture's wires with the circuit wires in the ceiling. Note how these are connected or even take a picture for future reference.
- Test the wires with a noncontact voltage tester to confirm that none of the wires have power. If the tester detects voltage, return to the breaker box, turn off the correct breaker and then retest the wires for power before proceeding.
- Disconnect the fixture wires from the ceiling wires by twisting the wire connectors (wire nuts) off the wires and separating the wires.
- Remove the mounting screws holding the fixture to the ceiling using a Phillips screwdriver. Use care when removing the final screw, propping up the fixture as you pull out the screw to avoid getting hit in the head. Hand the fixture framework to your helper.
Light Replacement Options
Light Replacement Options
When it comes to ceiling lights, you have several types to consider: flush-mount, semiflush-mount or a hanging light. Replace a kitchen light that serves as a general overhead light source with another that can also illuminate the entire room.
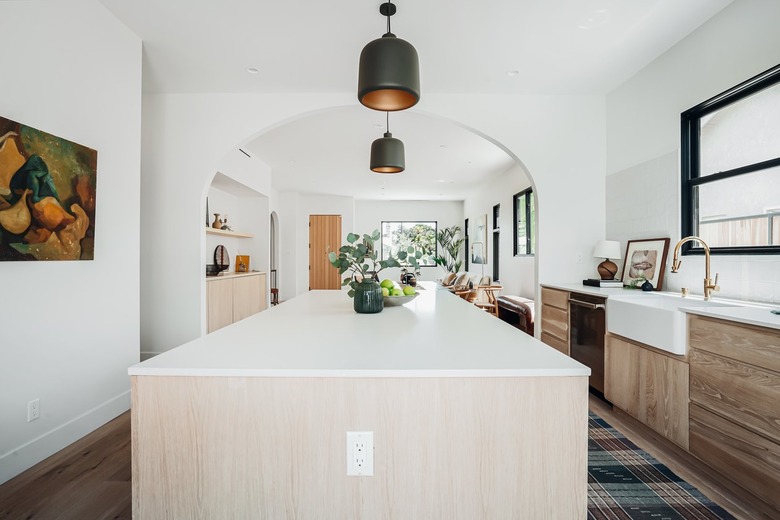
Some hanging lights are better at task lighting than full-room illumination, such as the type of pendant light that hangs above a kitchen island or breakfast bar. Flush-mount lights are the type often used as the primary light source in a living room or hallway, fitting snugly against the ceiling with some sort of glass dome or plate that covers the bulb and diffuses light.
A semiflush light looks a lot like a flush-mount light, but the light base is slightly lower than the ceiling. If you stood on a ladder near ceiling level, you'd see a gap between the bulk of the light fixture and the actual ceiling. This type of light also serves as the main source of light for the room.
Hanging lights may be chandeliers or pendants, dangling down a bit from the ceiling. A chandelier generally offers light to a wide area beneath it, which could be good for a spot above the table in an eat-in kitchen if it suits the style of the space. Keep in mind that if it sits too near the stove, parts of the chandelier may get greasy and require frequent cleaning.
For either pendants or chandeliers, inspect the type of shade around the bulb, as these may focus light downward or block light from illuminating outward. Light-blocking shades are probably not a good idea if your goal is to replace a kitchen light serving as the main light source in the room.
How to Connect a New Kitchen Light Fixture
How to Connect a New Kitchen Light Fixture
Before attaching your new fixture to the ceiling, assemble any parts that need to be attached ahead of time. While some require little effort, you should slide the ceiling light canopy over the light's wiring since you won't be able to slide it on once you've connected the wires to the ceiling's wiring.
You may also want to test-fit the fixture against the ceiling if it's a flush-mount light to make sure the fixture's mounting brackets and hardware attach easily to the junction box. With any type of ceiling light, this also offers the chance to see if you need to trim excessively long wires. If you do cut wires, you'll also have to strip approximately 1/2 inch of coating from the ends using a wire stripper.
Make sure you also read through the light fixture's installation information before connecting the device to your home's wiring. This helps ensure proper installation for both the wiring and the hardware that secures the light to the ceiling and junction box. If the fixture is somewhat heavy, you may wish to have a friend help hold it up as you climb the ladder and as you make electrical connections.
- With the breaker still off, test all of the wires in the ceiling box with a noncontact voltage tester to confirm once again that there is no power.
- Connect the fixture's mounting strap or plate to the junction box using a Phillips screwdriver. This is easiest if a helper holds the bulk of the fixture weight as you work. Make sure the wires for the fixture and the ceiling wires protrude from the side of the strap or the center hole of the plate as applicable so you can connect them.
- Connect the bare ends of each wire pair with wire connectors, following the manufacturer's wiring diagram. Typically, you will connect the black or red ceiling wire to the black fixture wire to make the "hot" connection. You connect the white ceiling wire to the white fixture wire for the neutral connection. Twist on each wire connector tightly and then give each wire a tug to make sure it is held securely.
- Connect the ceiling ground wire (either bare copper or green insulated wire) to the green ground screw on the junction box, the fixture's mounting strap or plate or a ground wire lead on the fixture itself following the wiring diagram.
- Carefully tuck the wires into the ceiling box.
- Fit the fixture base or canopy over the mounting strap or plate and secure it with the provided screws.
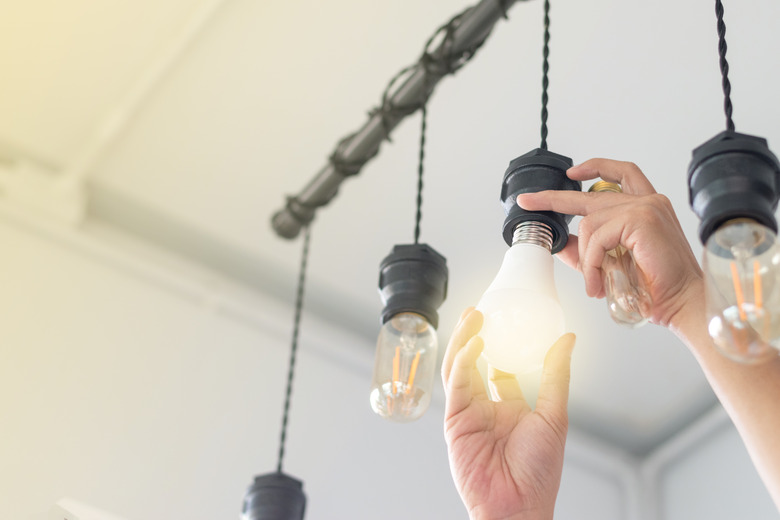
- Screw in the light bulbs and install the fixture shade or globe as applicable.
- Flip the circuit breaker back to the "on" position and turn on the kitchen light switch to test the fixture.
Retrofitted LED Tubes
Retrofitted LED Tubes
If you really like your fluorescent fixture and aren't ready to replace it entirely, you might be able to retrofit it with an LED tube light instead. Ballast-compatible LED tubes are designed to fit within common fluorescent light fixtures as easily as replacing one fluorescent bulb with another. These LED tubes use approximately 30 percent less electricity and last two to three times as long as comparable fluorescent lights, according to Shine Retrofits.
Retrofitted LED tubes may cost more than fluorescent lights up front, but they pay for themselves in energy savings and longevity after a couple years.
