Choosing A Vanity Top And Cabinet For A Vessel Sink
If you're looking to modernize your bathroom, it's hard to beat the visual appeal of a beautiful new vessel sink vanity. These eye-catching setups can add an instant level of modernity and sophistication to any bathroom remodel, but even if you just want to change out the sink, you'll still usually need to install a new cabinet, vanity top, faucet and drain that are all specifically designed to work with a vessel sink.
Buy the Vessel Sink First
Buy the Vessel Sink First
Since the vessel sink is the star of any bathroom vanity setup, you'll want to pick your cabinet and countertop after you've settled on your sink. That's because it is critical that the vanity cabinet, countertop, faucet and drain are all compatible with your choice of sink.
If your bathroom is rather small, be sure to find a maximum depth and width a counter can comfortably take up before shopping. Subtract 1 inch from each dimension and buy a sink smaller than this size to ensure the sink fits comfortably inside your allotted counter space without going over the side in any direction.
What Size Should Your Cabinet Be?
What Size Should Your Cabinet Be?
When buying a cabinet, the most important factor to keep in mind is the height since a top-mounted vessel sink will often add anywhere from 6 to 8 inches to the configuration. Most standard bathroom vanities are either 32 or 36 inches tall, but as StarCraft Custom Builders points out, the 32-inch vanity height is largely a compromise that theoretically allows both children and adults to use the vanity comfortably. In reality, this is uncomfortably short for many adults and too high for many children.
In fact, the National Kitchen and Bath Association recommends that bathroom vanity countertops be anywhere from 32 to 43 inches tall based on the most comfortable height for the sink's users. In other words, find the most comfortable counter height for everyone who will use the sink and then average these numbers to find the best height. Then, subtract the height of your sink from this total to find out how tall your cabinet should be. Some vanities are specifically sold for vessel sinks, but children's vanities may be the right height as well.
To use a slightly taller cabinet, you may be able to recess your sink, though not all vessel sinks can be recessed. For a semi-recessed sink, this means having a precision-cut vanity top that allows your sink to sit partially below the counter. Because this cut has to be precise, it will need to be done by a professional specializing in your choice of countertop material, which can add a lot to your overall project cost.
You'll also want to make sure the cabinet isn't too shallow or narrow to comfortably fit your new sink. Never buy a cabinet that is shorter in any direction than your vessel sink. While a single-sink vanity only needs to be wider than the sink itself, for a double-sink vanity, you'll need a counter that is at least 60 inches wide, although 72 inches is preferable for user comfort.
Choosing a Bathroom Vanity Top
Choosing a Bathroom Vanity Top
Most vessel sink vanity tops are sold with a hole already cut in the center of the counter. They will also usually have a precut faucet hole behind the sink or a few punch-out holes that can easily be knocked out with a drill to allow you to install your faucet. If you do not want a hole set in the center, you can order from a manufacturer who will allow you to choose the placement of your sink and faucet, or you can order a solid counter and hire a professional such as a stone mason or woodworker to drill the drain hole and faucet holes for you.
You can use any common bathroom vanity top material for a vessel sink. The most important thing is that the countertop matches your vanity cabinet and sink. If you have a vividly colored sink, like deep-blue glass or a patterned ceramic design, you'll probably want to stick with a vanity top in more neutral colors like beige, white or espresso. On the other hand, a neutral-colored vessel sink could look great with a colorful vanity top.
Toulmin Cabinetry & Design discusses some pros, cons and costs of popular vanity top materials, which include:
- Concrete vanity top — Pros: Trendy and highly customizable, durable, looks good with most vessel sink materials and fairly
inexpensive if you DIY. Cons: Hard to DIY, expensive if purchased professionally, requires professional installation, needs to be resealed regularly or it can stain, can easily develop hairline fractures and very heavy. Cost: $65 to $135 per square foot plus installation fees. - Marble vanity top — Pros: Expensive-looking, eye-catching, durable and classic. Cons: Can be very expensive, needs regular resealing and is prone to scratches and stains. Cost: $125 to $150 per square foot.
- Granite vanity top — Pros: Comes in a wide array of colors, easy to match to many different vessel sink styles, scratch-resistant, durable. Cons: Needs to be resealed yearly and can chip along the edges. Cost: $50 to $100 per square foot.
- Solid-surface vanity top — Pros: One of the cheapest materials available, does not require sealing, available in a wide array of styles and colors (can even mimic the appearance of stone), contemporary, resistant to bacteria, water and stains. Cons: Dark colors can show wear, and all colors can be scratched, chipped and scorched. Costs: $40 to $100 per square foot.
- Quartz vanity top — Pros: Unique-looking, very durable, does not require sealing, resistant to bacteria, moisture and stains. Cons: Some surface textures show fingerprints. Costs: $60 to $100 per square foot.
The Right Faucet and Drain for Vessel Sinks
The Right Faucet and Drain for Vessel Sinks
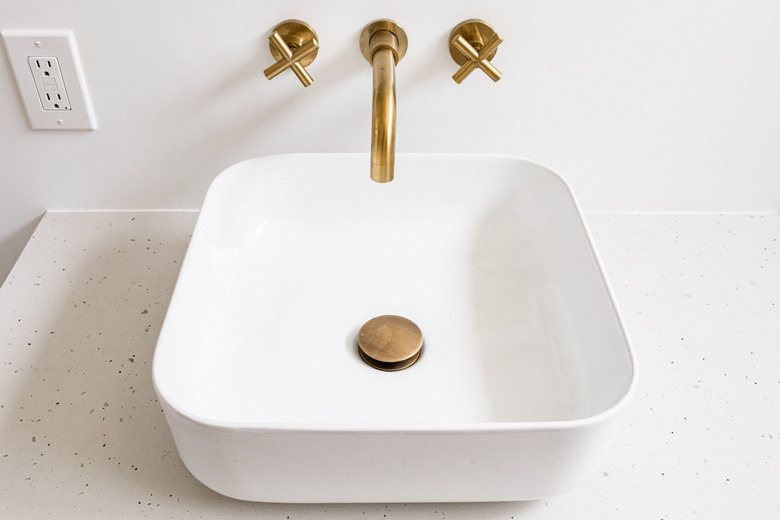
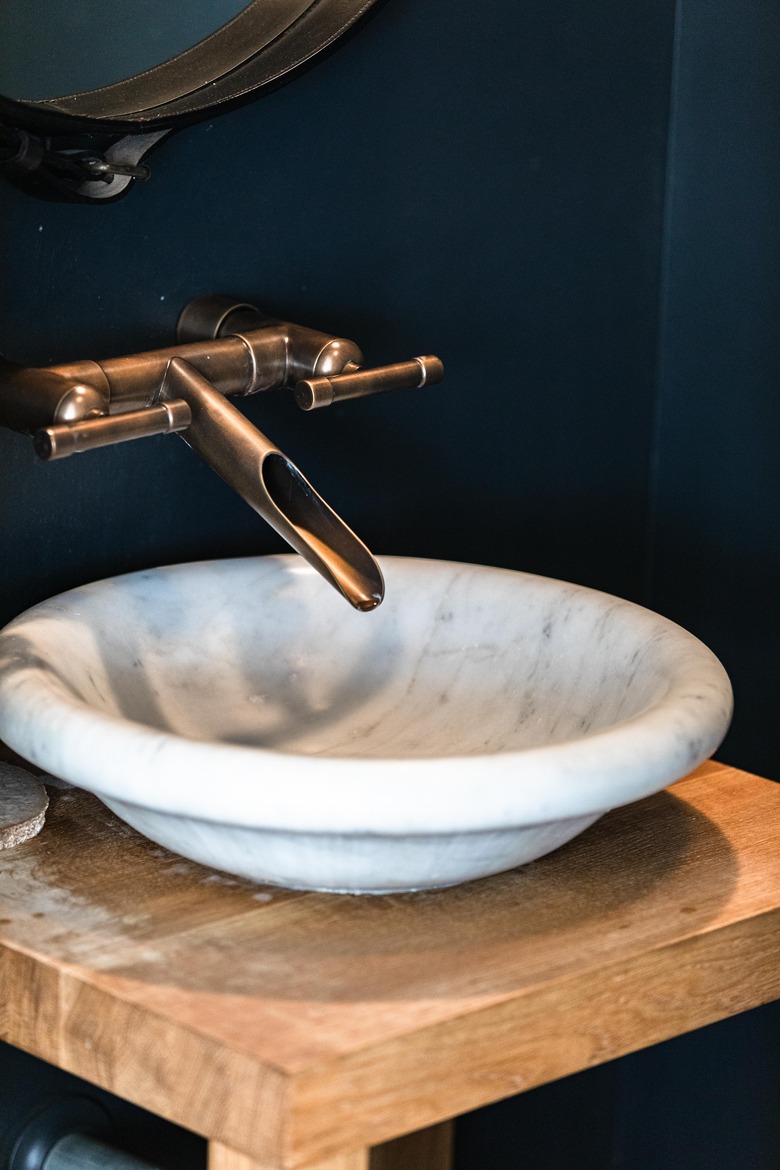
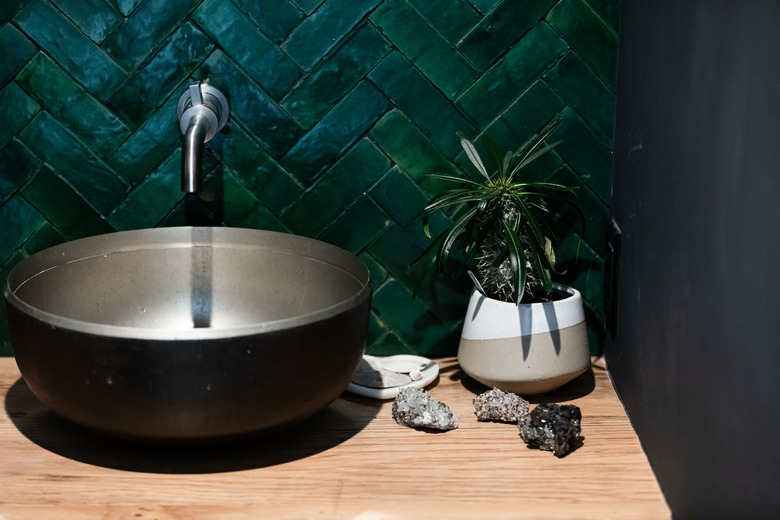
Faucets for vessel sinks come in one of three configurations: wall-mounted, deck-mounted or integrated. Wall-mounted faucets look classy, allow you to keep more counter space open and are a good option if your sink doesn't leave much counter space for a faucet, but they can add a lot of money to your overall project cost because they require hiring a plumber to move your water supply lines.
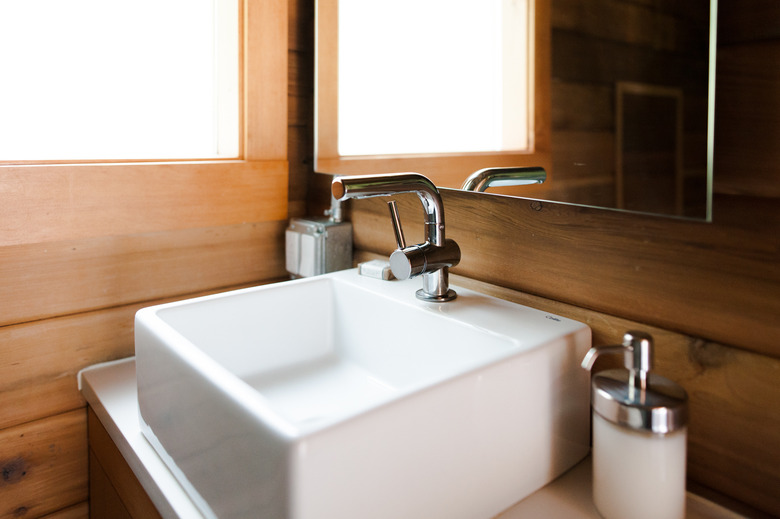
Deck-mounted faucets are the most common option for vessel sinks, as they are installed into the vanity top. A deck-mounted faucet should allow around 6 inches of clearance above the bottom of the sink to provide enough room for users to comfortably wash their hands. This means the faucet will usually need to be 12 to 17 inches tall to reach high enough over the sink.
While it is rare for vessel sinks to come with a faucet hole, it does happen, and some are even sold with faucets. If your sink is pre-fitted with a faucet and you want another faucet, check the hole to see if it is a strange shape. If so, this means it is a proprietary faucet hole, and you're going to be stuck with that faucet or at least one from the same company.
Vessel sinks can be prone to splashing. Unique Vanities recommends that a wall-mounted or integrated faucet spout be mounted between 4 and 6 inches above the bottom of the sink to minimize splashing. They also suggest that all faucets be long enough to pour directly into the bottom of the sink for the same reason. The specific length will vary based on your sink and the position of your faucet installation.
One final thing to keep in mind when buying a faucet for a vessel sink is that while many homeowners like the versatility and simplicity of a pop-up rod drain, many of the waterfall and wall-mounted faucets used for vessel sinks do not feature the levers required to control these drains. If your faucet lacks this option, you will need to either buy a grid drain or a pop-up drain that is triggered by pressing or turning the drain plug. Avoid buying an overflow-style drain unless you happened to buy one of the rare vessel sinks with an overflow opening.
Installing a Vessel Sink and Vanity Top
Installing a Vessel Sink and Vanity Top
Installing a vessel sink is a fairly simple DIY home improvement project. Always look up a more specific installation guide based on the countertop and sink materials with which you're working, but consider this general process for adding a vanity top, a standard top-mounted vessel sink and a deck-mounted faucet.
First, run a line of caulk around the top of the cabinet and install your vanity top. Install any backsplash or sidesplash and allow time to dry before continuing. Next, install your faucet according to the manufacturer's directions. Install the drain fitting into the sink basin with plumbers' putty according to the manufacturer's directions.
Some sinks, including those made from glass, ceramic, copper and stainless steel, may require a mounting ring to add stability and prevent the sink from directly touching the counter. Not all vessel sinks need one. Check with the manufacturer to find out if your sink requires one. To use a mounting ring, apply a ring of caulk around the drain hole and then secure the mounting ring, wiping away any excess caulk. Apply caulk to the top of the mounting ring, fit the drain pipe through the vanity drain hole and secure the sink to the ring.
If your sink does not require a mounting ring, apply caulk around the part of the sink that will touch the counter, thread the drain tailpipe through the vanity hole and then secure the sink. Thread the drain to complete the drain installation and then connect to your drain pipe. Turn on the water to your bathroom and check for leaks.
References
- Signature Hardware: Bathroom Sink Drain Buying Guide
- StarCraft Custom Builders: The Illustrated Rules of Good Bathroom Design
- Kohler: Vessel Sinks: Bathroom Style to Spare
- Lowe's: How to Install a Vessel Sink
- Consumer Reports: Pros and Cons — and Costs — of 10 Countertop Materials
- Unique Vanities: Pros & Cons of Vessel Sinks
- Toulmin Cabinetry & Design: What Are The Best Materials For Bathroom Vanity Countertops


