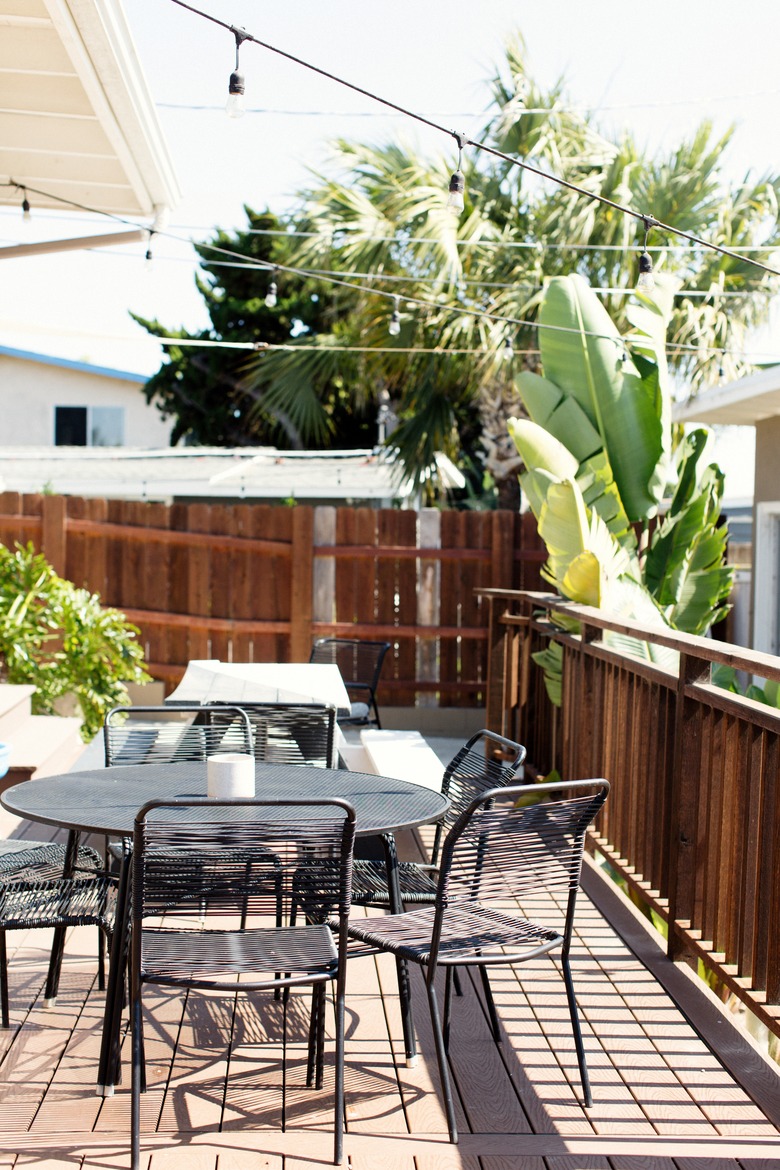
Staining 101: How To Stain Your Porch, Fence, Or Deck Like A Pro
Staining an outdoor surface, whether it's your porch or your backyard fence, is no small feat (literally, because those projects are usually large in terms of square footage). Yet even if you've never even stained a small piece of furniture before — or did once, but wouldn't call yourself stain-savvy — all it takes to tackle a big staining project are the right materials and a little bit of know-how.
How to Pick Out a Stain
How to Pick Out a Stain
Before you can start your outdoor DIY project, you've got to pick out the stain you're going to use. According to Rick Bautista, director of product marketing for the wood coatings group at Behr®️, there are three things you should look for when you're in the stain aisle:
1. Durability: There are two main types of stains: acrylic-based (also called water-based) and oil-based. "Acrylic-based stains typically last longer and provide more durability as they create a protective film on the wood surface," Bautista says. "This film provides excellent protection from the elements." On the other hand, oil-based stains are thinner so they penetrate into the surface and provide beautiful color depth, but typically do not last as long as acrylic-based stains.
Because fences and patios live outdoors, you'll need a stain that's formulated to stand up to the elements. "Exterior wood stains are designed to specifically protect wood surfaces and address the effects from the external environment," he says. Behr®️ Semi-Transparent Waterproofing Stain & Sealer, for example, is an acrylic stain that's great for outdoor use because it's both waterproof and protective against the sun's UV rays.
2. Ease of application: While oil-based stains might age faster, they're also easier to reapply because they don't need to be stripped off when it comes time to re-stain, Bautista says. "All Behr stains are easy to apply, but the choice between oil or water-based stains typically comes down to how long you want the coating to last and the work necessary to reapply it," he says. Both types of stains offer their unique trade-offs, so choose one that best fits your needs.
3. Finished look: Choosing the opacity of your stain and how much wood grain you want to show mostly comes down to personal preference, but it also depends on the condition of wood you're staining. "Typically for more weathered and aged wood surfaces, you want to choose a solid color stain that will hide more imperfections," Bautista says. For newer surfaces or slightly aged wood, he recommends a transparent or semi-transparent stain.
Materials You’ll Need
Materials You'll Need
Besides the stain itself, you'll need a handful of materials to clean, prep, and stain like a pro:
- Stain stripper (if the wood has been previously stained or is peeling)
- Wood cleaner (regardless of whether the wood is old and worn out, brand new, or somewhere in between)
- Pump sprayer
- Stiff-bristled brush
- Masking tape
- Paint tray
- Pad applicator (for transparent or semi-transparent stains)
- ⅜-inch nap roller (for solid color stains)
- Applicator extension pole
- Protective gear like gloves, goggles, and drop cloths
How to Stain
How to Stain
1. Before you start, take a look at the wood you're planning to stain. Has it been stained before? If it has — and you're planning to use a transparent or semi-transparent stain — you'll need to strip the old stain off using a stain stripper (like Behr Premium Wood Stain & Finish Stripper). If you're using a solid color stain, you'll just need to remove any loose or peeling stain, Bautista says.
2. Next, thoroughly clean the entire surface using a wood cleaner (like Behr Wood All-in-One Cleaner). Wet the surface, apply the cleaner using a pump sprayer, scrub with a stiff-bristled brush, and rinse.
3. Once the wood is completely dry, tape off any part of the work area that you won't be staining.
4. Working two or three board lengths at a time, use the applicator (see above for which applicator you should use) to apply a thin coat of stain. Make sure to apply with the grain of the wood, and cover all accessible sides of the wood to maximize protection and coverage, Bautista says.
5. Let the top coat completely dry, then apply a second coat. Repeat until you've achieved the look you're after. Then, as you let the project dry according to label instructions, sit back and admire your handiwork.
